


 My Orders




GTL175WH1-45 Tappan Refrigerator - Overview
Diagrams for GTL175WH1-45
See every part. Know exactly what you need.


Enter a part description. DIY Heroes keep it simple, eg. "belt" or "pump".
Search filter:
Clear Filter
Your search term must have 3 or more characters.

$41.75
In Stock
Defrost Thermostat
Part #5303917954
This limiter thermostat cuts out when the temperature inside your refrigerator reaches 55 degrees Fahrenheit and kicks back in when the internal temperature drops to 20 degrees Fahrenheit. If you discover temperature issues with your refrigerator or freezer, the defrost thermostat may need to be replaced. You will need tools for this repa...Read moreir, including a 1/4-inch nut driver, a pair of wire strippers, and a heat gun. Be sure to disconnect power to the refrigerator before completing this repair. The defrost thermostat is located behind the back panel of your side-by-side refrigerator/freezer. You will first need to remove the panel and take the defrost thermostat out to complete the repair.
Read less

$39.82
In Stock
Filter - Drier
Part #5303305677
A filter-drier in a refrigerator has two essential functions. The first is to absorb system contaminants, such as water, which can create acids. The second is to provide physical filtration. This means trapping moisture, small metal chips, and dirt found in the refrigerant gas. If your refrigerator motor is constantly running, but the ref...Read morerigerator is not getting cold, the issue could be due to a damaged or faulty filter-drier. Faulty filter-driers are sometimes the cause for abnormal freezer compartment temperatures and partially frosted evaporators. This filter-drier is approximately 11 inches long. Remember to disconnect the power from your refrigerator before beginning this repair.
Read less

No Longer Available
Defrost Drain Pan Kit
Part #5303917590
This kit includes the drain pan, thermal mastic, sound dampening pad and 2 retainer wires. This part mounts to the top of the compressor.

$62.37
In Stock
Aluminum Heater Strap
Part #5308000110
This strap is designed for use with the evaporator in your refrigerator. The function of this part is to hold wires, tubes, defrost heaters and other parts in place. If you notice that any of these parts are not held in place properly, you will most likely need to replace the refrigerator strap. This part is made entirely of thin metal. T...Read morehe part is very bendable, and the smaller end is designed to fit inside the large one. This part is sold individually. It is an OEM part sourced directly from the manufacturer. Many of our customers have rated this repair as easy.
Read less

$52.75
In Stock
Compressor Mounting Grommet
Part #218513300

No Longer Available
Defrost Heater
Part #5308009754

$25.23
Special Order
SCREW
Part #5304455651

$6.78
In Stock
Refrigerator Lock Nut
Part #3161461

No Longer Available
Freezer Compressor
Part #5304476642
$8.55
Special Order
CLIP-COMPRESSOR Mounting
Part #5308003596

$37.91
Special Order
BRACKET
Part #5308000296
No Longer Available
WASHER-COMPR Mounting
Part #5308003633
Common Symptoms of the GTL175WH1-45
How this model fails, and the parts that fix it.
Fridge too warm
Fixed by
these parts
these parts


Show All
Freezer not defrosting
Fixed by
these parts
these parts
Show All
Freezer section too warm
Fixed by
these parts
these parts
Show All
Fridge runs too long
Fixed by
these parts
these parts
Show All
Freezer too cold
Fixed by
these parts
these parts
Show All
Frost buildup
Fixed by
these parts
these parts
Show All
Fridge and Freezer are too warm
Fixed by
these parts
these parts
Show All
Fridge too cold
Fixed by
these parts
these parts
Show All
Leaking
Fixed by
these parts
these parts

Show All
Too warm
Fixed by
these parts
these parts
Show All
Will Not Start
Fixed by
these parts
these parts
Show All
Watch our pros, then fix it yourself.
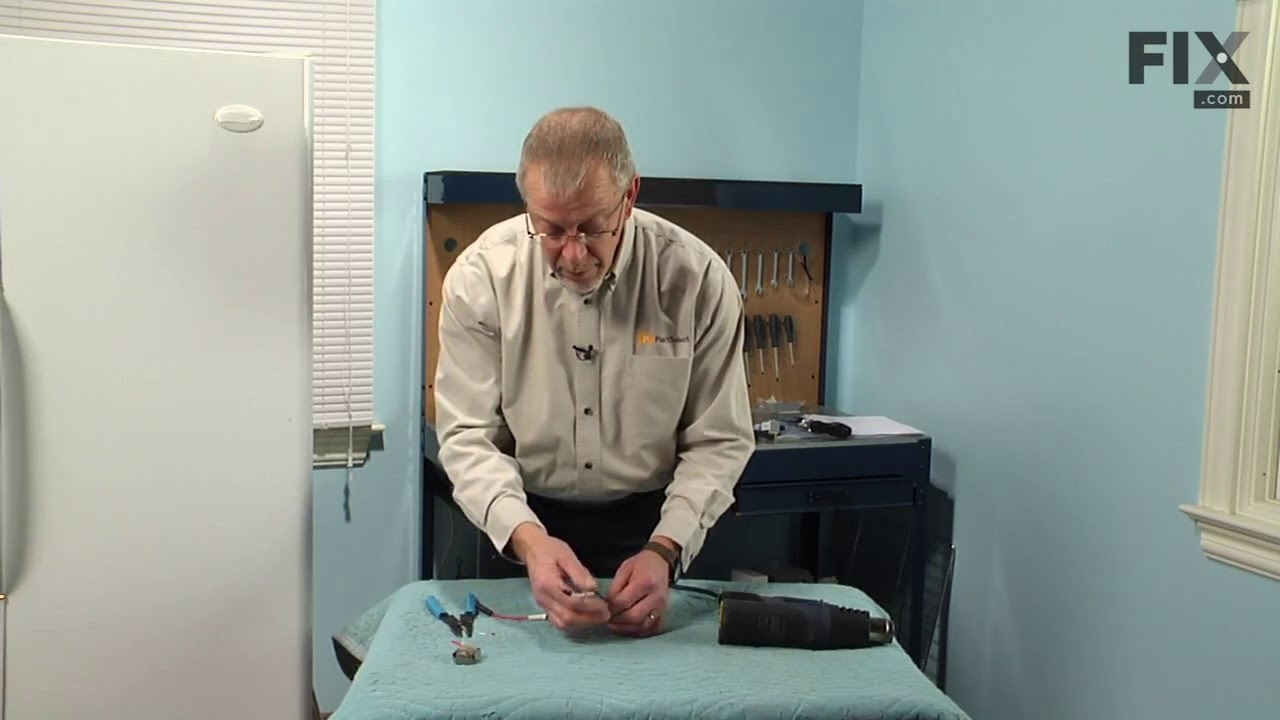
See how others fixed this model. Time, tools, difficulty, and steps that lead to victory!
View More