


 My Orders




GTE24AA Maytag Range - Overview

Enter a part description. DIY Heroes keep it simple, eg. "belt" or "pump".
Search filter:
Clear Filter
Your search term must have 3 or more characters.

$10.95
In Stock
Chrome Drip Bowl - 8 inch
Part #WPW10196405
This manufacturer-certified drip bowl is also known as a drip pan, and it is designed for use with cooktops and ranges. It sits below 8-inch burner elements and catches drips and spills from the cookware on the burner. The diameter of the drip bowl is approximately 10 inches. This replacement might appear slightly different, but it will f...Read moreit your appliance.
You will need no tools to complete this repair. Simply remove the burner element, remove the old bowl, line up the hole on the new bowl with the terminal block and drop it into place. Make sure the bowl is flat before reinstalling the element. While you have the element out you should inspect the terminals for corrosion, damage, or discolouration. If you notice any of those things you should also replace the element and terminal block. You will need to replace your drip bowl if it is lost, damaged, or can no longer be cleaned. This replacement part is sold individually. To extend the life of your new drip bowl we recommend you clean it regularly with soap and water. We recommend only using the recommended drip bowl for your appliance; generic versions will not fit properly which could affect the performance of your elements and cause long-term damage.
Read less

$16.07
In Stock
Range Surface Burner Plug-In Block Kit
Part #330031
The surface burner plug-in block kit features a newer-style terminal block. This kit is designed for use with ranges and cooktops. This terminal block is how the coil element on your stove connects to the inner wiring of your appliance. Without this connection your burner element would not get the electrical current it needs to heat up. W...Read morehen your element will not heat at all, or if it is not heating properly it is likely an issue with the terminal block. You need to remove the element to replace this part. While you have the element out, inspect the element and the terminal for any corrosion, arcing, or discoloration. If you notice any damage to the element or the terminals we recommend you replace this part as well. This kit includes two metal brackets, two pre-crimped high-temperature wire leads, two ceramic wire nuts, two heat-shrinking insulators, and a mounting screw. Before you begin this repair, make sure you have unplugged your appliance.
Read less

$80.82
In Stock
Economy Y-frame Surface Unit - 8"
Part #WPY04000035
This electric range economy Y-frame surface element measures eight inches and has five turns. It carries 2100 watts and is used on some electric ranges. The center medallion is chrome.

$74.08
In Stock

$24.67
In Stock

$75.21
Special Order
Bake Element
Part #WPY07409600
The bake element provides heat to the oven. If you notice that your oven is not heating enough, or not heating evenly, you may need to replace the bake element. This bake element is 17 inches long. The terminals are 21 inches apart, and have a depth of just 2 inches. The bake element connects to the back of your oven, so you may need to r...Read moreemove the oven racks prior to completing this repair. Be sure to disconnect the power source to the oven before you begin this repair. You will need a Phillips screwdriver to complete this repair.
Read less

$82.35
Special Order
Bake Element - 2400W 250V
Part #WPY07409802
This element is used on 24" ranges that have a screw in connection.

No Longer Available
Broil Element (16 Inch long x 8.5 Inch wide)
Part #WPY07431100
This broil element, also known as an electric oven broil element, is used in ovens. Located on the roof of your oven, the element provides and supplies the heat needed for the broil function. It is 8 1/2 inches wide and 16 inches long with 1 3/8 inch deep terminals. The tool needed for this installation is a screwdriver. As a safety preca...Read moreution, make sure to unplug the oven or range from the power source before installing this part. Remember to wear gloves to protect your hands. Refer to the installation instructions provided by the manufacturer for further guidance.
Read less

$81.67
Special Order
Element
Part #WPY07565600
Introducing the genuine OEM bake element by Whirlpool, a small but key component responsible for the heat supply necessary for baking inside your oven. Distinguished by its robust quality and precision, this bake element nestles at the base of your oven unit. Before you install this part, for your safety, remember to completely unplug the...Read more range or disconnect your household circuit breaker dedicated to the range. Be sure to wear suitable work gloves during installation to keep your hands shielded. This bake element is compatible with some models from the reputable Whirlpool brand only. Confirm the exact model compatibility on our website prior to securing your purchase. With this prime-quality part, bring consistent heat and impeccable baking performance back to your Whirlpool appliance.
Read less

No Longer Available
Electric Oven Thermostat
Part #WPY00206900
The temperature of this thermostat ranges from 150 degrees Fahrenheit to 550 degrees Fahrenheit. When your oven is baking, this thermostat is allowing for 17 amps of energy and when your oven is broiling, this thermostat allows for 15 amps of energy. This thermostat has a thirty inch capillary and is used for some of Amana/Speed Queen's brands of electric ranges and ovens.

No Longer Available
SPRING, OVEN DOOR, L.
Part #Y0088541
No Longer Available
SPRING, OVEN DOOR, R.
Part #Y0088542
Common Symptoms of the GTE24AA
How this model fails, and the parts that fix it.
Element will not heat
Fixed by
these parts
these parts


Show All
Little to no heat when baking
Fixed by
these parts
these parts

Show All
Will Not Start
Fixed by
these parts
these parts

Show All
Watch our pros, then fix it yourself.
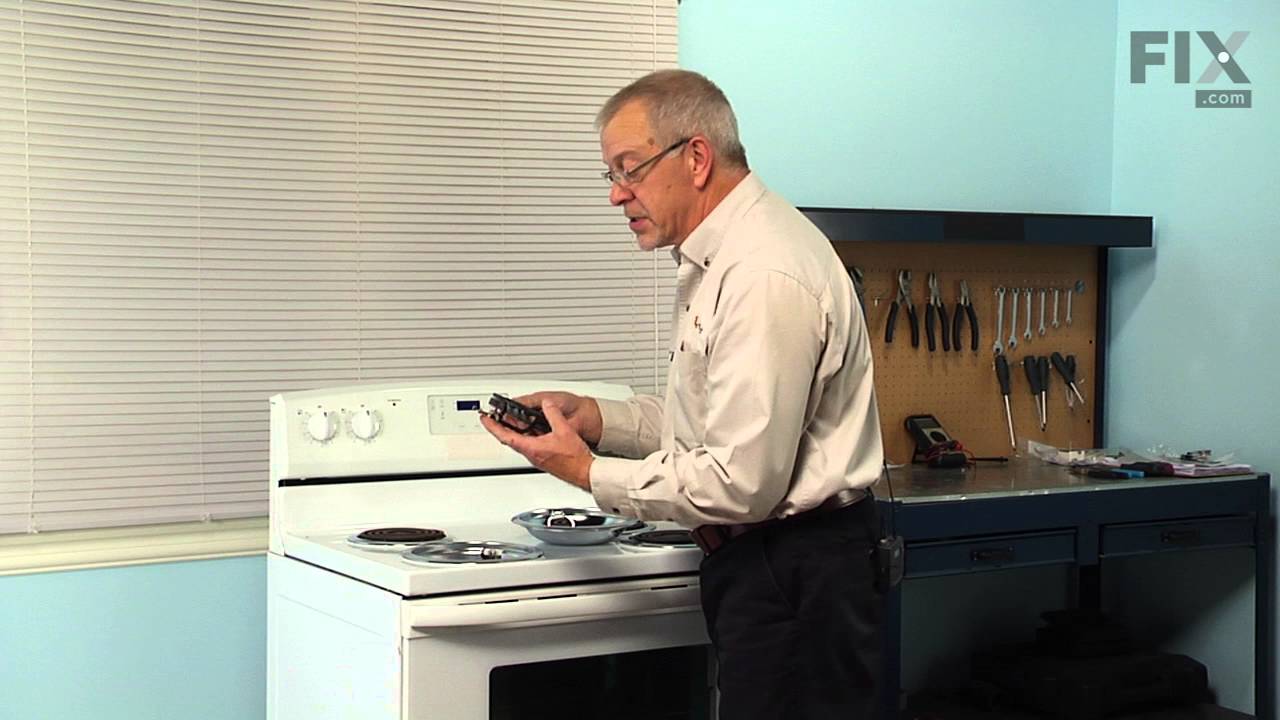

See how others fixed this model. Time, tools, difficulty, and steps that lead to victory!
View More