Your coupon for will be reflected when you check out!
✖
Your coupon for
✖
Hello!
You're visiting the PartSelect site in U.S.
Would you like to shop on the Canadian site?
Stay on this site
Go to Canadian site
✖
Model Number Locations
1Select Category Type
Select Category Type
2Select Product Type
Select Product Type
3Select {MODEL} Type
Select {MODEL} Type
Sample Model Number Tags
Model numbers can be made up of numbers (1005400, for example) or a combination of letters and numbers (LAT1000AAE). The model number will most likely appear on either a paper sticker or a metal plate. Your appliance's model number tag may look similar to the sample model number tags shown here (model number highlighted in yellow):
Model has been saved to My Models. If you're not signed in, your lists are available on this device and will expire within 30 days.
Model has been saved to My Models.
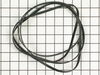
This Drive Belt is 89.5" long and comes in black, featuring four ribs on the inside for a better grip. This is a long belt that wraps all the way around the dryer drum, around a tension pulley, and th...
This is a duct felt seal for a dryer. The duct felt seal allows the front-load dryer drum to glide smoothly on the front panel. Your dryer will not function properly if the drum felt seal is compromis...
This lint filter is a genuine OEM component designed for use in both electric and gas clothes dryers. It plays a critical role in maintaining proper airflow by capturing lint and debris during drying ...
This light bulb, also known as a drum lamp, illuminates and lights up the dryer drum when the door is open. If the light bulb in the dryer is burnt out or lighting is inconsistent, replacing it can so...
This is a timer control knob for your dryer. The timer is the main part within dryers that is responsible for controlling when the different processes of the drying cycle occur, and it is important th...
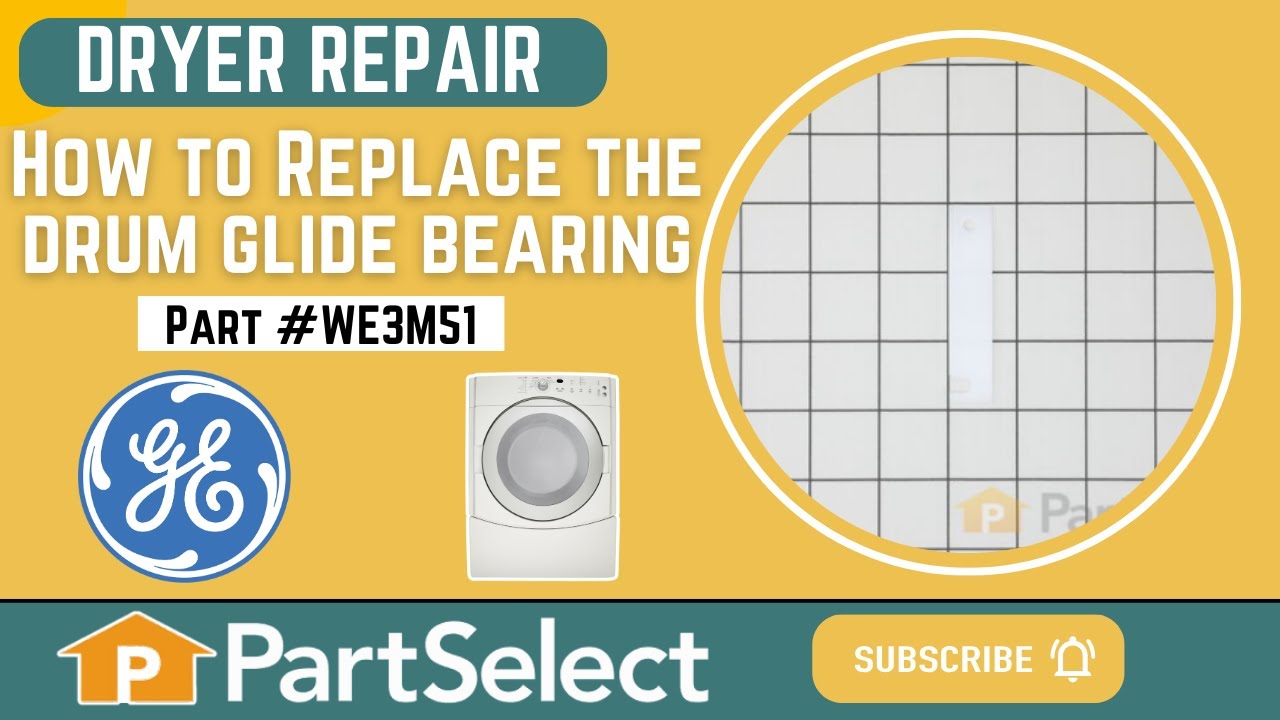
This drum glide bearing is an authentic OEM replacement part that is compatible with dryers. It is white in color and made of highly durable plastic. The bearing allows the drum to rotate smoothly and...
This OEM replacement dryer slide bearing is white in color, and approximately 3 inches long. The slide bearings are supportive linings for your dryer. If they have eroded, or are damaged, the drums wi...
Restore reliable operation to your GE dryer with this genuine OEM push-to-start switch, designed specifically for use with a range of GE dryer models. This switch activates the dryer when you press an...
This rear drum bearing sleeve is a critical support component located at the back of the dryer drum, designed to reduce friction and ensure smooth rotation during operation. As the drum spins, the sle...
This is the door switch for your dryer. Door switches are used to communicate with the control board when the door is fully closed, so the drying cycle can safely begin, and if it is opened so it can ...
This dryer timer is an authentic OEM replacement part for dryers. It is responsible for controlling the duration of the drying cycles to ensure that clothes are dried efficiently. Over time the timer ...
This authentic OEM rear bearing O-ring is designed for use with GE dryers. It helps secure the drum rear bearing onto the drum shaft, playing a key role in maintaining smooth and quiet dryer operation...
$17.28
In Stock
Order now and your part arrives by Jun 4
Questions And Answers for GTD42GASJ2WW
Ask our experts a question about this model and we'll get back to you as soon as possible!
22 questions answered by our experts.
Sort by:
< Prev
1
2
3
Next >
Search filter:
Clear Filter
Your search term must have 3 or more characters.
Keep searches simple. Use keywords, e.g. "leaking", "pump", "broken" or "fit".
Sorry, we couldn't find any existing answers that matched.Try using some different or simpler keywords, or submit your new question by using the "Ask a Question" button above!
Dennis
November 30, 2019
Dryer will not get hot, everything else works.
For model number GTD42GASJ2WW
Hi Dennis, I recommend checking the igniter, heat detector and thermostats. Thank you for your question and good luck with your repair!
Hi. I recently changed the igniter and timer, still no heat. With my multimeter, i checked the continuity on all fuses, wiring, heat sensor etc. Still no heat. Btw, it’s only 3yrs old and it tumbles but again no heat. Any ideas/suggestions? Thanks for your help!
For model number GTD42GASJ2WW
Hi Luan,
Thank you for your question. If you have replaced these parts and the dryer is still not heating, there are some parts that you will need to check to see which one is causing the issue. You will need to check the thermostats and the burner assembly. We hope this helps. Thank you and have a great day.
2 people found this helpful.
Did this question help you?
Thank you for voting!
JOHNNIE
January 11, 2022
Dryer was purchased in 5/2020 and dryer will not heat up. Changed the igniter with new one and now dryer will not start at all.
For model number GTD42GASJ2WW
Hello Johnnie, Thank you for your inquiry. We have researched the model you have provided and we would recommend checking the following parts to fix your issue: the heat sensor, the high limit thermostat, the fuse, the door switch, and the safety thermostat. You can test the parts with a multimeter. Good luck with your repair.
When I hit the start button it goes on & immediately stops. The dryer gets hot but it does not tumble.
For model number GTD42GASJ2WW
Hello Deborah, thank you for contacting us. Based on our research, the issue is most probably with the drive belt. We would suggest replacing the drive belt, part number PS16542496, to solve the problem. It attaches to the motor pulley and spins the drum as the motor rotates. We hope that helps!
Dryer will not work. When you close the door, it will start and stop in the middle of drying. Open the door and the light will come on. When you close and hold the door it will start. Now it’s not working at all, but the light will come on when opened. What could be the problem?
For model number GTD42GASJ2WW
Hello Summer, thank you for the question. Based on our understanding of the issue, we would suggest you replace the door switch, part number PS12722948, to resolve the issue. We hope this information helps!
Removed the front Dryer panel. Left drum in place and lifted it up slightly to get access to motor drive. Slipped belt in place and put panel back on. This was a first attempt ever at fixing an appliance and it was no big deal.
I had to take most of the dryer apart because there is no rear access to the motor. It turned out to be easy to dissasembel the dryer. The only problem that I had was that I could not figure out how to route the belt around the motor and the idol pullies. I could not find anywhere that gave instructions on how to properly tension the belt
... Read more. I finally figured out that the idoler pulley needs to be locked in place on the right side of the engie mount. Then the belt needs to be routed over idoler pulley and under the motor pulley. Finally release the idoler pully from the locked postion to put tension on the belt. It really turned out to be pretty easy.
This part arrived at our house two days after I ordered it. I was stunned by how quickly it arrived.
Our dryer was making a very annoying squeaking/rubbing noise while drying and it became worse as the outside temps dropped (it's winter)...colder air cooling the exhaust line, causing metal in dryer to contract more.
... Read more>I called an appliance repair service and they said, "Honestly, your money is going to be better spent to just buy a new dryer. The bearings on these are a pain to replace."
Yeah, right.
I've never taken apart a dryer, but it took me less than 45 minutes to complete this repair and our dryer is back to normal. Total cost was $18, including shipping. A $300 savings versus buying a new dryer.
There is another description of the process for this part so I won't repeat it all.
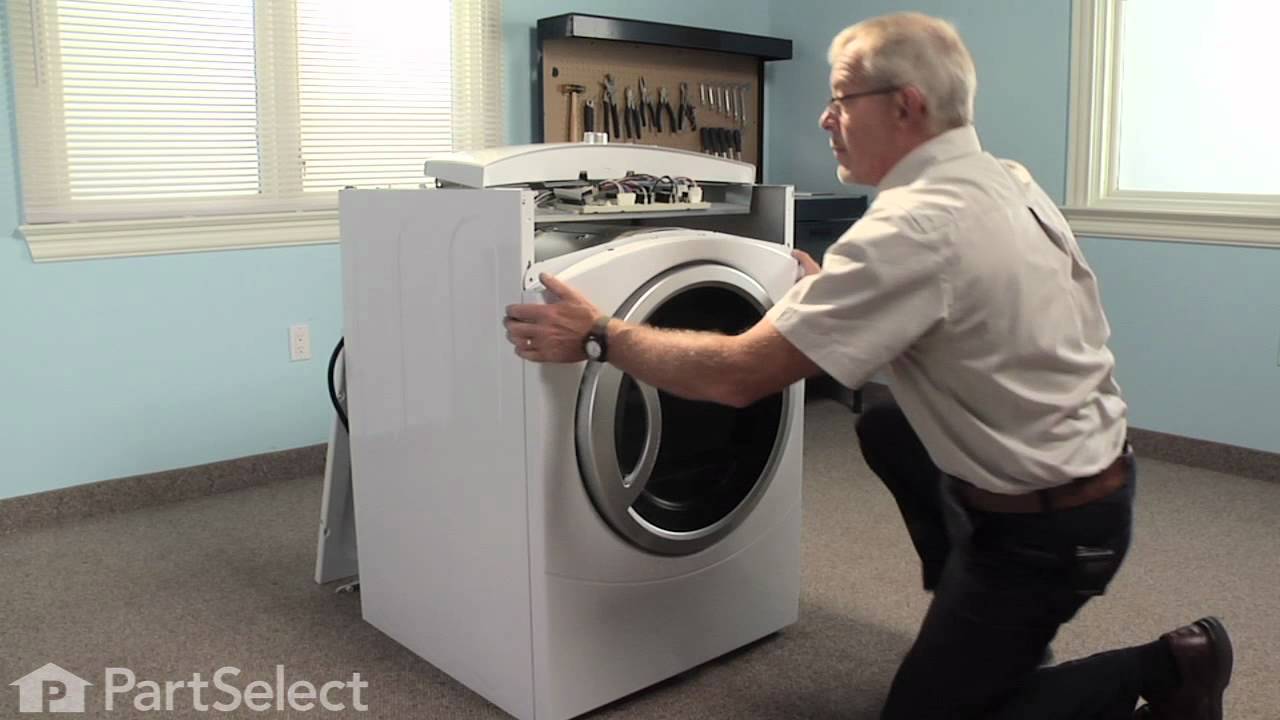
I did it a little differently than most, namely I did not remove the dryer drum. I simply pulled it out about six inches (make sure and slide belt back as you inch out the drum). But first, unplug the dryer, then remove the top, then the front.
A Philips screwdriver will quickly remove the top of the dryer (two screws on inside front, where door closes) and the front face (two screws at top of front, inside face). Lift the front up about an inch and it is free. I had to disconnect a couple wires, just make sure you mark before you disconnect them.
With that done, the drum will pull straight toward you (out). Make sure and support the weight of the drum as you slide it out. I found no need to remove the drum.
At the rear inside of our drum, there are three Torx screws that hold the bearing assembly on. I have a pretty long reach so I just removed two of the Torx screws, then reached around the back of the drum while removing the third screw, to keep the bearing assembly from falling onto the floor behind the back of the drum.
This plastic bearing is held to the bearing shaft by a little o-ring. Just pull the o-ring off, slide off the old bearing, slide the new bearing on and replace the o-ring (if yours is broken, any home store will have one that will work as a replacement in their faucet repair department).
Reattach the bearing housing to the drum with the Torx screws (get all three started before you tighten any of them), slide the drum back in - make sure you slide the belt as you move the drum back in and support the weight of the drum so you don't bash the bearing assembly into the back of the dryer.
You're doing this part blind, but in a few seconds, you can guide the bearing back into the hole in the back wall of the dryer. It just slides into the hole, nothing fancy.
Put the front of the dryer back on. Then replace the top (I had to remove the five screws on top of the dial panel to give it some flex so the top would pop back into place without stressing the dial panel), plug the dryer back in, and fire it up.
45 minutes after this part arrived at our home, our dryer problems were gone. Now that I've done one, I could probably do it in 20 minutes the next time (it's that simple/easy). And we didn't need a new dryer. Makes me think I should have the appliance guy who told me we needed a new dryer to direct all of these "pain in the fanny" bearing replacements to me because I could charge someone $50 total for the repair and make good money.
Hope all this babble helps someone else who doesn't need a new dryer.