


 My Orders




GT-2200 Echo Trimmer - Overview
Diagrams for GT-2200
See every part. Know exactly what you need.


Enter a part description. DIY Heroes keep it simple, eg. "belt" or "pump".
Search filter:
Clear Filter
Your search term must have 3 or more characters.

$7.73
In Stock
Fuel Filter
Part #A369000480
This OEM Fuel Filter is a silver and white, steel/felt, part measuring about 1.25 inches in length and 3/4 inch wide. It can be installed with pliers and is rated as Easy to install by customers.
This part attaches inside the fuel tank to clean the fuel of debris, and should be replaced during regular maintenance, check your manual for ...Read morerecommended replacement time. If the filter is leaking or it has a blockage preventing fuel flow, then it should be replaced. If the engine sounds like it is not getting enough fuel, then remove the filter and check it for blockage.
Read less

$6.88
In Stock
Purge Bulb
Part #12318140630
The Primer Pump, aka the Pump Bulb, is a clear, individually sold, plastic part, sourced from the original equipment manufacturer. It has an Outer Diameter of 0.616 Inches, 15.66mm and is 0.558 Inches and 14.19mm in height. This part is used to pump fuel from the tank to the carburator and is rated Easy to install.
This part installs on...Read moreto the primer assembly. If the part dries out or starts leaking that means it is broken (likely due to fatigue or general wear) and must be replaced. Check the model number to ensure you are choosing the right part.
Read less

$10.97
In Stock
Leaf Blower Fuel Tank Vent
Part #A356000031
This a a genuine OEM replacement check valve for your small engine. It is also known as a fuel tank vent. You may need to replace this part if you are noticing debris or dirty oil in the reservoir. Make sure the engine is cool before you begin this repair, and remove the wire and boot from the spark plug to prevent the engine from starting up.

$6.40
In Stock
Spark Arrester Screen
Part #14586240630
Also referred to as a Spark Arrester, this Spark Arrester Screen is an authentic OEM replacement part that is not part of a kit or assembly. It is made of metal and sold individually. The purpose of this screen is to prevent flammable debris from entering the engine and becomes worn through regular use. If the screen is clogged, remove th...Read moree screen from the muffler, hold it with pliers, and use a torch to burn off the debris before reinstalling the screen.
This part needs to be replaced when it becomes damaged or worn. When the screen is malfunctioning, you may notice debris exiting through the muffler. To complete this repair, you will need a screwdriver and pliers. This screen is located within the muffler; refer to your owner's manual for the exact location on your model.
Customers rated this repair as Easy.
Read less

No Longer Available
Spark Plug Champion Rcj6Y
Part #15901010630

$8.75
In Stock
Piston Ring
Part #A101000000
This piston ring is an authentic manufacturer approved replacement part. Is is commonly used on Echo gas trimmers/edgers. The purpose of a piston ring is to create an air tight seal inside the cylinder. A worn or broken piston ring will allow combustion gases to escape the seal and enter the crankcase. This would cause low compression and...Read more a loss of power. Replacing an o-ring should resolve this issue. This part is made out of metal and is sold individually. To complete this repair you will need a set of wrenches, pliers and a screwdriver. • Remove the air cleaner • Drain the fuel • Remove the air cleaner case • Remove the carburetor • Remove the intake insulator • Remove the spark plug • Remove the engine cover • Remove the insulator gasket • Remove the starter assembly • Remove the fuel tank • Remove the air duct • Separate the engine • Bind the engine • Remove the clutch • Remove the flywheel • Remove the starter pulley • Unbind the engine • Remove the muffler • Separate the cylinder from the crankcase • Remove the piston ring • Install the piston ring • Reassemble and test the equipment
Read less

$6.06
In Stock
Trimmer Nut
Part #90050000005
This OEM nut is a 5mm, gold, metal nut, which is sold individually. It can be installed with a Wrench or Socket and Torque Wrench by torquing to the manufacturer specifications. This nut is used to secure another part in place, and should be replaced if damaged due to fatigue (such as damaged threads or rounded ends).
This nut can have v...Read morearious uses on various equipment, and as such the difficulty of the installation can vary, but generally this is an easy repair.
Read less

$6.40
In Stock
Screw
Part #90023805016
This is a genuine OEM sourced replacement part designed for use with Echo blowers/trimmers. This is a standard hardware which has multiple applications based on your unit. Please refer to diagrams for proper application. This screw is made out of metal and it is sold individually. To remove or install this screw you would need a screwdriver.

$6.40
In Stock
Trimmer Spark Plug Coil
Part #15901103432
This spark plug wire, also known as a spark plug coil or spark plug cap coil, is compatible with various makes and models of hand-held outdoor power equipment and is sold individually. This wire is installed within the spark plug boot and attaches to the spark plug for the ignition of your equipment. The spark plug wire is often exposed t...Read moreo extreme heat and excessive vibrations, so through normal wear and tear, it will likely break down. If your equipment is having difficulty starting or has general performance issues, the wire may be the reason why. To replace this wire, make sure your equipment is off before removing the wire and boot from the spark plug. Remove the boot from the wire and install the new wire within the boot before re-installing the boot back to the spark plug.
Read less

$6.06
In Stock
Washer 5
Part #90060300005
This OEM metal washer is commonly used on a variety of different small engine/lawn equipment models and is sold individually. This washer is used to help evenly distribute pressure from the securing bolt or screw with the cylinder cover, to reduce any effects of vibration from the engine. If the connection between the securing fastener be...Read morecomes loose, or if you are replacing the fastener itself, it is recommended that you replace this washer as well.
Read less

$6.40
In Stock
Screw 5 X 20
Part #90023805020
This replacement part is an authentic OEM screw designed for use with blowers and string trimmers. This is a standard hardware which has multiple uses based on equipment. Please refer to diagrams for proper application. This screw is made out of metal and it is sold individually. To secure or loosen this screw you would need a phillips head screwdriver.

$19.81
In Stock
Driveshaft
Part #C506000030
This is a genuine manufacturer approved replacement drive shaft that is designed for Echo string trimmers. Flexible drive shaft fits inside the drive shaft housing to spin the cutting head. It is made out of metal and it is sold individually. To complete this repair you would need a screwdriver and pliers. Removing the Drive Shaft: • ...Read moreLoosen the shaft screws. • Remove the air filter. • Remove the throttle cable. • Remove the ignition wires. • Remove the shaft housing. • Remove the drive shaft. Installing the New Drive Shaft: • Lubricate the drive shaft. • Install the new drive shaft. • Re-install the shaft housing. • Re-install the throttle cable and ignition wires. • Re-install the air filter assembly.
Read less
Watch our pros, then fix it yourself.
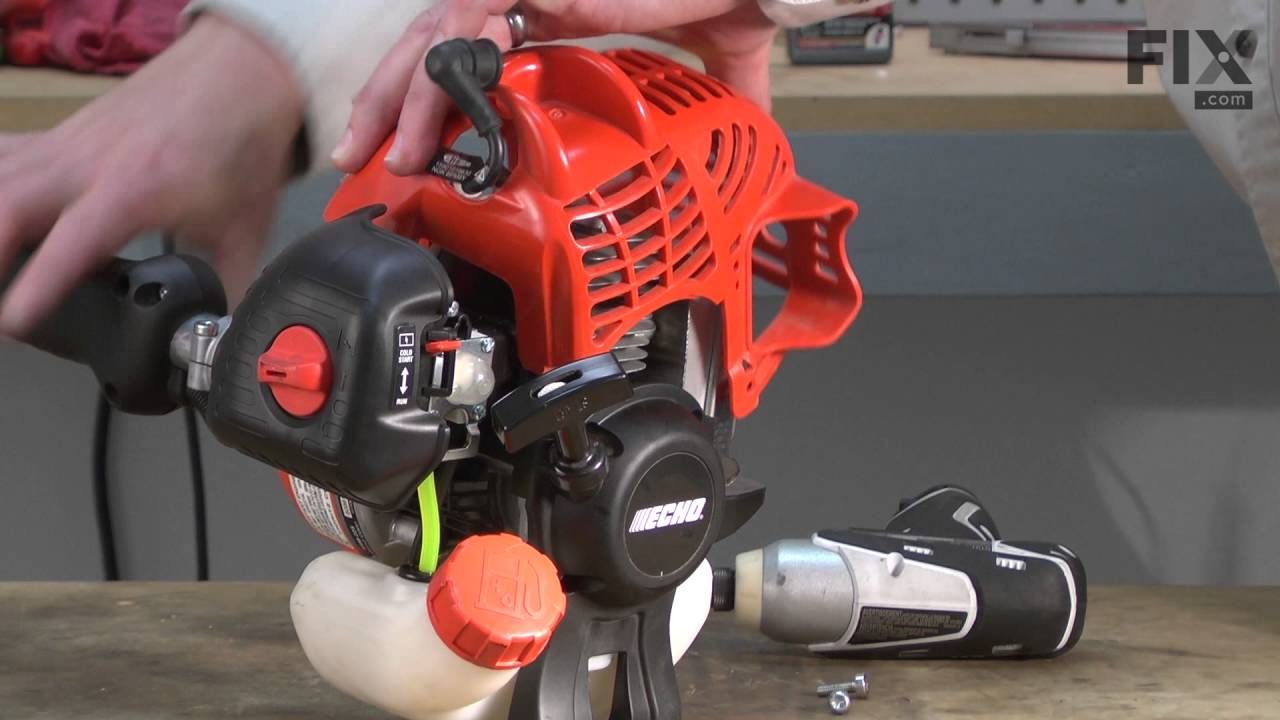
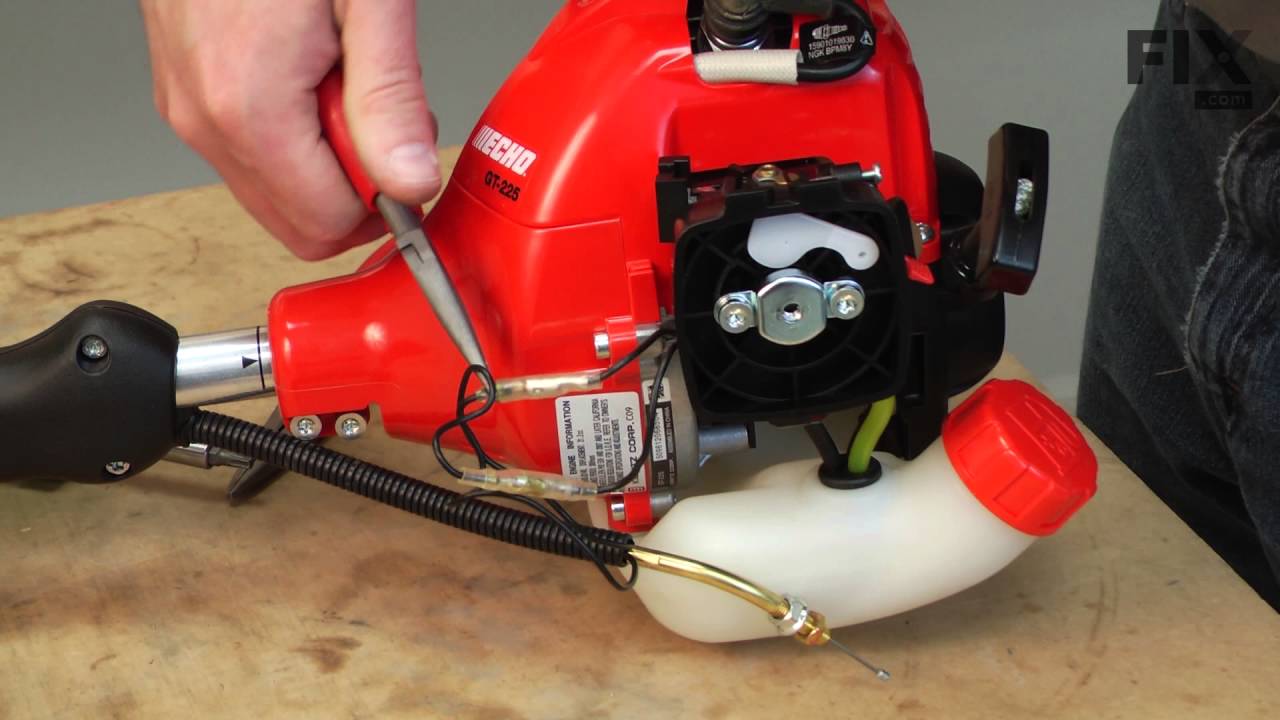
See how others fixed this model. Time, tools, difficulty, and steps that lead to victory!
View More