



 My Orders




GSD9405-45 Hotpoint Dishwasher - Overview

Enter a part description. DIY Heroes keep it simple, eg. "belt" or "pump".
Search filter:
Clear Filter
Your search term must have 3 or more characters.

$49.50
In Stock
Lower Rack Wheel Kit - 8 Pack
Part #WD35X21038
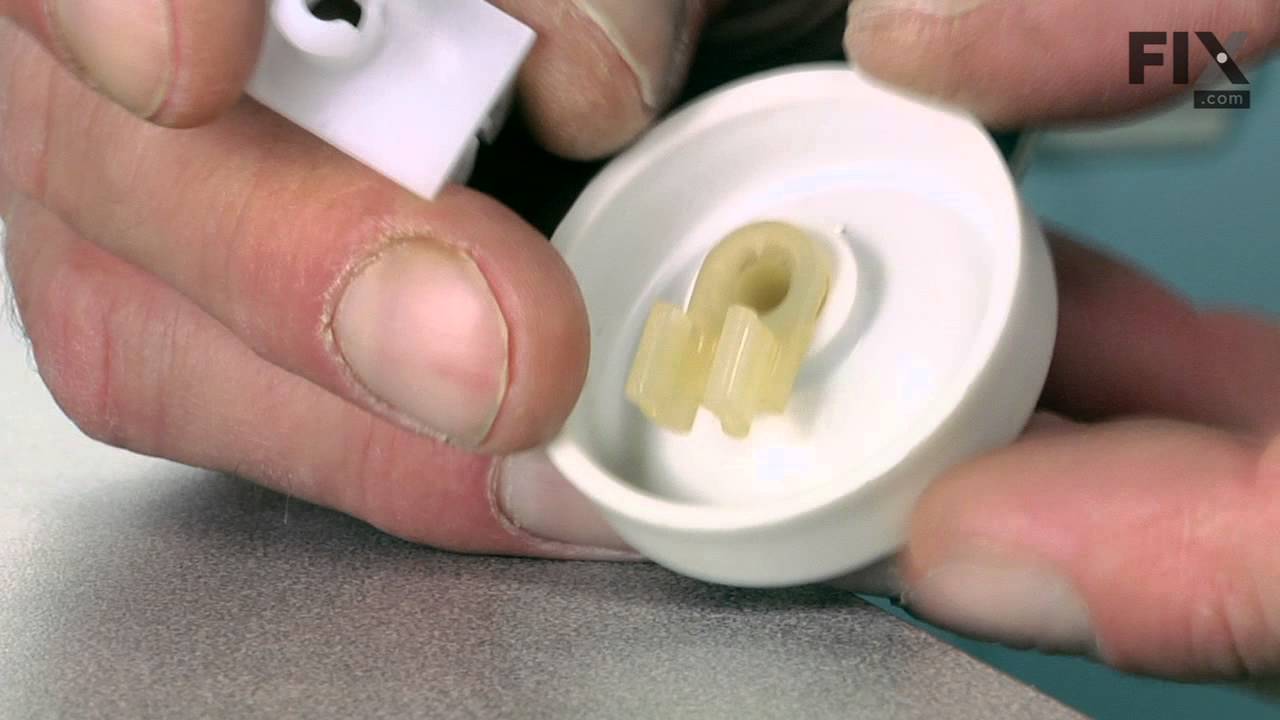
This lower rack wheel kit includes 8 wheels and 8 axles that allow the lower dishwasher rack to slide in and out smoothly. If your dishwasher door will not close, is noisy when operating, or the dishes are not cleaning properly, you might need to replace one or more of the wheels. Each wheel and axle are made of plastic, and fit into one ...Read moreanother so they can be clipped on to the lower dishwasher rack. Many of our customers found this repair to be quick and easy, and the only tool you should need to complete the repair is a pair of pliers.
Read less

$31.58
In Stock
Upper Roller and Axle - Kit of 4
Part #WD12X10327
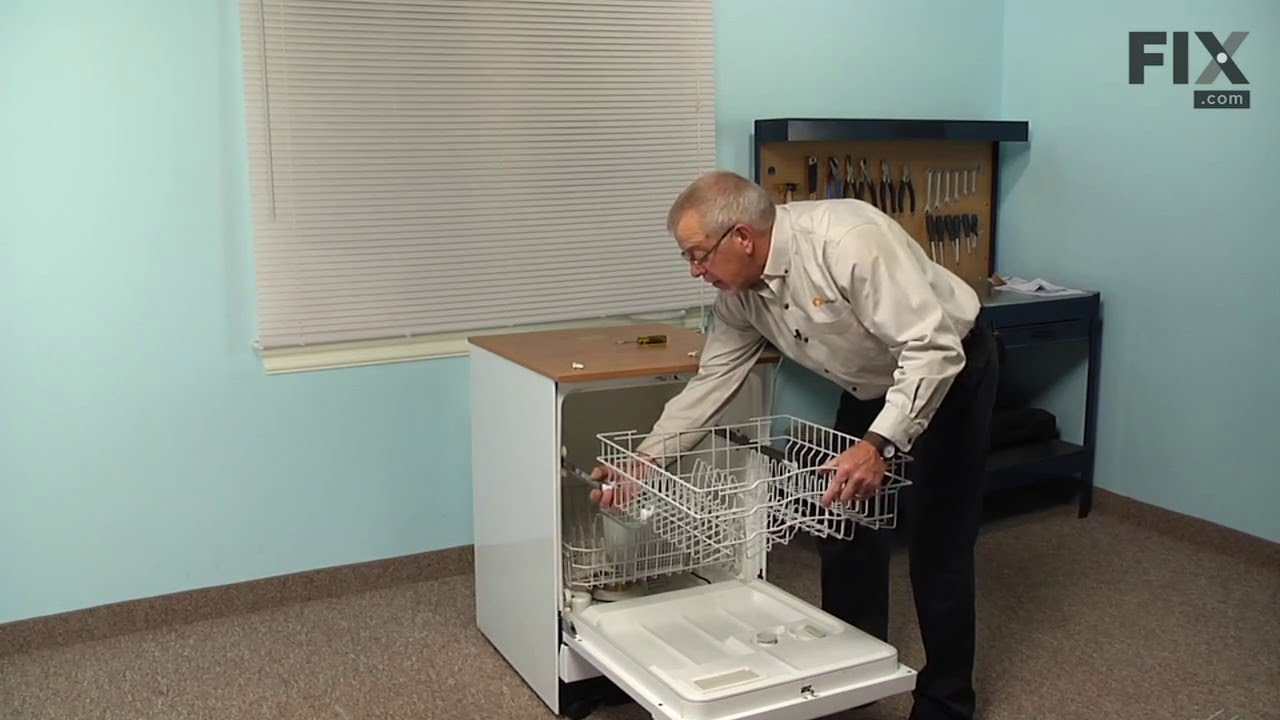
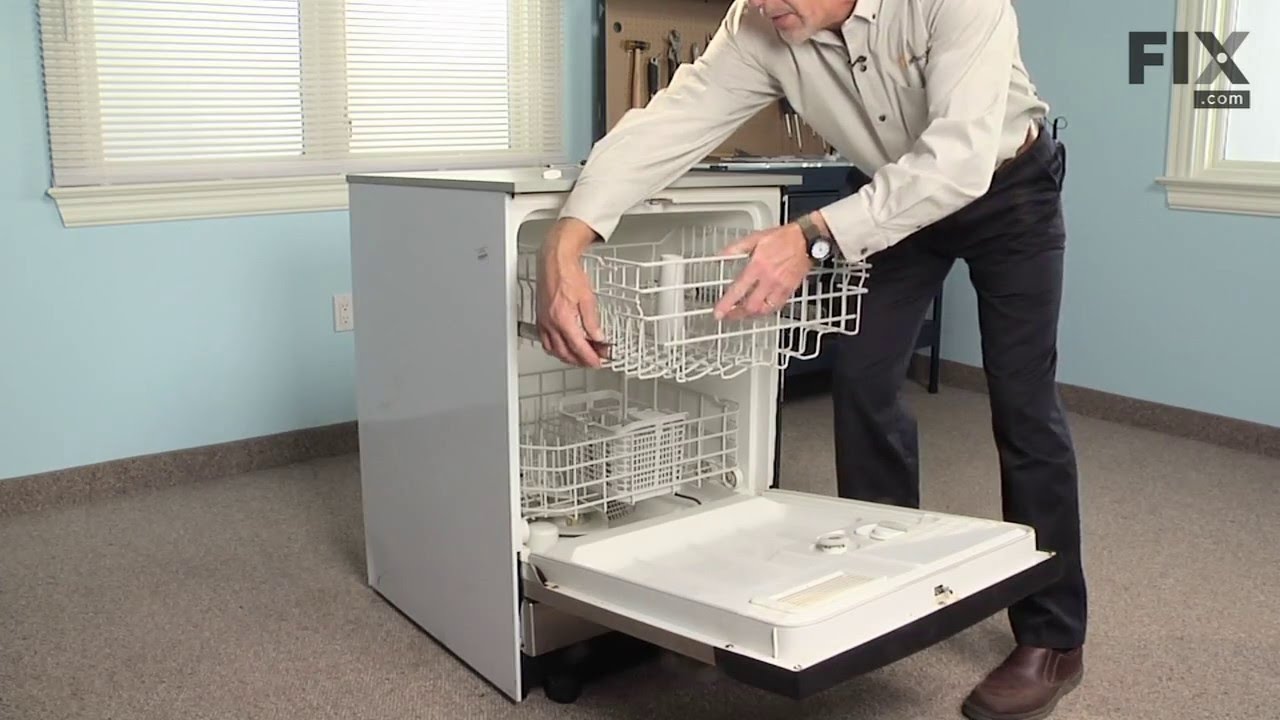
The dishwasher roller assembly attaches to the upper dishrack. It allows the dishrack to slide out easily. If the upper rack keeps falling off the track in dishwasher, the door will not close, the door makes noises, and/or dishes are not cleaning properly, it is best to replace it for more security. A flat-blade screwdriver is the only to...Read moreol needed for this installation. Slide open the upper dishwasher rack and remove the retaining tabs from both ends of the rack and slide it out. Locate the older roll assembly, remove it, and replace the rollers. Remember to put back the tabs on each side before sliding it back in. Make sure the dishwasher is turned off before starting this repair.
Read less

$30.53
In Stock
Lower Front Dishrack Wheel
Part #WD12X271
The lower dishrack wheel on your dishwasher allows the dishrack to roll in and out effectively. If your lower dishrack wheels are damaged, or the rack does not roll in and out, you may need to replace them. This wheel is located on the front lower rack and includes the axle. This part is sold individually. The wheel and the axle are made ...Read moreof white plastic. The lower front dishrack wheel is approximately 1.5 inches in diameter. To complete the repair, simply detach the damaged wheel and axle from the rack, and install the new one by snapping the axle in place.
Read less

$79.80
In Stock
Silverware Basket (Grey)
Part #WD28X265
The silverware basket, used for dishwashers, is in the bottom of the dishrack. The basket is used to hold eating utensils such as spoons, forks, and knives. If the basket is worn out or broken, you should replace it with this part. No tools are required as it is an easy replacement. If you need further guidance refer to the instructions p...Read morerovided by the manufacturer. For safety precautions make sure to unplug the dishwasher and wear gloves.
Read less

$27.36
Special Order
Door Cable and Eyelet
Part #WD7X14
This part is sold individually. It is recommended that both sides are changed when replacing one.

$34.74
In Stock
Rinse Aid Fill Cap
Part #WD12X10284
This part helps keep the rinse aid the dispenser until its needed.

$198.71
In Stock
Motor and Pump Kit
Part #WD26X10013
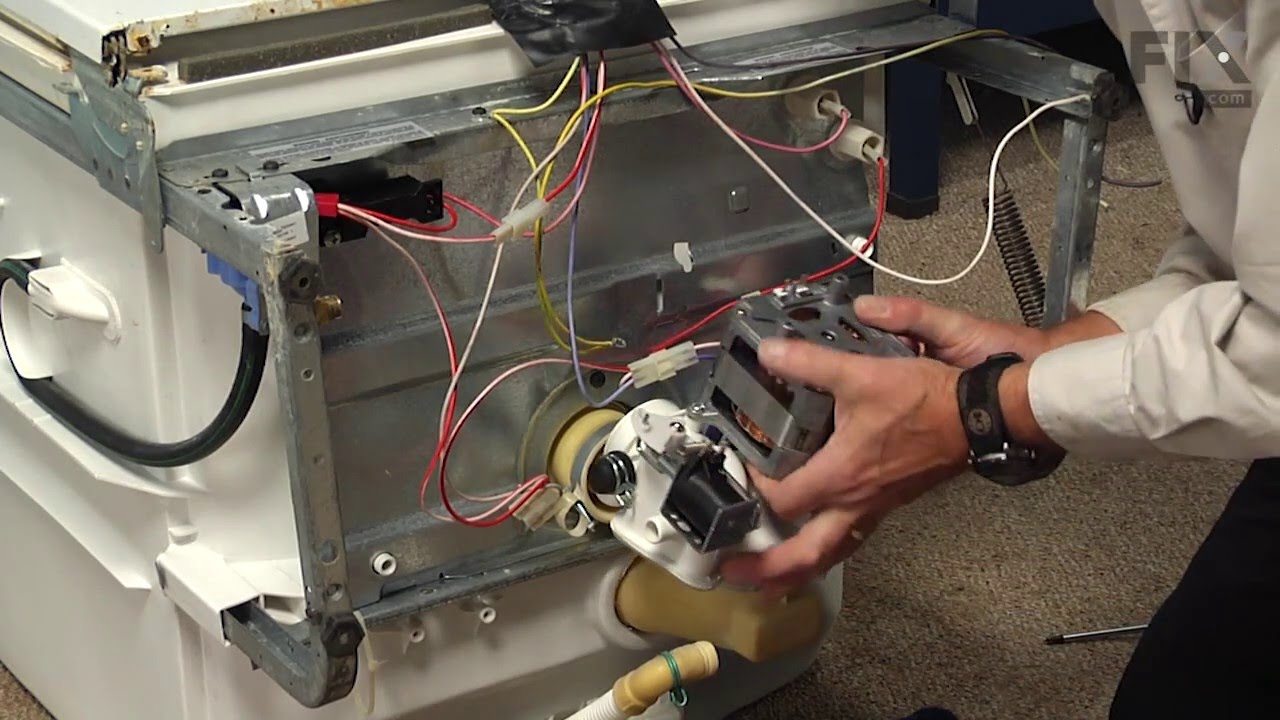
This is a pump and motor kit for your dishwasher. This assembly replaces many old-style pump and motor kits that were manufactured since 1970. The instructions are included with this kit in to assist you. Take note that this is a completely redesigned kit by the manufacturer and now includes the drain solenoid. You may need to replace thi...Read mores part is if your appliance is leaking, not draining properly, noisy, or will not start or clean your dishes properly.
Read less

$138.47
On Order

$52.98
On Order
Dishwasher Water Inlet Valve
Part #WD15X93
This water inlet valve is specially designed for those dishwashers that fit under the counter from 1974 To Present. The valve should be located behind the lower kickplate panel in either the right or left corner. The attaching solenoids on the valve open and close according to the desired amount of water needed.

$28.42
In Stock
Detergent Cup Release Arm
Part #WD16X10011
This is the replacement detergent cup release arm for your dishwasher. It is made of black plastic and is sold individually. The detergent cup release arm is found on the inside of the dishwasher door, and it is the part that releases both the detergent and the rinse-aid. If the rinse-aid and detergent are not being released during the di...Read moreshwasher cycle, or you notice that the release arm is cracked or damaged, then you will need to replace it. A damaged detergent cup release arm can also lead to a door latch failure on your dishwasher, and it may cause the dishwasher not to start. This is an OEM part sourced directly from the manufacturer.
Read less

$15.00
In Stock

$55.29
Special Order
Third Level Spray Arm
Part #WD28X10103
Water is forced through this spray arm by the unit's pump and motor assembly. The force of the water propels the spray arms, spraying water and detergent onto the dishes on the dishrack. This spray arm does not come with the screws.
Common Symptoms of the GSD9405-45
How this model fails, and the parts that fix it.
Not cleaning dishes properly
Fixed by
these parts
these parts


Show All
Leaking
Fixed by
these parts
these parts


Show All
Will not dispense detergent
Fixed by
these parts
these parts


Show All
Will not fill with water
Fixed by
these parts
these parts
Show All
Door latch failure
Fixed by
these parts
these parts

Show All
Door won’t close
Fixed by
these parts
these parts

Show All
Not draining
Fixed by
these parts
these parts
Show All
Noisy
Fixed by
these parts
these parts
Show All
Not drying dishes properly
Fixed by
these parts
these parts

Show All
Will Not Start
Fixed by
these parts
these parts
Show All
Watch our pros, then fix it yourself.
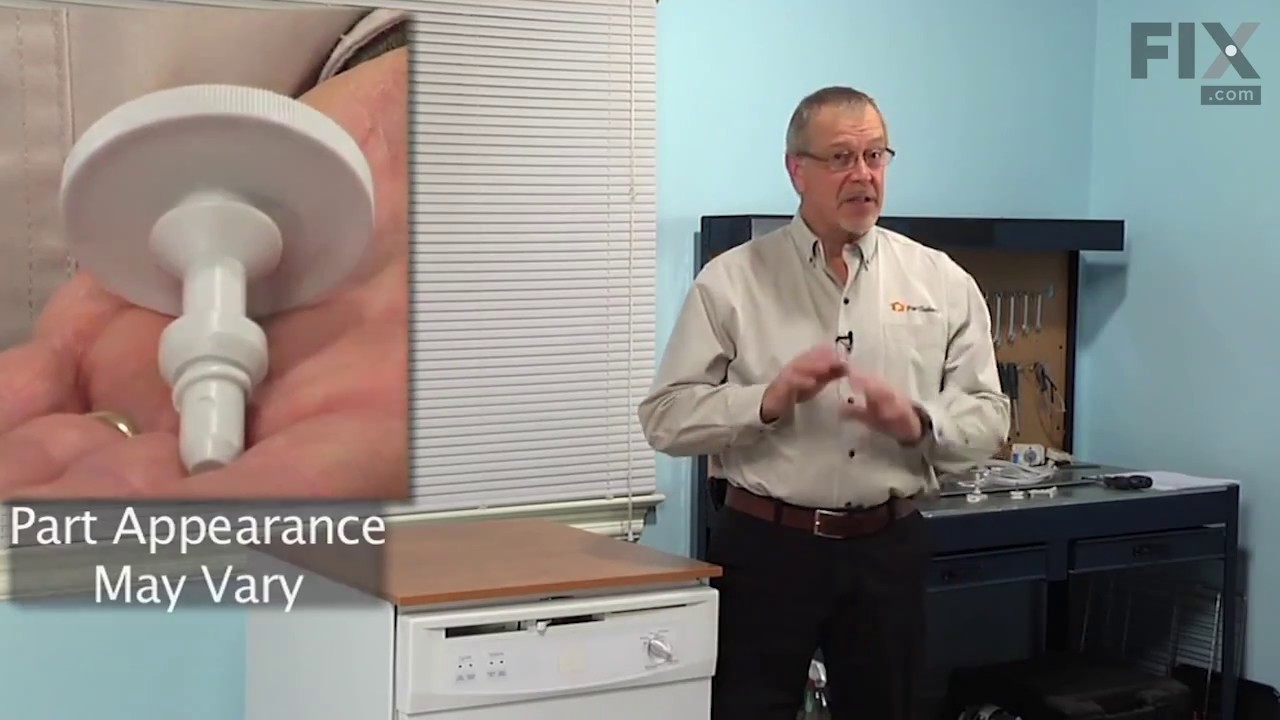
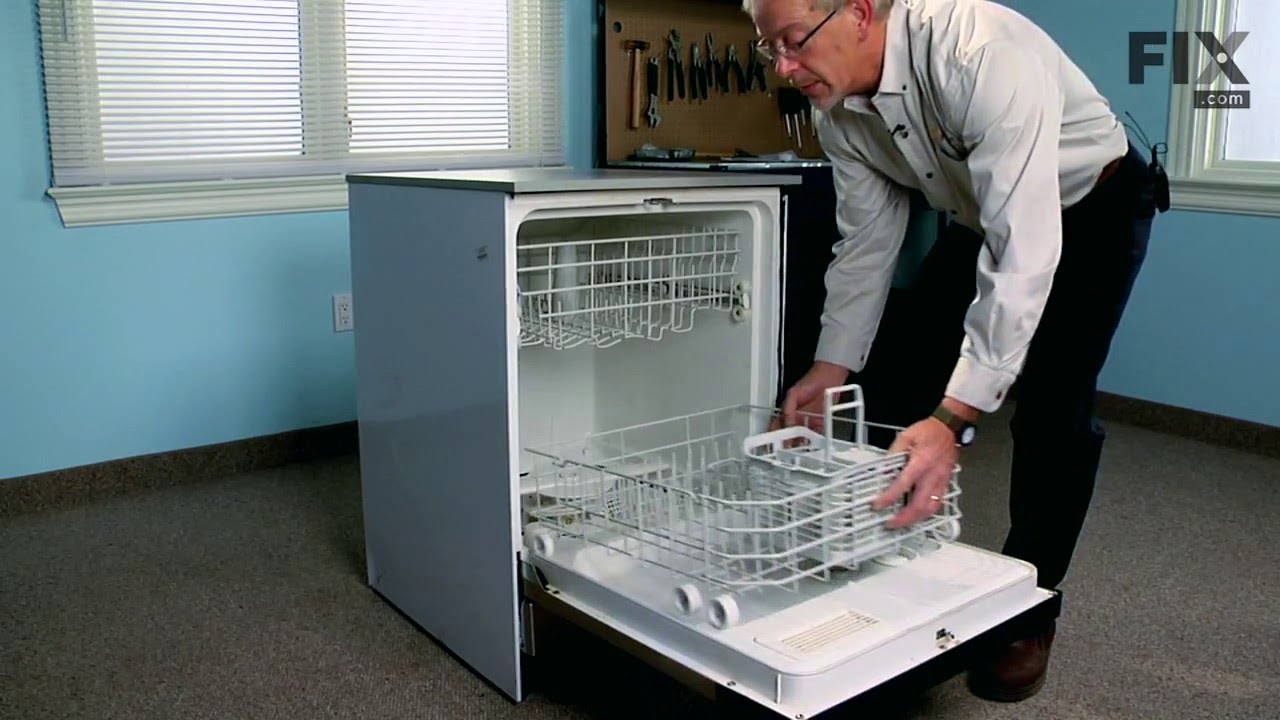
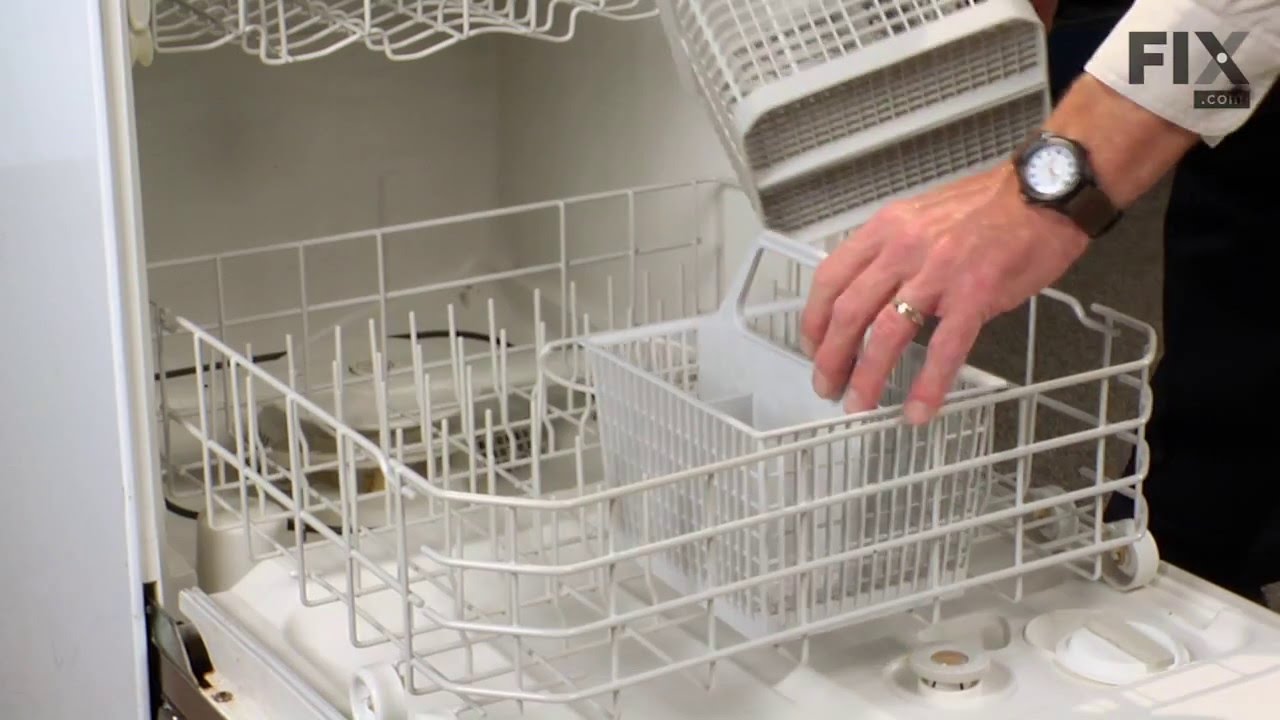
See how others fixed this model. Time, tools, difficulty, and steps that lead to victory!
View More