


 My Orders




GRT18DRHW0 Gibson Refrigerator - Overview
Diagrams for GRT18DRHW0
See every part. Know exactly what you need.


Enter a part description. DIY Heroes keep it simple, eg. "belt" or "pump".
Search filter:
Clear Filter
Your search term must have 3 or more characters.

$10.11
In Stock
Door Shelf End Cap - Left or Right Side
Part #215267701
This end cap can be used for the right or left side of the refrigerator door shelf or the freezer door shelf. It is white in color, made of plastic material and measures about 2 inches high by 3 inches deep. This might need to be replaced if it has broken or worn over time. This repair requires no tools. You will need to open your fridge,...Read more pull upwards on the existing end cap, and pull outwards. There is a locking tab on either end so it does not matter if the top or bottom comes out first. Slide the new end cap onto the rail and it is installed.
Read less

$40.84
In Stock
Defrost Timer - 60Hz 120V
Part #215846602
This Defrost Timer works like a clock by switching on the defrost heater circuit after a predetermined amount of compressor run time. This allows the defrost circuit to clear the evaporator of ice or frost to maintain proper airflow. The defrost timer is located in the control housing which is in the refrigerator section of your appliance...Read more. If this part is not working, it can lead to temperature increases in your refrigerator. If the compressor circuit fails, no cooling will take place; if the defrost circuit isn't activated, ice will quickly build up on the evaporator coils and reduce airflow and efficiency. If the timer doesn't advance or if the contacts have no continuity, the timer will need to be replaced. This timer measures approximately 3 inches long and 2.5 inches wide, and is constructed of plastic and metal. It comes in black/white/silver and is sold individually. This replacement part features 1 defrost timer.
Read less

$12.05
In Stock
Door Shelf End Cap - Left or Right Side
Part #215473602
The door shelf end cap, or door bin support, secures the rack in a refrigerator or freezer door. Note that this fits on either the left or right hand side. If the end caps of your refrigerator or freezer are broken or cracked, or if your food retainer bar is not staying in place, then replacing the door support can solve this problem. No ...Read moretools are needed for this repair project. To repair, first remove the end cap by pushing upward or downwards to slide it out the end of the rail. Next, replace with new end cap and line it up to clip it back onto the rail. It comes in white and measures about two inches high. Remember to wear gloves for safety.
Read less

$27.45
In Stock
Light Bulb
Part #316538904
This OEM 40 watt appliance light bulb is used for some ranges, refrigerators, freezers, and microwaves. Simply locate the existing bulb, unscrew it from its socket, and replace with new light bulb. If the existing bulb is broken in the socket, disconnect the power to the refrigerator and use a pair of needle nose pliers to grip the intern...Read moreal fragments of the bulb to unscrew. Replace with the new bulb and reconnect the power to the refrigerator. These bulbs are sold individually and are a commonly replaced part; consider ordering a spare.
Read less

$57.15
In Stock
Door Shelf Retainer Bar - Cut to Fit
Part #215366002
This white door shelf bar is approximately 31 inches long and provides storage space on your refrigerator door. If it becomes loose, cracked, or detached, it needs to be replaced. A damaged shelf bar can lead to sagging and insufficient support for your groceries. To remove the old shelf bar, release the retaining clips or brackets and sl...Read moreide it out carefully. You can cut this retainer bar to fit your fridge model. When purchasing this OEM replacement part, check how many your fridge needs as this shelf bar is sold individually.
Read less

$56.05
In Stock
Run Capacitor
Part #5304464438
The run capacitor helps the compressor kick on and off while maintaining a constant temperature in your fridge and freezer. You may need to replace your run capacitor if your refrigerator or freezer section will not start, if they are too warm, or if your refrigerator has become too noisy. Replacing the run capacitor is a relatively easy ...Read moreproject. For this repair you will only need a 1/4 inch nut driver and needle nose pliers. Remember to disconnect the power and water supply line to the unit before you begin this repair. For full step by step instructions, simply click on the video below.
Read less

$41.75
In Stock
Defrost Thermostat
Part #5303917954
This limiter thermostat cuts out when the temperature inside your refrigerator reaches 55 degrees Fahrenheit and kicks back in when the internal temperature drops to 20 degrees Fahrenheit. If you discover temperature issues with your refrigerator or freezer, the defrost thermostat may need to be replaced. You will need tools for this repa...Read moreir, including a 1/4-inch nut driver, a pair of wire strippers, and a heat gun. Be sure to disconnect power to the refrigerator before completing this repair. The defrost thermostat is located behind the back panel of your side-by-side refrigerator/freezer. You will first need to remove the panel and take the defrost thermostat out to complete the repair.
Read less

$106.91
In Stock
Evaporator Fan Motor Kit
Part #5300158289
The evaporator fan motor kit is specifically made for your refrigerator to run the evaporator fan in your refrigerator. It is mounted on the center hub and has three lead wire terminals; its shaft has a diameter of 1/8 inches and is 1-1/4 inches long. The function of the evaporator fan motor is that it supplies air to the evaporator coils...Read more which then circulate cool air throughout your refrigerator, efficiently keeping your fresh food compartment cold. The tools you will need for this installation include a 1/4 inch nut driver, and a pair of wire strippers. Keep your hands protected during this repair by wearing work gloves.
Read less

$53.85
In Stock
Evaporator Fan Blade
Part #5308000010
This evaporator fan blade is a genuine OEM part that is sourced directly from the manufacturer. The evaporator fan blade circulates air through the refrigerator to control the amount of cold air goes that goes to internal compartments of the unit. It may need to be replaced if the fridge is noisy or not cold enough. This part is made of p...Read morelastic and is sold individually. It will be necessary to disconnect power to the refrigerator and empty the freezer compartment of the refrigerator. The tools needed to complete this repair are a 1/4 inch nut driver and a pair of needle nose pliers.
Read less

$54.51
In Stock

$31.47
In Stock
Light Socket
Part #218906802
The light socket on your refrigerator houses the light bulb and connects it to the power source. If you notice that your refrigerator light does not come on when you open the door, you may need to replace the light socket. This light socket is made of white plastic with two metal prongs. The light socket is located inside the refrigerator...Read more. Many of our customers have rated this repair as easy. To complete this repair, simply pop the old socket out with a small flat blade screwdriver and disconnect the wires. Then simply reconnect the wires to the new socket, and snap it in place with the locking tab.
Read less

$14.79
In Stock
Manuals & Care Guides for GRT18DRHW0
Click to downloadCommon Symptoms of the GRT18DRHW0
How this model fails, and the parts that fix it.
Fridge too warm
Fixed by
these parts
these parts


Show All
Freezer section too warm
Fixed by
these parts
these parts
Show All
Freezer not defrosting
Fixed by
these parts
these parts
Show All
Noisy
Fixed by
these parts
these parts


Show All
Will Not Start
Fixed by
these parts
these parts

Show All
Light not working
Fixed by
these parts
these parts


Show All
Fridge and Freezer are too warm
Fixed by
these parts
these parts
Show All
Fridge runs too long
Fixed by
these parts
these parts

Show All
Too warm
Fixed by
these parts
these parts
Show All
Leaking
Fixed by
these parts
these parts

Show All
Fridge too cold
Fixed by
these parts
these parts

Show All
Won’t start
Fixed by
these parts
these parts
Show All
Door Sweating
Fixed by
these parts
these parts

Show All
Freezer too cold
Fixed by
these parts
these parts
Show All
Frost buildup
Fixed by
these parts
these parts
Show All
Door won’t open or close
Fixed by
these parts
these parts

Show All
Doesn’t stop running
Fixed by
these parts
these parts
Show All
Clicking sound
Fixed by
these parts
these parts
Show All
Watch our pros, then fix it yourself.

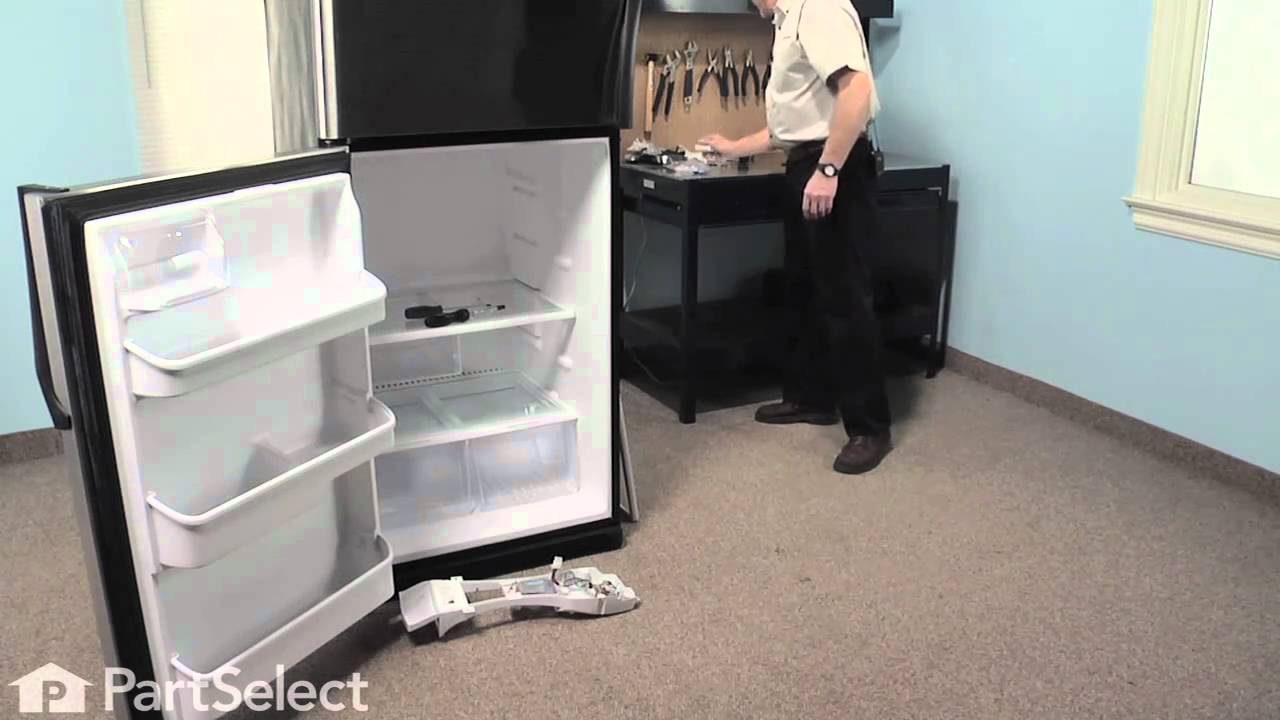
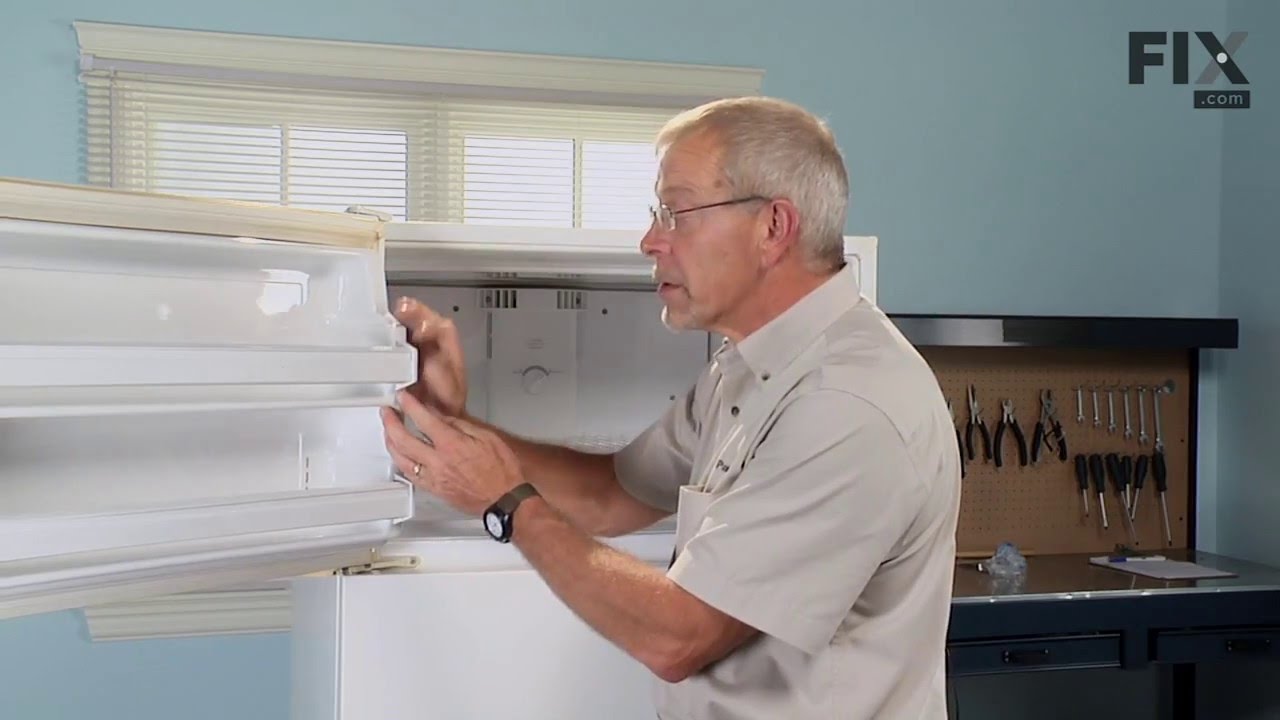
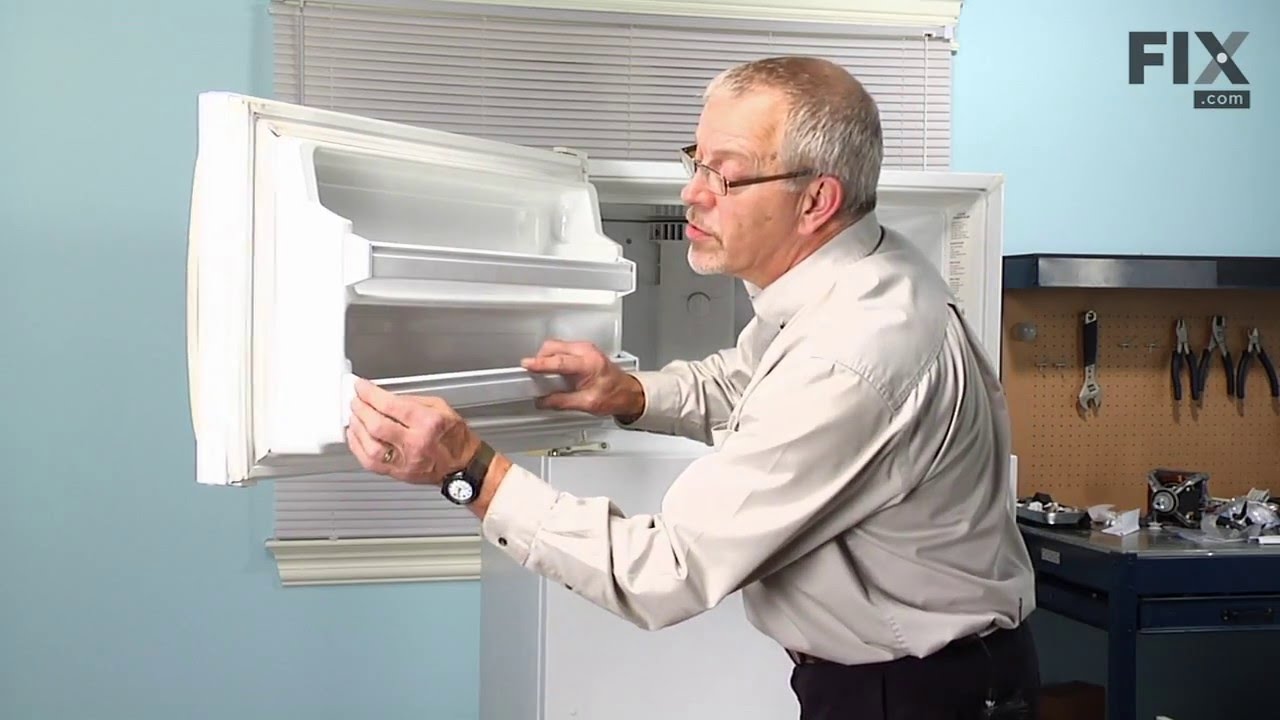
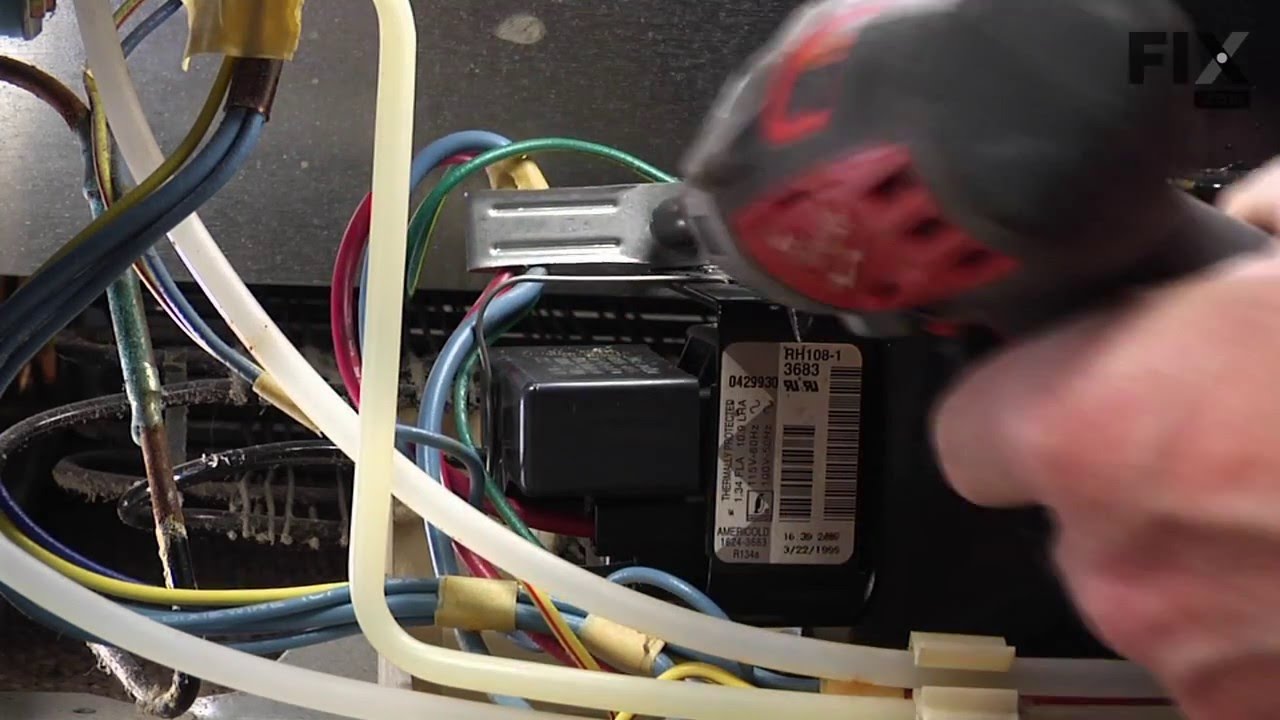

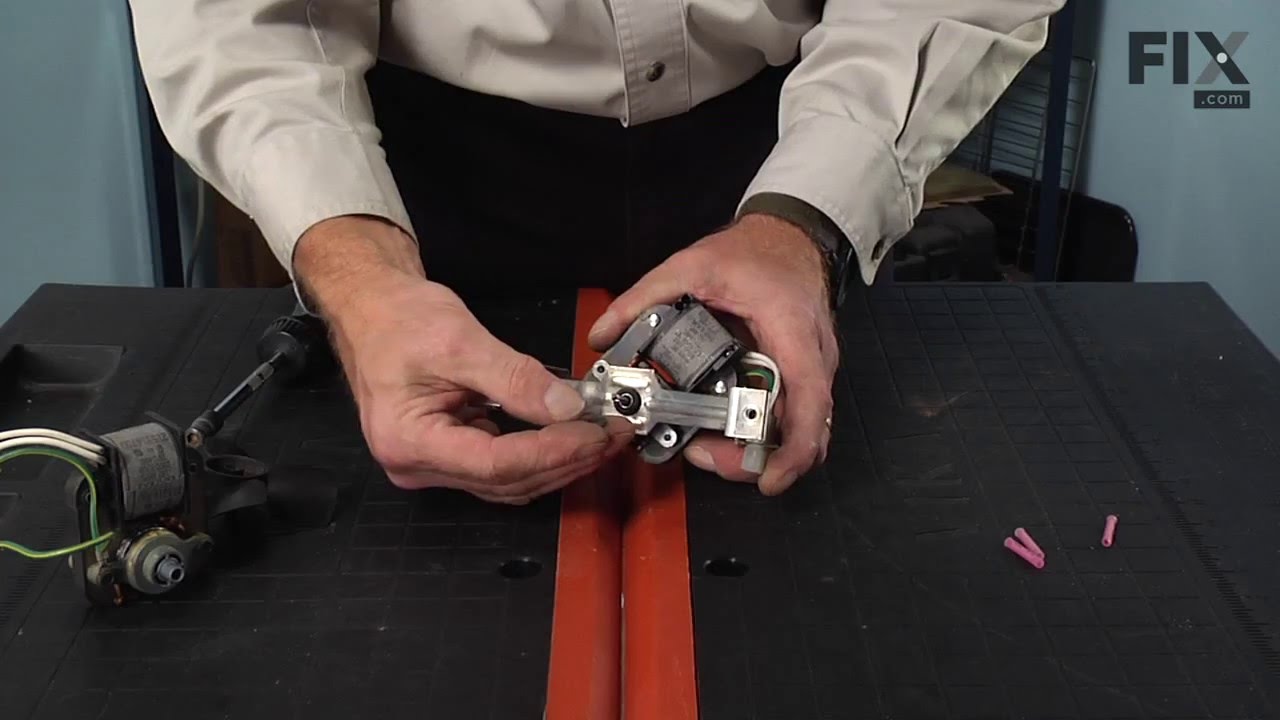
See how others fixed this model. Time, tools, difficulty, and steps that lead to victory!
View More
Search repair tips from other customers using simple keywords like "replace", "fit", "remove", "inspect". DIY doesn't mean you have to do it alone!
Search filter:
Clear Filter
Your search term must have 3 or more characters.
Fridge got warm and freezer coils were frosted
340 of 407 people
found this instruction helpful.
Fridge is a side by side. The freezer is pretty narrow for a guy with wide shoulders.
Pulled plug.
Had to remove bottom drawers then used nut driver to remove screws closest to back wall in drawer runners. Once the back screws were removed the runners could be swung up or down out of way so back cover could be re ... Read more moved.
Once back cover was removed thermostat was located attached to top pipe going into coil using a spring clamp.
Cut the wires just outside the crimp connectors going into thermostat. Released the spring clamp buy squeezing botton together.
Removed old badly corroded thermostat.
I wish I had attached the crimp connectors to the new thermostat wires before mounting it. Reaching way in the back, while turning shoulders verticly and trying to get the wire connectors set from both sides was awkward and uncomfortable...The biggest PIA of the whole task.
Once connected I let the fridge (thermostat) cool for 10 min. Turned the dial defrost timer to get it into defrost mode. Stupidly touched the heating element to see if it was getting warm...it was very hot.
Coils steamed...every looked like it was working. Unplugged, put back cover back on and retattached drawer mounts.
Plugged back in and everying is working great!
Pulled plug.
Had to remove bottom drawers then used nut driver to remove screws closest to back wall in drawer runners. Once the back screws were removed the runners could be swung up or down out of way so back cover could be re ... Read more moved.
Once back cover was removed thermostat was located attached to top pipe going into coil using a spring clamp.
Cut the wires just outside the crimp connectors going into thermostat. Released the spring clamp buy squeezing botton together.
Removed old badly corroded thermostat.
I wish I had attached the crimp connectors to the new thermostat wires before mounting it. Reaching way in the back, while turning shoulders verticly and trying to get the wire connectors set from both sides was awkward and uncomfortable...The biggest PIA of the whole task.
Once connected I let the fridge (thermostat) cool for 10 min. Turned the dial defrost timer to get it into defrost mode. Stupidly touched the heating element to see if it was getting warm...it was very hot.
Coils steamed...every looked like it was working. Unplugged, put back cover back on and retattached drawer mounts.
Plugged back in and everying is working great!
Read less
Other Parts Used:
Was this helpful?
Thank you for voting!
Noisy fan
153 of 180 people
found this instruction helpful.
1. Removed the 7 nuts using the nut driver from the freezer back panel inside the freezer.
2. Remove the back panel. The evaporator motor and fan are located above the coils.
3. Unplug the wiring harness.
4. Remove the two gold mounting screws holding the motor and fan in place.
5. Remove the motor and fan including th ... Read more e brackets.
6. Install the new motor and fan onto the mounting bracket.
6a. Attach the green ground to the mounting bracket.
7. Screw the two gold screws back into the freezer.
8. Attach the new wiring harness. Note, the old harness had a mounting hole/space for it to connect to the wiring harness of the freezer. The new motor's harness was not long enough for this, so it is connected freely to the freezer harness.
9. Use the hair dryer to melt any ice that may have formed on the coils and hole where the fan goes.
10. Turn the freezer on to see if the fan turns on.
11. Reinstall the back panel.
All done!
2. Remove the back panel. The evaporator motor and fan are located above the coils.
3. Unplug the wiring harness.
4. Remove the two gold mounting screws holding the motor and fan in place.
5. Remove the motor and fan including th ... Read more e brackets.
6. Install the new motor and fan onto the mounting bracket.
6a. Attach the green ground to the mounting bracket.
7. Screw the two gold screws back into the freezer.
8. Attach the new wiring harness. Note, the old harness had a mounting hole/space for it to connect to the wiring harness of the freezer. The new motor's harness was not long enough for this, so it is connected freely to the freezer harness.
9. Use the hair dryer to melt any ice that may have formed on the coils and hole where the fan goes.
10. Turn the freezer on to see if the fan turns on.
11. Reinstall the back panel.
All done!
Read less
Other Parts Used:
Was this helpful?
Thank you for voting!