


 My Orders




GRT16CRHW2 Gibson Refrigerator - Overview
Diagrams for GRT16CRHW2
See every part. Know exactly what you need.


Enter a part description. DIY Heroes keep it simple, eg. "belt" or "pump".
Search filter:
Clear Filter
Your search term must have 3 or more characters.

$10.11
In Stock
Door Shelf End Cap - Left or Right Side
Part #215267701
This white door shelf end cap supports the retainer bar inside a refrigerator or freezer door. It fits either the left or right end of the specified shelf rail and helps keep bottles and containers in place when the door moves. Cracks, broken tabs, or a damaged mounting area may let the bar come loose. Inspect the cap, rail, and door atta...Read morechment points before replacement. Secure the new support in its mounting track, then check that the retainer bar is firmly seated before returning items to the shelf. This is an OEM part sourced directly from the manufacturer.
Read less

$40.84
In Stock
Defrost Timer - 60Hz 120V
Part #215846602
This 120 volt, 60 hertz defrost timer switches the refrigerator into a 30 minute defrost cycle after eight hours of compressor run time. The cycle allows the heater to clear frost from the evaporator so air can circulate. A faulty timer may allow frost buildup that restricts airflow and leaves the refrigerator or freezer too warm. It may ...Read morealso fail to return the appliance to cooling. Confirm the timer fault before replacement, since other defrost components can cause similar symptoms. Disconnect power before accessing the control. This is an OEM part sourced directly from the manufacturer.
Read less

$12.05
In Stock
Door Shelf End Cap - Left or Right Side
Part #215473602
This white plastic door shelf end cap holds the retainer bar in place inside the refrigerator door. It fits either the left or right end of the specified shelf rail and is sold individually. Cracks, broken tabs, or damage around the mounting area may allow the bar to loosen, leaving bottles and containers without proper restraint. Inspect...Read more the cap, rail, and door attachment points before replacement. Fit the new cap into the matching position and check that both the support and bar are secure before loading the shelf. This is an OEM part sourced directly from the manufacturer.
Read less

$32.24
In Stock
Defrost Thermostat
Part #297216600
This refrigerator defrost thermostat is a genuine OEM part and is sourced directly from the manufacturer. Located on the back wall of the freezer section in the refrigerator, the defrost thermostat is used to regulate the appliances temperature to keep the refrigerator cold and constant. The part is made of plastic, and has a 4 inch termi...Read morenal on the white lead and a 6 inch terminal on the red lead. A refrigerator defrost thermostat may need to be replaced if the appliance is experiencing temperature related issues such as: too cold, too warm, frost buildup, not running, or running too long.
Read less

$21.95
In Stock
Light Bulb
Part #316538904
This OEM 40 watt appliance light bulb is used for some ranges, refrigerators, freezers, and microwaves. Simply locate the existing bulb, unscrew it from its socket, and replace with new light bulb. If the existing bulb is broken in the socket, disconnect the power to the refrigerator and use a pair of needle nose pliers to grip the intern...Read moreal fragments of the bulb to unscrew. Replace with the new bulb and reconnect the power to the refrigerator. These bulbs are sold individually and are a commonly replaced part; consider ordering a spare.
Read less

$57.15
In Stock
Door Shelf Retainer Bar - Cut to Fit
Part #215366002
This white door shelf retainer bar keeps bottles, jars, and condiments on the shelf when the refrigerator or freezer door moves. It is supplied at approximately 30.75 inches long and 1.75 inches wide and can be cut to the required length. A bent, broken, or loose bar may leave stored items without proper restraint. Inspect the end support...Read mores as well before replacement, since damaged caps can prevent the bar from staying secure. Confirm the finished length and mounting arrangement before trimming and fitting the replacement rail. This is an OEM part sourced directly from the manufacturer.
Read less

$56.05
In Stock
Run Capacitor
Part #5304464438
Steady compressor operation relies on the electrical support provided by this refrigerator run capacitor. It creates a phase shift in the motor circuit to help the compressor run as designed while circulating refrigerant through the cooling system. A failed capacitor may contribute to unusual humming, difficulty starting, or reduced cooli...Read moreng performance. Replacing a faulty capacitor helps restore proper electrical conditions for compressor operation. The component stores electrical energy and can retain a charge after power is disconnected, requiring care during handling and replacement. This is an OEM part sourced directly from the manufacturer.
Read less

No Longer Available
Crisper Drawer Cover Support
Part #5303288973
This is the replacement crisper drawer cover support for your refrigerator. The crisper shelf rests on the support, which keeps it level. If your drawer cover or shelf will not stay level, or will not stay in place, the support may be damaged. The support is held in place on the refrigerator wall with a drive pin. To remove the damaged su...Read morepport, simply drive the pin all the way in, and use a putty knife to pry the support from the refrigerator wall. At this point, pull the drive pin out and replace the old support with the new one. This is an OEM part and is sold individually.
Read less

$106.91
In Stock
Evaporator Fan Motor Kit
Part #5300158289
This evaporator fan motor drives the fan that circulates cold air through the refrigerator and freezer compartments. It uses a center hub mount and rotates clockwise. The shaft measures 1/8 inch in diameter and 1.25 inches long. A motor that stops running or makes unusual squealing noises may reduce airflow and leave compartments too warm...Read more. Check the blade, mounting parts, and surrounding area as well, since other faults can cause similar symptoms. Disconnect power before accessing the fan assembly and follow the kit instructions for mounting and wiring. This is an OEM part sourced directly from the manufacturer.
Read less

$53.85
In Stock
Evaporator Fan Blade
Part #5308000010
This evaporator fan blade moves cooled air through the refrigerator or freezer compartments when driven by the fan motor. A cracked, warped, or loose blade may vibrate, strike nearby parts, or fail to move enough air. Unusual ticking or humming noises and warmer compartment temperatures may be reasons to inspect the fan assembly. Check fo...Read morer ice buildup and motor or mounting problems as well, since these can cause similar symptoms. Disconnect power before accessing the blade and follow the appliance instructions for fitting it securely on the motor shaft. This is an OEM part sourced directly from the manufacturer.
Read less

$54.51
In Stock

$31.47
In Stock
Light Socket
Part #218906802
Interior lighting depends on a secure connection between the bulb and its power supply. This refrigerator light socket holds the bulb in place and provides the electrical contacts needed to illuminate the compartment. Cracked plastic, damaged contacts, or a broken locking tab may leave the bulb loose or prevent reliable lighting. Replacin...Read moreg a damaged socket helps restore bulb support and electrical connection. The socket mounts into the light housing and connects to the appliance wiring through metal terminals. Disconnect power before handling the socket or wiring. This is an OEM part sourced directly from the manufacturer.
Read less
Manuals & Care Guides for GRT16CRHW2
Click to downloadCommon Symptoms of the GRT16CRHW2
How this model fails, and the parts that fix it.
Fridge too warm
Fixed by
these parts
these parts


Show All
Too warm
Fixed by
these parts
these parts
Show All
Freezer section too warm
Fixed by
these parts
these parts
Show All
Noisy
Fixed by
these parts
these parts


Show All
Freezer not defrosting
Fixed by
these parts
these parts
Show All
Will Not Start
Fixed by
these parts
these parts

Show All
Light not working
Fixed by
these parts
these parts


Show All
Frost buildup
Fixed by
these parts
these parts
Show All
Fridge and Freezer are too warm
Fixed by
these parts
these parts
Show All
Doesn’t stop running
Fixed by
these parts
these parts
Show All
Won’t start
Fixed by
these parts
these parts
Show All
Fridge runs too long
Fixed by
these parts
these parts
Show All
Leaking
Fixed by
these parts
these parts


Show All
Fridge too cold
Fixed by
these parts
these parts

Show All
Door Sweating
Fixed by
these parts
these parts

Show All
Freezer too cold
Fixed by
these parts
these parts
Show All
Clicking sound
Fixed by
these parts
these parts
Show All
Too cold
Fixed by
these parts
these parts
Show All
Door won’t open or close
Fixed by
these parts
these parts

Show All
Watch our pros, then fix it yourself.
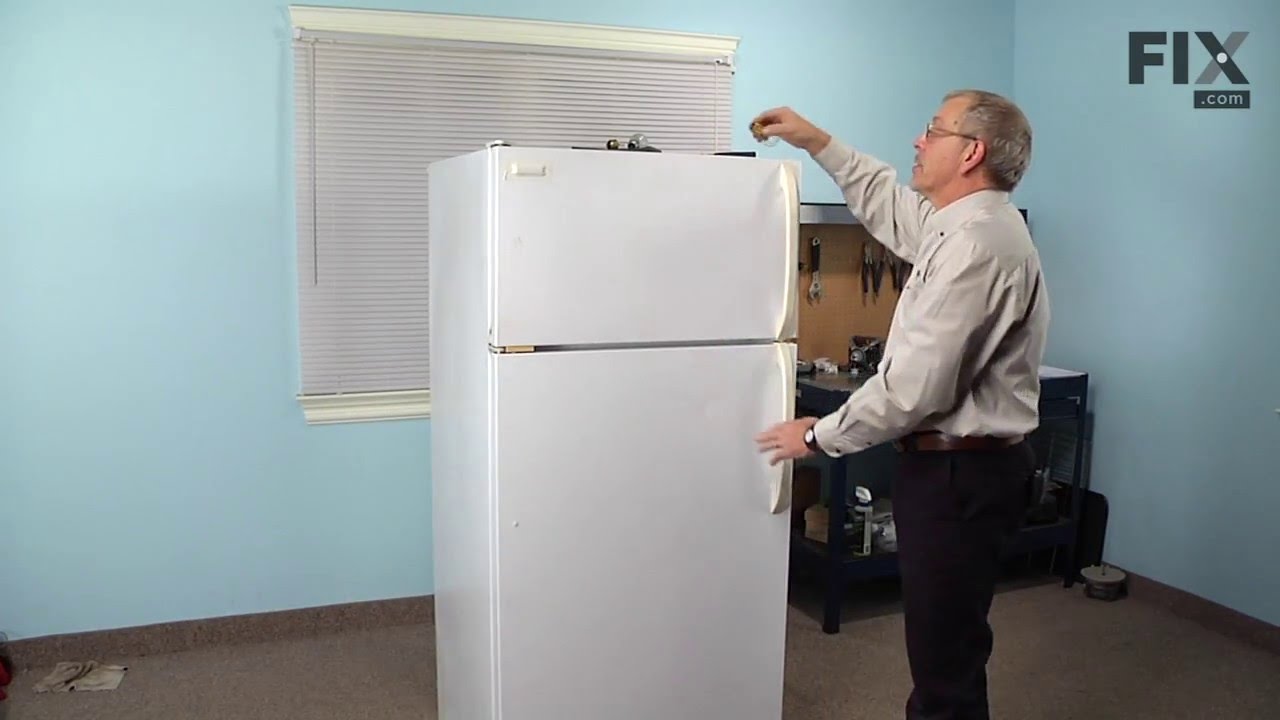
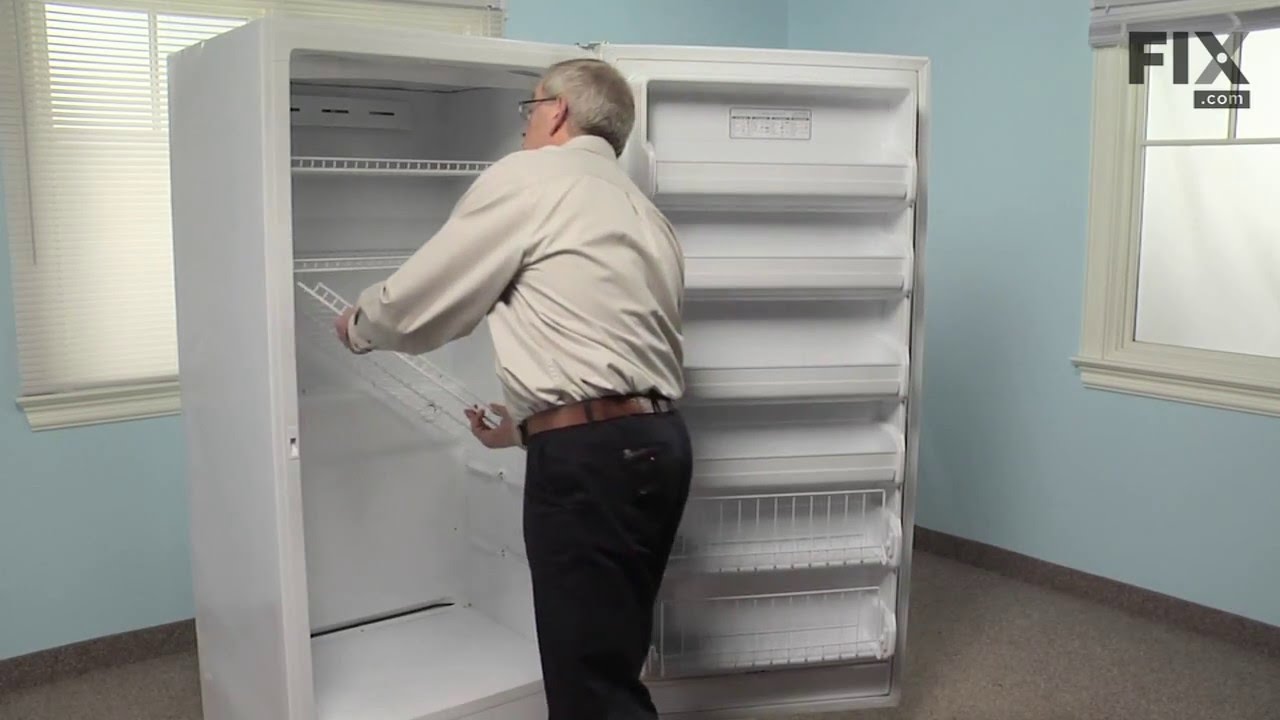
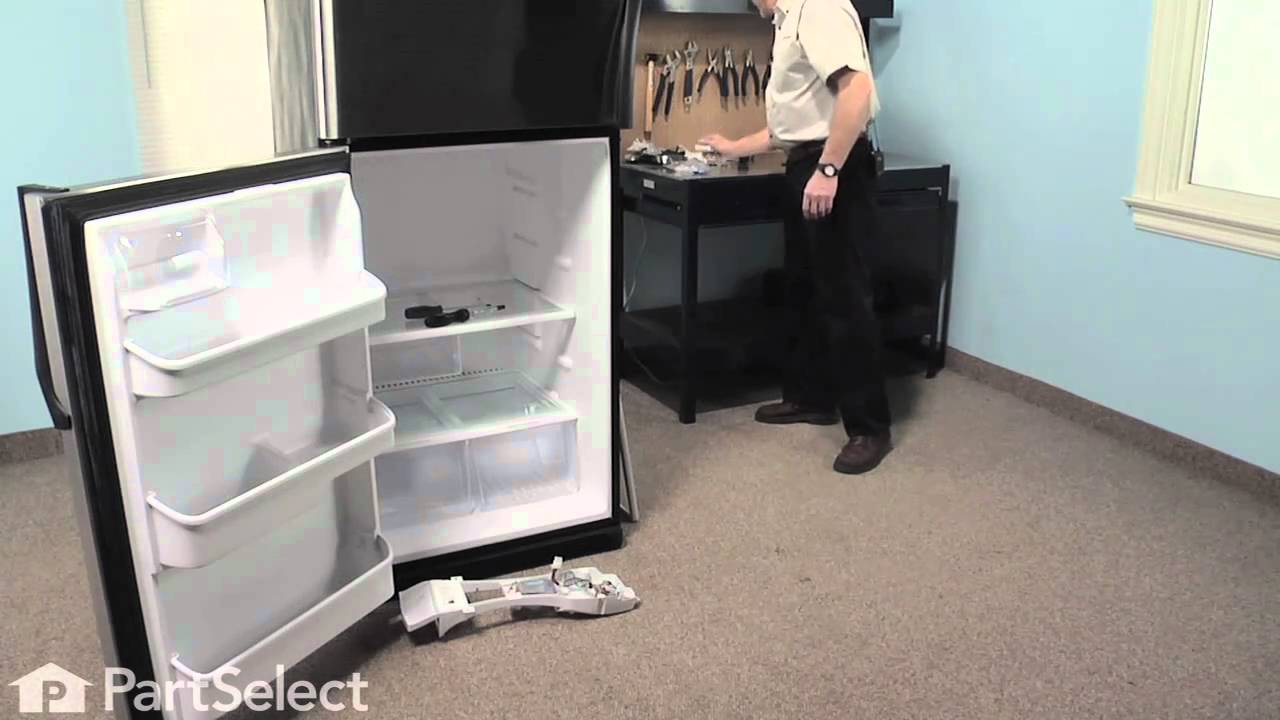
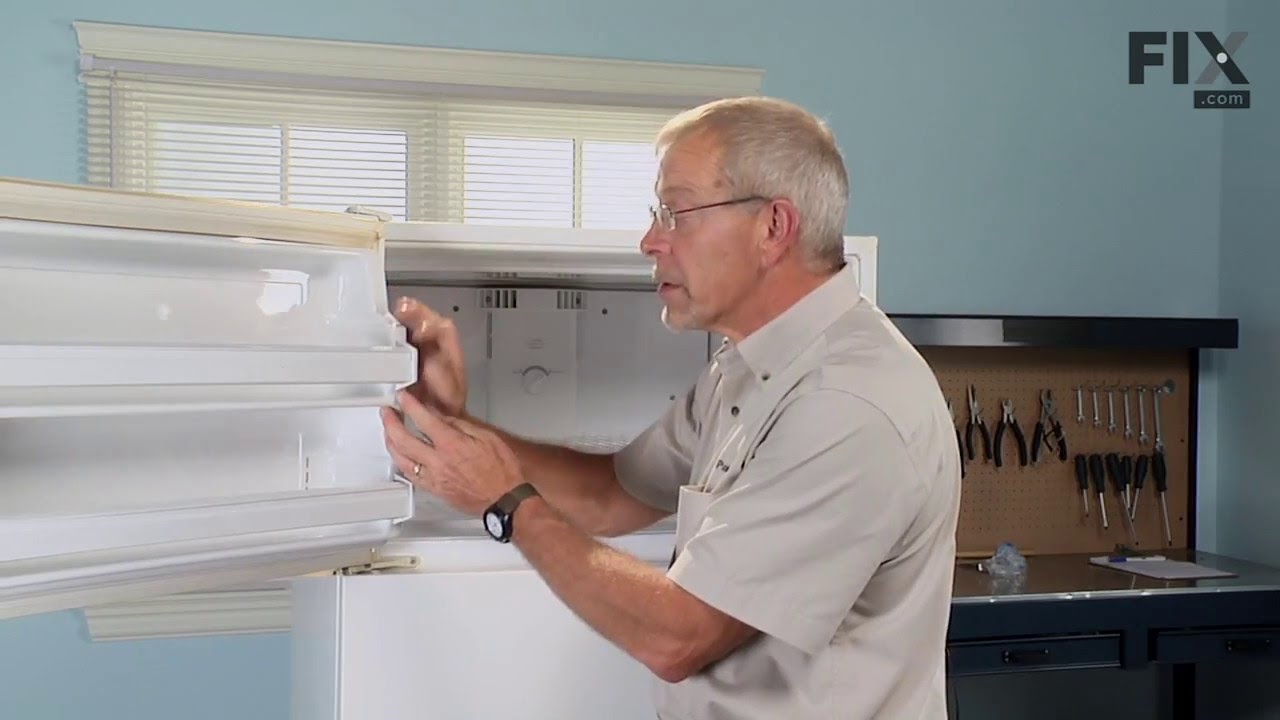
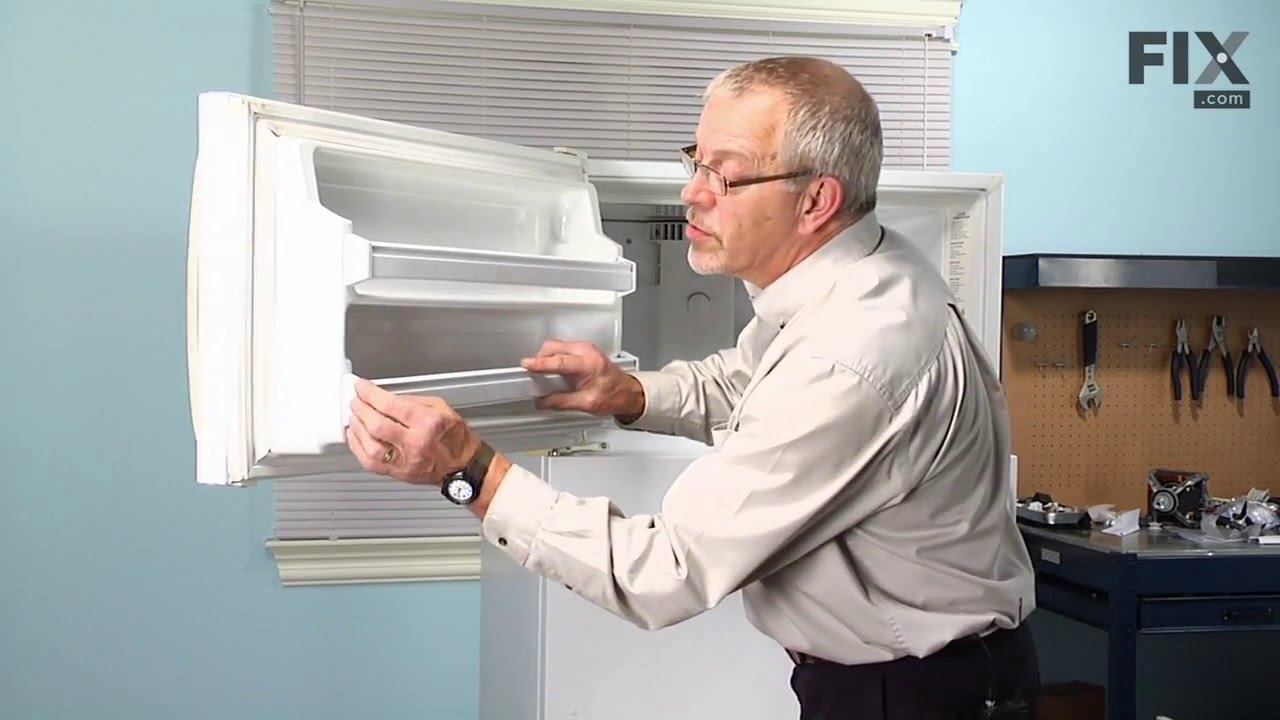
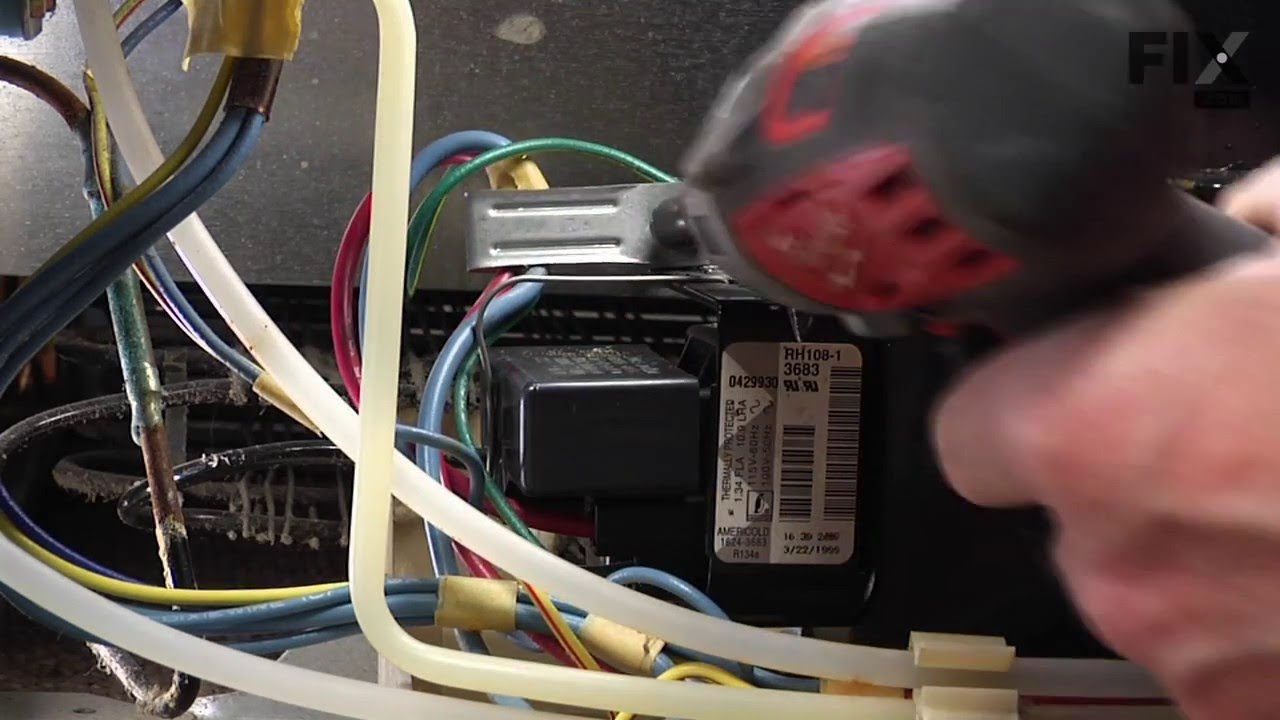
See how others fixed this model. Time, tools, difficulty, and steps that lead to victory!
View More
Search repair tips from other customers using simple keywords like "replace", "fit", "remove", "inspect". DIY doesn't mean you have to do it alone!
Search filter:
Clear Filter
Your search term must have 3 or more characters.
freezer would not defrost
185 of 208 people
found this instruction helpful.
My freezer would freeze up and not allow cold air to refrigerator side. First I took off bottom face plate, located the timer on left side bottom, removed the two screws and unpluged the timer. Replaced the timer with new one. Second I removed all food from freezer. Took of back of freezer wall with nut driver. Located the thermostat whic
... Read more
h was very easy to remove. Just one clip holding thermostat. Unplugged the two wires from the old thermostat and plugged in new wires. Thanks to Partselect.com, the parts were an exact match. Very easy to do. Saved my tons of money. Freezer and refer works like new.
Read less
Other Parts Used:


Was this helpful?
Thank you for voting!
Noisy fan
153 of 180 people
found this instruction helpful.
1. Removed the 7 nuts using the nut driver from the freezer back panel inside the freezer.
2. Remove the back panel. The evaporator motor and fan are located above the coils.
3. Unplug the wiring harness.
4. Remove the two gold mounting screws holding the motor and fan in place.
5. Remove the motor and fan including th ... Read more e brackets.
6. Install the new motor and fan onto the mounting bracket.
6a. Attach the green ground to the mounting bracket.
7. Screw the two gold screws back into the freezer.
8. Attach the new wiring harness. Note, the old harness had a mounting hole/space for it to connect to the wiring harness of the freezer. The new motor's harness was not long enough for this, so it is connected freely to the freezer harness.
9. Use the hair dryer to melt any ice that may have formed on the coils and hole where the fan goes.
10. Turn the freezer on to see if the fan turns on.
11. Reinstall the back panel.
All done!
2. Remove the back panel. The evaporator motor and fan are located above the coils.
3. Unplug the wiring harness.
4. Remove the two gold mounting screws holding the motor and fan in place.
5. Remove the motor and fan including th ... Read more e brackets.
6. Install the new motor and fan onto the mounting bracket.
6a. Attach the green ground to the mounting bracket.
7. Screw the two gold screws back into the freezer.
8. Attach the new wiring harness. Note, the old harness had a mounting hole/space for it to connect to the wiring harness of the freezer. The new motor's harness was not long enough for this, so it is connected freely to the freezer harness.
9. Use the hair dryer to melt any ice that may have formed on the coils and hole where the fan goes.
10. Turn the freezer on to see if the fan turns on.
11. Reinstall the back panel.
All done!
Read less
Other Parts Used:


Was this helpful?
Thank you for voting!
Freezer coil frosting up solid. Refrigerator warming
106 of 118 people
found this instruction helpful.
First - I asked a person familiar in ref/freezer repair for assistance. This was the hardest issue - trying to find someone to offer "free" advise. He stated that when this problem occurs it is usually one of two things: 1) The defrost timer (underneath Refrigerator - Attached w/2 screws and plug-n connector) not functioning or 2) The de
... Read more
frost sensor (clipped-on to the coolant line (2-press-on wires) above the main coolant coil in in rear of freezer section behind panel secured w/5 1/4" hex-head screws) not properly sensing need for defrosting. The Tech. also stated that the defrost/heat coil, which surrounds the large coolant coil in the back of the freezer hardly ever goes bad unless it is the glass/clear type coil which often crack. (Mine was the black filament type element like found in an electric oven). I check the element with an ohm meter - 27 ohms of resistance which indicated it was okay). I replaced both defrost timer & defrost sensor at the same time and that fixed the problem. Parts ordered were an exact match to originals (dispite model number changes/upgrades) and everything went very well. NOTE: It is good to have the part numbers off of each original item and know what they are called before placing your order. All fixed for less than $50.00. A service call alone would be more than this. Took about 2 hours to do, due to having to defost the iced-up freezer coil w/a hair blower. Don't use sharp objects to chip away ice, let the blower do the work - Patience and a couple of towels to absorb water is important here. Hope this helps the other do-it-yourselfers.
Read less
Other Parts Used:
Was this helpful?
Thank you for voting!