


 My Orders




GRS20HRAD0 Gibson Refrigerator - Overview
Diagrams for GRS20HRAD0
See every part. Know exactly what you need.


Enter a part description. DIY Heroes keep it simple, eg. "belt" or "pump".
Search filter:
Clear Filter
Your search term must have 3 or more characters.

$10.11
In Stock
Door Shelf End Cap - Left or Right Side
Part #215267701
This white door shelf end cap supports the retainer bar inside a refrigerator or freezer door. It fits either the left or right end of the specified shelf rail and helps keep bottles and containers in place when the door moves. Cracks, broken tabs, or a damaged mounting area may let the bar come loose. Inspect the cap, rail, and door atta...Read morechment points before replacement. Secure the new support in its mounting track, then check that the retainer bar is firmly seated before returning items to the shelf. This is an OEM part sourced directly from the manufacturer.
Read less

$40.84
In Stock
Defrost Timer - 60Hz 120V
Part #215846602
This 120 volt, 60 hertz defrost timer switches the refrigerator into a 30 minute defrost cycle after eight hours of compressor run time. The cycle allows the heater to clear frost from the evaporator so air can circulate. A faulty timer may allow frost buildup that restricts airflow and leaves the refrigerator or freezer too warm. It may ...Read morealso fail to return the appliance to cooling. Confirm the timer fault before replacement, since other defrost components can cause similar symptoms. Disconnect power before accessing the control. This is an OEM part sourced directly from the manufacturer.
Read less

$12.05
In Stock
Door Shelf End Cap - Left or Right Side
Part #215473602
This white plastic door shelf end cap holds the retainer bar in place inside the refrigerator door. It fits either the left or right end of the specified shelf rail and is sold individually. Cracks, broken tabs, or damage around the mounting area may allow the bar to loosen, leaving bottles and containers without proper restraint. Inspect...Read more the cap, rail, and door attachment points before replacement. Fit the new cap into the matching position and check that both the support and bar are secure before loading the shelf. This is an OEM part sourced directly from the manufacturer.
Read less

$21.95
In Stock
Light Bulb
Part #316538904
This OEM 40 watt appliance light bulb is used for some ranges, refrigerators, freezers, and microwaves. Simply locate the existing bulb, unscrew it from its socket, and replace with new light bulb. If the existing bulb is broken in the socket, disconnect the power to the refrigerator and use a pair of needle nose pliers to grip the intern...Read moreal fragments of the bulb to unscrew. Replace with the new bulb and reconnect the power to the refrigerator. These bulbs are sold individually and are a commonly replaced part; consider ordering a spare.
Read less

$57.15
In Stock
Door Shelf Retainer Bar - Cut to Fit
Part #215366002
This white door shelf retainer bar keeps bottles, jars, and condiments on the shelf when the refrigerator or freezer door moves. It is supplied at approximately 30.75 inches long and 1.75 inches wide and can be cut to the required length. A bent, broken, or loose bar may leave stored items without proper restraint. Inspect the end support...Read mores as well before replacement, since damaged caps can prevent the bar from staying secure. Confirm the finished length and mounting arrangement before trimming and fitting the replacement rail. This is an OEM part sourced directly from the manufacturer.
Read less

$56.05
In Stock
Run Capacitor
Part #5304464438
Steady compressor operation relies on the electrical support provided by this refrigerator run capacitor. It creates a phase shift in the motor circuit to help the compressor run as designed while circulating refrigerant through the cooling system. A failed capacitor may contribute to unusual humming, difficulty starting, or reduced cooli...Read moreng performance. Replacing a faulty capacitor helps restore proper electrical conditions for compressor operation. The component stores electrical energy and can retain a charge after power is disconnected, requiring care during handling and replacement. This is an OEM part sourced directly from the manufacturer.
Read less

$41.75
In Stock
Defrost Thermostat
Part #5303917954
Clipped to the evaporator tubing, this refrigerator defrost thermostat helps limit heater operation during the automatic defrost cycle. It allows the heater circuit to operate when the coils are cold and opens the circuit once they reach the cutoff temperature, helping prevent overheating. A faulty thermostat may interrupt defrost heating...Read more, allowing frost to accumulate and block airflow. This can contribute to warmer food compartments or longer running times. This is an OEM part sourced directly from the manufacturer.
Read less

No Longer Available
Crisper Drawer Cover Support
Part #5303288973
This is the replacement crisper drawer cover support for your refrigerator. The crisper shelf rests on the support, which keeps it level. If your drawer cover or shelf will not stay level, or will not stay in place, the support may be damaged. The support is held in place on the refrigerator wall with a drive pin. To remove the damaged su...Read morepport, simply drive the pin all the way in, and use a putty knife to pry the support from the refrigerator wall. At this point, pull the drive pin out and replace the old support with the new one. This is an OEM part and is sold individually.
Read less

$53.85
In Stock
Evaporator Fan Blade
Part #5308000010
This evaporator fan blade moves cooled air through the refrigerator or freezer compartments when driven by the fan motor. A cracked, warped, or loose blade may vibrate, strike nearby parts, or fail to move enough air. Unusual ticking or humming noises and warmer compartment temperatures may be reasons to inspect the fan assembly. Check fo...Read morer ice buildup and motor or mounting problems as well, since these can cause similar symptoms. Disconnect power before accessing the blade and follow the appliance instructions for fitting it securely on the motor shaft. This is an OEM part sourced directly from the manufacturer.
Read less

No Longer Available
Upper Crisper Drawer
Part #5303288971
The front for this part is sold separately or you can use your existing part.

$25.25
In Stock

No Longer Available
Common Symptoms of the GRS20HRAD0
How this model fails, and the parts that fix it.
Fridge too warm
Fixed by
these parts
these parts


Show All
Freezer section too warm
Fixed by
these parts
these parts
Show All
Freezer not defrosting
Fixed by
these parts
these parts
Show All
Will Not Start
Fixed by
these parts
these parts

Show All
Noisy
Fixed by
these parts
these parts

Show All
Fridge and Freezer are too warm
Fixed by
these parts
these parts
Show All
Too warm
Fixed by
these parts
these parts
Show All
Fridge runs too long
Fixed by
these parts
these parts
Show All
Leaking
Fixed by
these parts
these parts

Show All
Won’t start
Fixed by
these parts
these parts
Show All
Freezer too cold
Fixed by
these parts
these parts
Show All
Fridge too cold
Fixed by
these parts
these parts
Show All
Light not working
Fixed by
these parts
these parts


Show All
Frost buildup
Fixed by
these parts
these parts
Show All
Doesn’t stop running
Fixed by
these parts
these parts
Show All
Clicking sound
Fixed by
these parts
these parts
Show All
Door won’t open or close
Fixed by
these parts
these parts

Show All
Watch our pros, then fix it yourself.
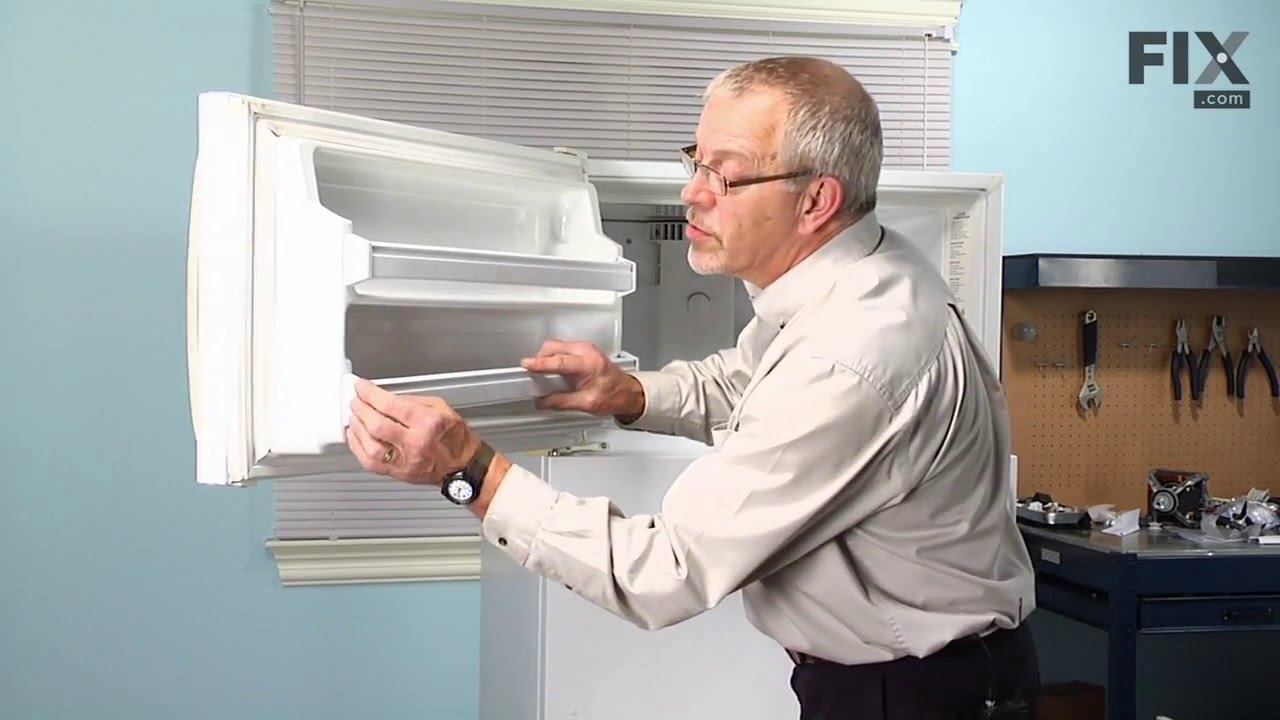
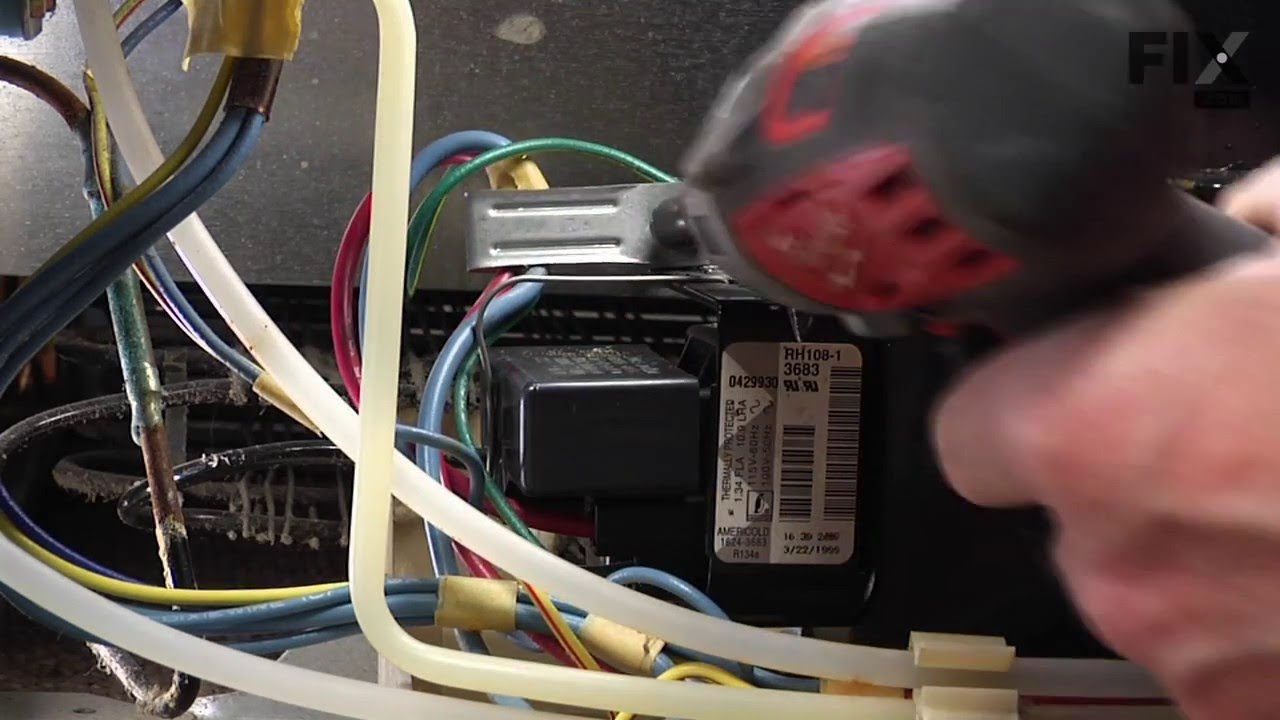
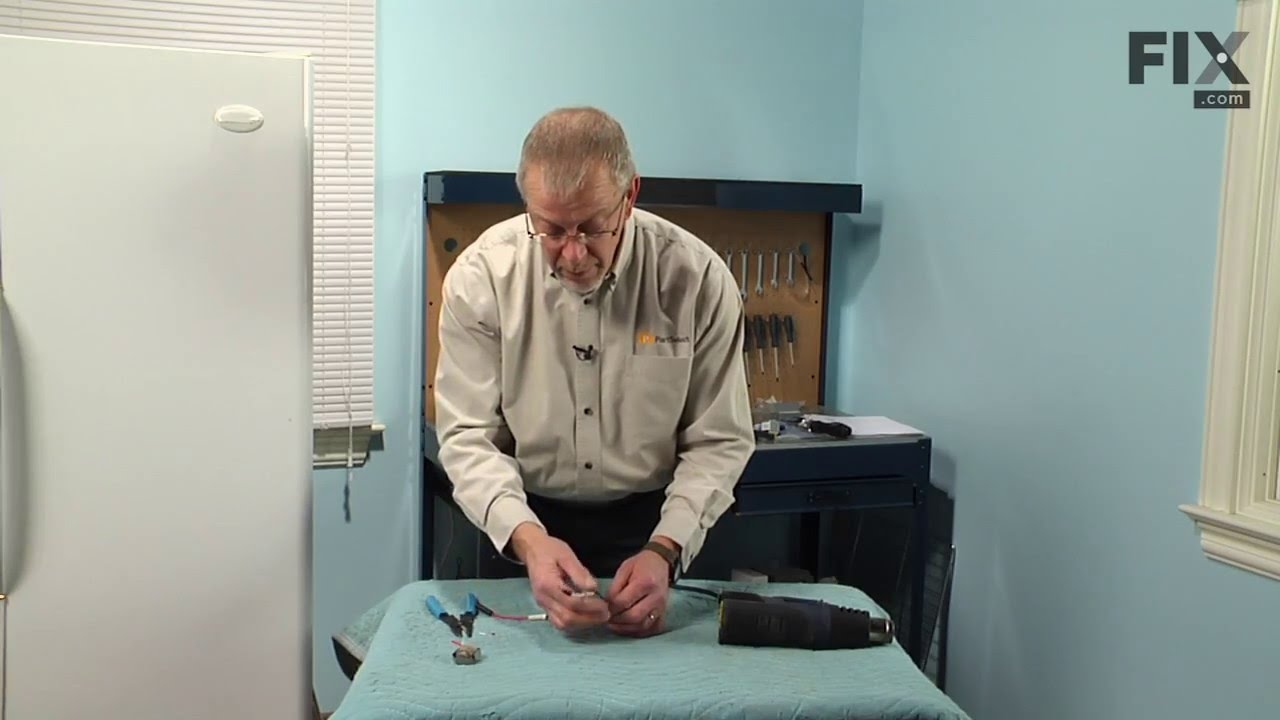
See how others fixed this model. Time, tools, difficulty, and steps that lead to victory!
View More
Search repair tips from other customers using simple keywords like "replace", "fit", "remove", "inspect". DIY doesn't mean you have to do it alone!
Search filter:
Clear Filter
Your search term must have 3 or more characters.
Fridge got warm and freezer coils were frosted
340 of 407 people
found this instruction helpful.
Fridge is a side by side. The freezer is pretty narrow for a guy with wide shoulders.
Pulled plug.
Had to remove bottom drawers then used nut driver to remove screws closest to back wall in drawer runners. Once the back screws were removed the runners could be swung up or down out of way so back cover could be re ... Read more moved.
Once back cover was removed thermostat was located attached to top pipe going into coil using a spring clamp.
Cut the wires just outside the crimp connectors going into thermostat. Released the spring clamp buy squeezing botton together.
Removed old badly corroded thermostat.
I wish I had attached the crimp connectors to the new thermostat wires before mounting it. Reaching way in the back, while turning shoulders verticly and trying to get the wire connectors set from both sides was awkward and uncomfortable...The biggest PIA of the whole task.
Once connected I let the fridge (thermostat) cool for 10 min. Turned the dial defrost timer to get it into defrost mode. Stupidly touched the heating element to see if it was getting warm...it was very hot.
Coils steamed...every looked like it was working. Unplugged, put back cover back on and retattached drawer mounts.
Plugged back in and everying is working great!
Pulled plug.
Had to remove bottom drawers then used nut driver to remove screws closest to back wall in drawer runners. Once the back screws were removed the runners could be swung up or down out of way so back cover could be re ... Read more moved.
Once back cover was removed thermostat was located attached to top pipe going into coil using a spring clamp.
Cut the wires just outside the crimp connectors going into thermostat. Released the spring clamp buy squeezing botton together.
Removed old badly corroded thermostat.
I wish I had attached the crimp connectors to the new thermostat wires before mounting it. Reaching way in the back, while turning shoulders verticly and trying to get the wire connectors set from both sides was awkward and uncomfortable...The biggest PIA of the whole task.
Once connected I let the fridge (thermostat) cool for 10 min. Turned the dial defrost timer to get it into defrost mode. Stupidly touched the heating element to see if it was getting warm...it was very hot.
Coils steamed...every looked like it was working. Unplugged, put back cover back on and retattached drawer mounts.
Plugged back in and everying is working great!
Read less
Other Parts Used:


Was this helpful?
Thank you for voting!