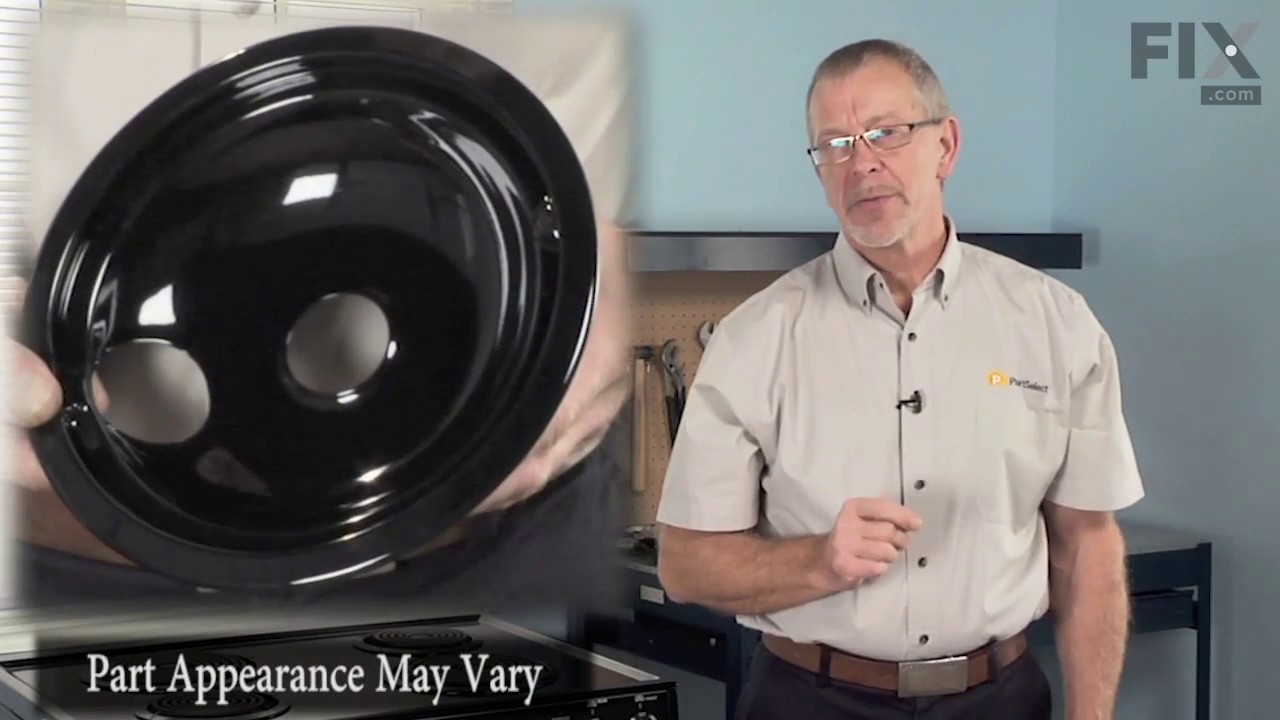
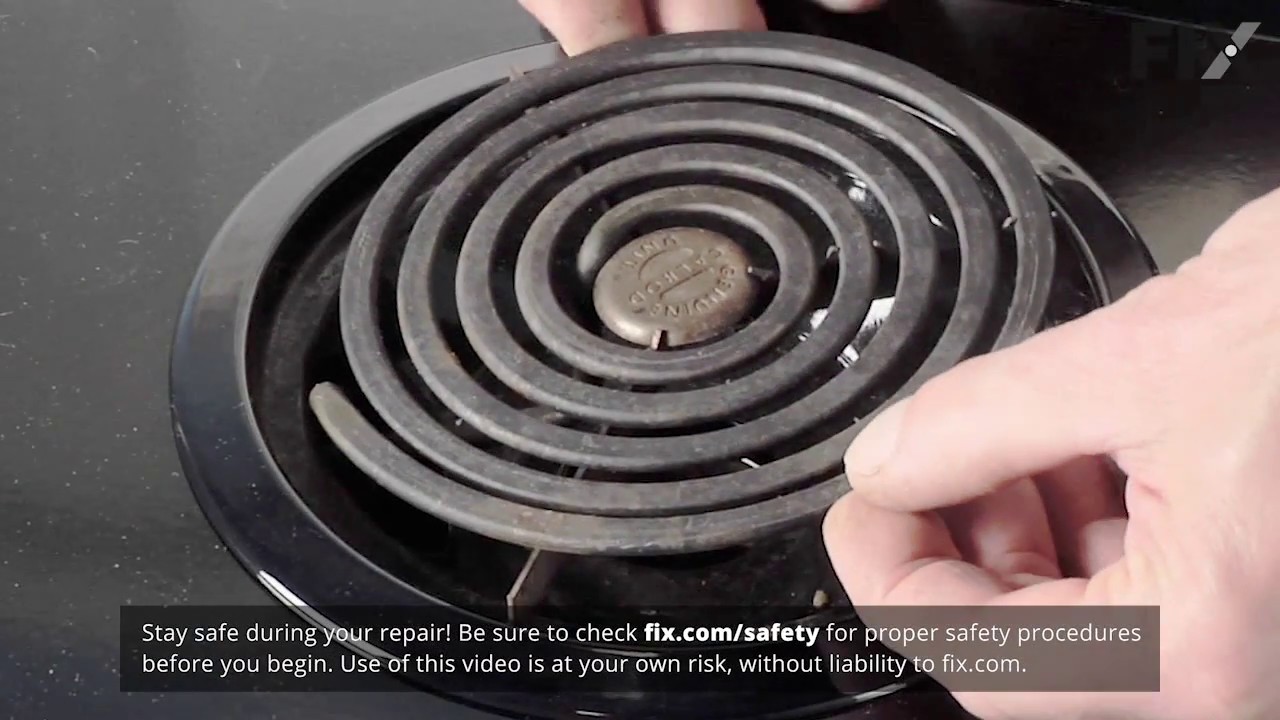
This burner bowl is also known as a burner drip bowl or burner drip pan, and is designed for use with your cooktop or range. It is black in color and is approximately 6 inches in diameter. It can be found beneath the element and catches spills. If your old burner bowl is damaged or missing, you may need to replace it with this part.
This oven handle end cap connects to your oven door handle, and acts as the joint that connects it to the oven door. This part is made of black plastic and can be used as the left or right-side end cap. If your oven door handle is loose or disconnected, this part may fix the problem. The end cap will need to be screwed into the oven door itself, but simply snaps in to the door handle. This part is sold individually.
It is possible that your oven is cold because of a fault in the temperature sensor. The temperature sensor regulates oven temperature in modern ranges, like a thermostat. It is on the back wall near the broiler on the top wall. On a newer oven, there may be a fault code displayed. Faulty temperature sensors are often responsible for F3 an...Read mored F4 error messages on an electric range. Check your manual or the manufacturer website to find out the proper resistance of the temperature sensor. To check your sensor, unplug the oven and use a multi-meter to see if your sensor is at the correct resistance.
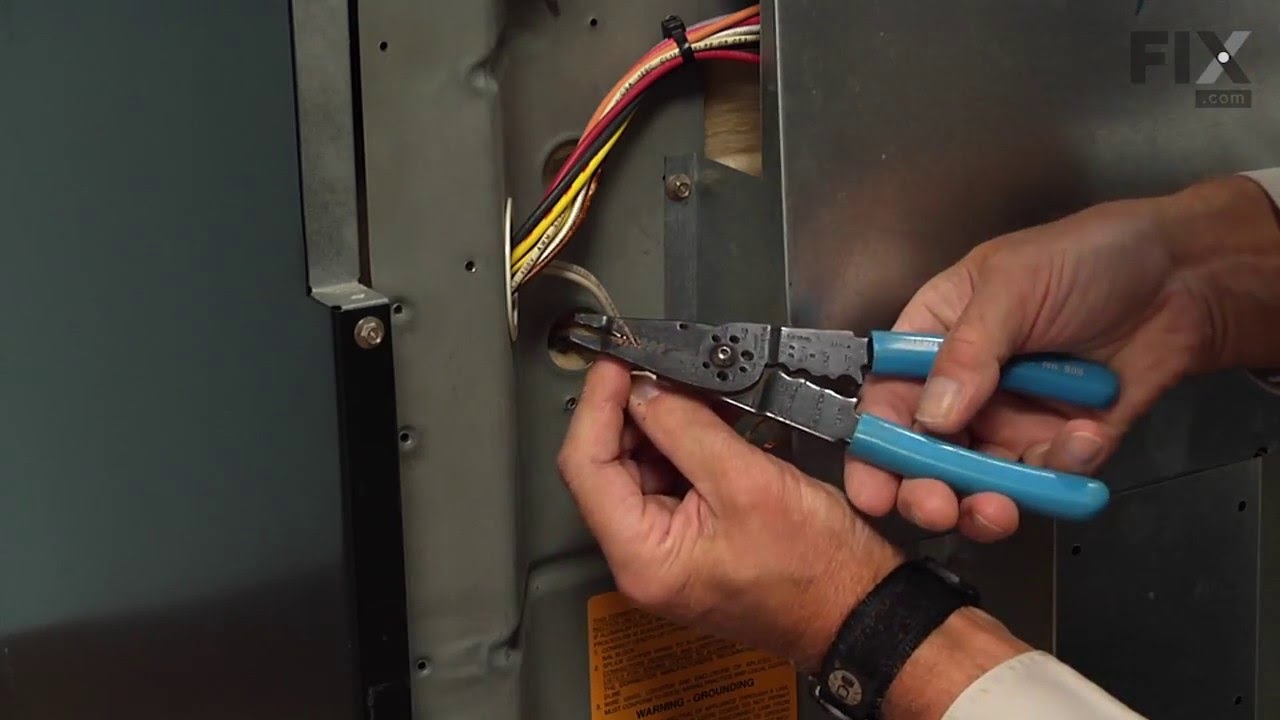
This part provides a way of connecting individual electrical wires and offers protection of the device from electrical surges (voltages and/or currents).
This oven door handle is a genuine OEM replacement designed for select GE, Hotpoint, and Kenmore ranges. Made from heavy-duty materials and typically finished in black, it provides a secure grip for opening and closing the oven door. Engineered for durability and a precise fit, it restores proper function and appearance when the original ...Read morehandle is broken, loose, or missing. Installation is straightforward and typically requires basic hand tools; wearing work gloves is recommended for safety. Always verify compatibility with your specific model before installation, as similar handles may differ in size and mounting configuration.
This genuine OEM oven door gasket is designed to create a tight, heat-resistant seal between the oven door and the cooking cavity. By preventing heat from escaping, it helps maintain consistent cooking temperatures and supports efficient oven operation. Replacing a worn, torn, or damaged gasket can resolve issues such as heat loss, uneven...Read more cooking, or longer preheat times, restoring proper performance with a simple, direct-fit installation.
See how others fixed this model. Time, tools, difficulty, and steps that lead to victory!View More
Search repair tips from other customers using simple keywords like "replace", "fit", "remove", "inspect". DIY doesn't mean you have to do it alone!
Search filter:
Clear Filter
Your search term must have 3 or more characters.
Oven tempature was approximately 150 degrees to low
224 of 265 peoplefound this instruction helpful.
James from Austin, TX
Easy
1- 2 hours
Nutdriver, Screw drivers
This repair is EASY if you know how to use an ohm meter. If not, seek help for this step.
SYMPTOM: The oven (JKP27WOP3WG or JKP27WP3WG and many ovens like it ) was not getting hot enough. Verifying the cooking temperature with an typical oven thermometer, I was able to determine that the oven was cooking temperature was
... Read more about 150 degrees to low.
FAILURE POINTS: There are two logical failure points (1) The oven sensor ( WB21X5301 about $75), or the (2) the controller board (PS238233 about $252). In my case it was the controller board. When replaced the oven worked beautifully.
REPAIR: As with any repair, you MUST DISCONNECT POWER TO THE UNIT BEFORE SERVICING!!!
Pull oven from the wall: - Disconnect power by flipping the circuit breaker to the OFF position. - Remove the top flange / cowling from the top of the oven (it just pulls off) - Remove two screws under the top flange / cowling - The whole unit easily slides out, but it is highly recommended that you use two people to place the oven on the floor.
As a diagnostic between these two parts, if the oven sensors measure approximately 1.1K ohms of resistance at room temperature, then it is probably not the sensor. The oven sensor wires are connected to two white wires that run up to the controller board. You need to disconnect the oven sensor to make the measurement. You may either completely remove the oven sensor by cutting the wire (be sure to allow yourself enough slack so that they may be safely reconnected) where it connects to the white wires, OR, (preferred method) if leaving the oven sensor partially installed, - Remove the top sheet metal cover (10 screws) - Remove the service connect cover (2 screws - this is where the main Power cord comes into the unit) - Disconnect the white wires from the controller board (this connector which also includes other circuits is on the left side when looking at the controller board). - Remove two screws from oven sensor but just let in dangle down so that you can put the sensor in the ice water / boiling water.
Measure the resistance under the following conditions. Your ohm meter should read APPROXIMATELY... - 1.02K ohms in ice water - 1.09K ohms at room temperature - 1.36K ohms in boiling water. If you get approximately these readings, then it is NOT the oven sensor. If that checks out then re-install the sensor AND the connector.
If it is NOT the sensor, replace the controller board. - Take a moment to write down the color of the wire to the LETTERING (N, L, G, C / COM,,,) on the controller board. The connectors are in different locations on the new controller board so the wire color to the letter designation is significant. - Carefully remove the wires one at a time - VERY carefully remove the keypad ribbon cable from the right side of the controller board. -- The ribbon cable will disconnect by releasing some little pressure clips on the side of the connector. - Remove the controller board (4 screws) - Install new controller board (4 screws) - VERY carefully connect the keypad ribbon cable on the right side. -- Make sure that the connector is in the OPEN position first, then, -- Slide in the cable ensuring that all parts of the ribbon made it into the connector, then -- Press down on the connector locking tabs. - Reconnect each wire to the correctly lettering on the board. -- Again, the connectors MAY BE in a different order on the replacement controller board. Match color to letter. - Reconnect the (5 wire?) connector that includes the white oven sensor wires. - Make sure everything looks normal, (i.e. no wires are pinched, remove tools from top of oven area, etc.) - Re-install top cover. - Re-install service connect cover.
You can test the unit while it is out of the cabinet, - Make SURE that all sheet metal covers are in place. - Flip power breaker to "On". - Test that oven gets to the desired temp.
Read less
Was this helpful?
Thank you for voting!
terminal block melted
56 of 77 peoplefound this instruction helpful.
jonathan from willow springs, IL
Easy
Less than 15 mins
Nutdriver, Screw drivers
The existing terminal block on my Ge oven/Range had melted due to a loose wire causing sparking and starting the plastic casing of the terminal block on fire and melting it, Part select made the part easy to find and had it at my house in 2 days. All I had to do was remove six screws to take the back sheet metal cover off of the oven. U
... Read morenscrew the terminal connections remove two mounting screws that held the terminal on to the oven body. This was a little trickier than it should have been because the melted plastic had reformed making it very hard to access the mounting screws. i then mounted the new piece and plugged the oven in, it took 15 minutes and was very easy. definitely saved me at-least a $100 for the service call i would have made if finding the part wasn't so convenient
Read less
Was this helpful?
Thank you for voting!
Oven would not heat to the correct temperature
40 of 64 peoplefound this instruction helpful.
Michael from Lawrenceville, GA
Really Easy
Less than 15 mins
Screw drivers
First I removed the two screws that hold the element in place. I then pulled the element out about 3 inches and disconnected the two wires