


 My Orders




GRML3380ZWH-3 General Electric Range - Overview
Diagrams for GRML3380ZWH-3
See every part. Know exactly what you need.


Enter a part description. DIY Heroes keep it simple, eg. "belt" or "pump".
Search filter:
Clear Filter
Your search term must have 3 or more characters.

$22.52
In Stock
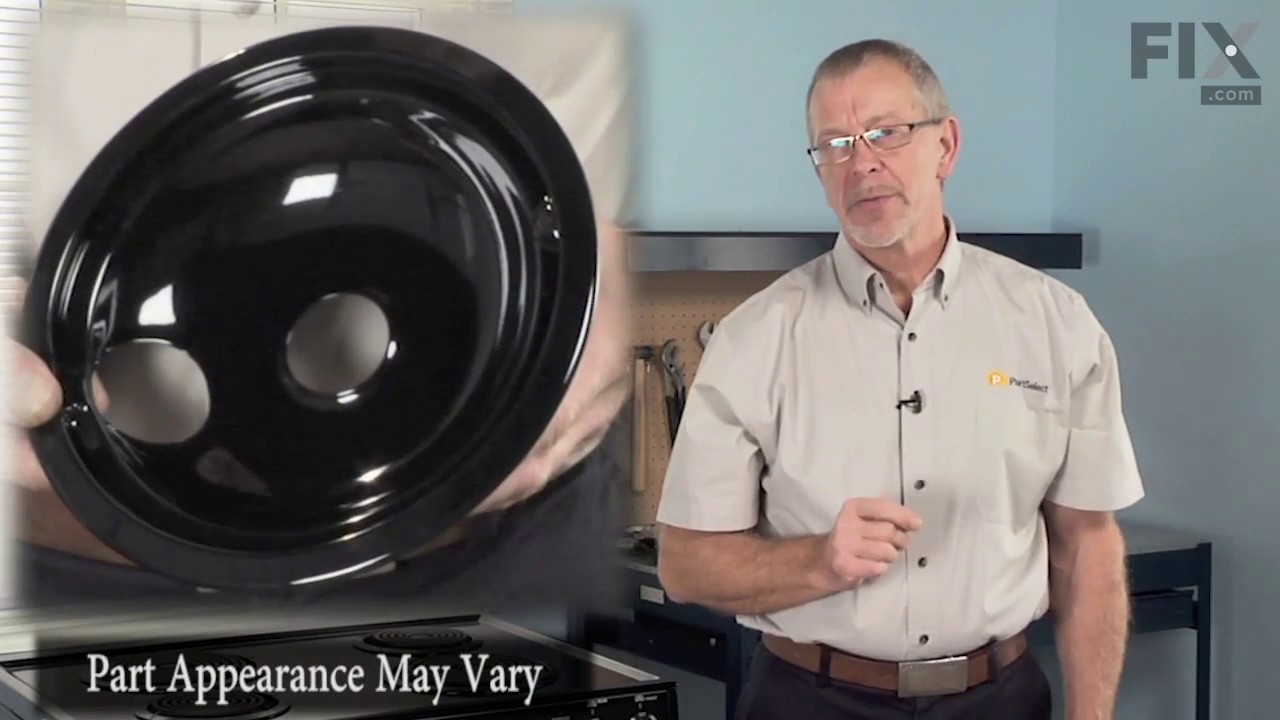
Burner Bowl - 8 Inch
Part #WB31T10015
This part is located beneath the element and catches any spills.

$18.22
In Stock
Burner Bowl - 6 Inch
Part #WB31T10014
This burner bowl is also known as a burner drip bowl or burner drip pan, and is designed for use with your cooktop or range. It is black in color and is approximately 6 inches in diameter. It can be found beneath the element and catches spills. If your old burner bowl is damaged or missing, you may need to replace it with this part.

$51.61
In Stock
Surface Element - 6 Inch - 240V
Part #WB30M1
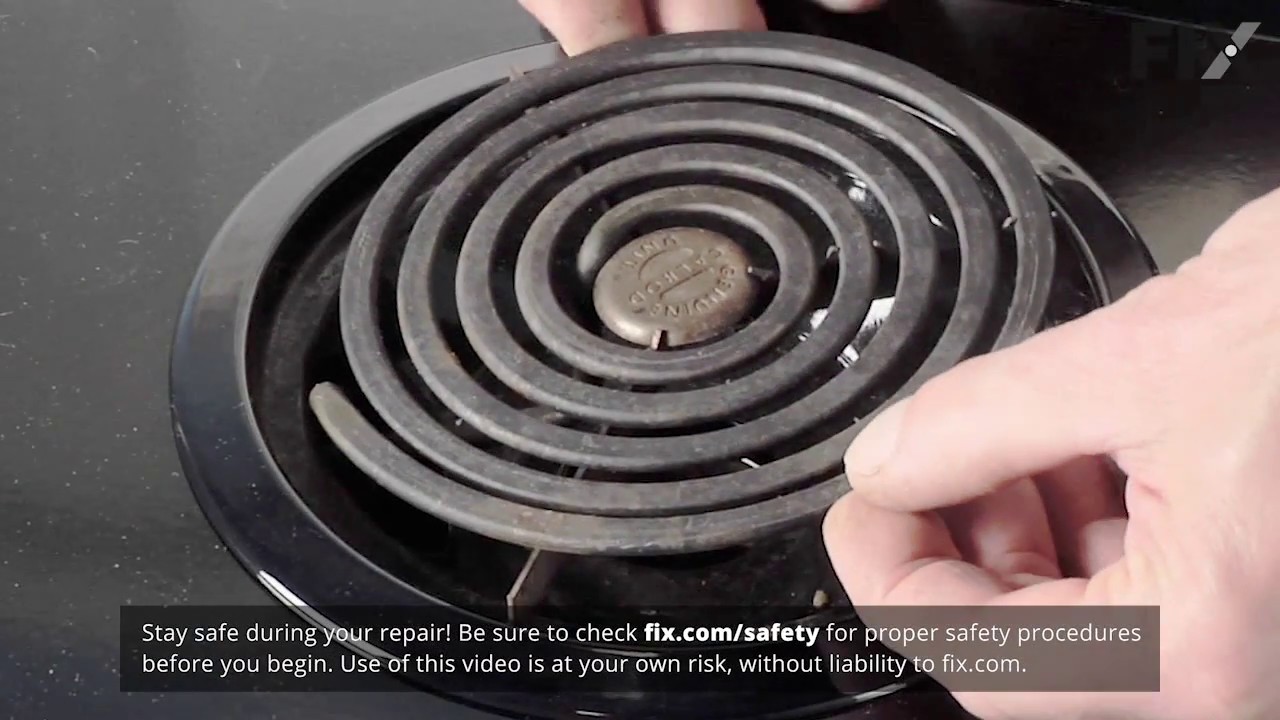
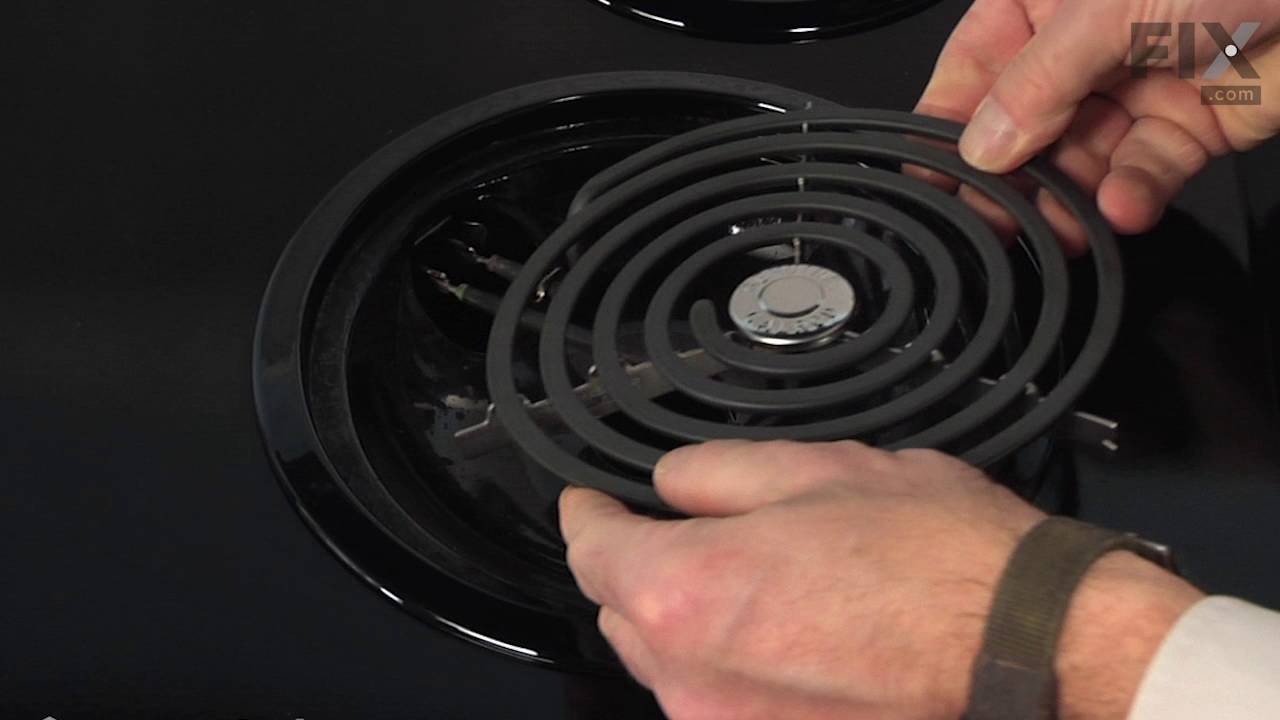
If you notice that your surface element will not heat properly, you may need to replace it. This surface element is 6 inches in diameter and 240V. It is a Y-frame surface burner element with five turns and a metallic center medallion. When completing this repair, if you notice any signs of corrosion or overheating on the terminal, you may...Read more want to consider replacing the terminal block as well as the surface element. Many of our customers have rated this repair as easy. To complete this repair, simply tilt the old element up and remove it, and then replace it with your new one.
Read less

$31.86
In Stock

$90.03
In Stock
Door Handle
Part #WB15X10047
This replacement oven door handle is designed to restore functionality and ease of use to your appliance. Crafted from durable black plastic, it measures approximately 30 inches in length and 1.5 inches in width, providing a secure and comfortable grip. The handle attaches directly to the oven door, allowing for smooth and reliable openin...Read moreg and closing. Ideal for situations where the original handle is broken or missing, this component is sold individually and is sourced directly from the original equipment manufacturer to ensure compatibility and performance. Installation typically involves securing the handle to the existing mounting points on the oven door using standard tools.
Read less

$31.62
In Stock

$24.09
On Order
Washer - 12 Pack
Part #WB1X119D

No Longer Available
Leveling Leg
Part #WB2X8248

$111.62
Special Order
Gasket
Part #WB2X2058
This genuine OEM oven door gasket is designed to create a tight, heat-resistant seal between the oven door and the cooking cavity. By preventing heat from escaping, it helps maintain consistent cooking temperatures and supports efficient oven operation. Replacing a worn, torn, or damaged gasket can resolve issues such as heat loss, uneven...Read more cooking, or longer preheat times, restoring proper performance with a simple, direct-fit installation.
Read less

No Longer Available
Door End Cap - Black - Left Side
Part #WB7X7290

No Longer Available
Door End Cap - Black - Right Side
Part #WB7X7289

No Longer Available
End Cap - White - Right Side
Part #WB7X7187
Common Symptoms of the GRML3380ZWH-3
How this model fails, and the parts that fix it.

Watch our pros, then fix it yourself.
See how others fixed this model. Time, tools, difficulty, and steps that lead to victory!
View More