



 My Orders




GR-F298NLSM (APZCNA0) LG Refrigerator - Overview
Diagrams for GR-F298NLSM
See every part. Know exactly what you need.


Enter a part description. DIY Heroes keep it simple, eg. "belt" or "pump".
Search filter:
Clear Filter
Your search term must have 3 or more characters.

$164.47
In Stock
Refrigerator Front Plate Assembly
Part #AGU75188619
This front plate assembly, also known as a mullion or flipper, is a genuine replacement part designed for select LG and Kenmore French-door refrigerators. It serves a critical function by sealing the gap between the doors, preventing cold air from escaping and helping maintain consistent internal temperatures. Constructed from durable pla...Read morestic, it supports both the performance and appearance of the appliance. A failing mullion may result in poor sealing, visible gaps, increased energy consumption, and potential food spoilage. Replacing this component can restore proper door alignment and improve overall efficiency. Compatibility should be confirmed using your refrigerator’s model number prior to installation.
Read less

$15.00
In Stock
Handle Screw
Part #MJB63190001
This handle screw, also known as a mounting bolt, is a mounting screw to help secure the door handle to your refrigerator door. If your handle is loose, you may just need to tighten the screw. If your screw is missing or broken, it may need to be replaced. There are multiple handle screws on your fridge, please consider ordering extra as ...Read morethey commonly wear at the same rate. This is about 1 inch long and metallic in color.
Read less

$15.00
In Stock
Door Stopper
Part #4620JJ2009A
The door stop, or door stopper, is used in refrigerators. This door stop helps keep the door in position and in balance. This part is attached to the bottom of the door and it keeps it from opening and hitting the side of the refrigerator cabinet. If you find your door hits and scratches your lower cabinet when you open your fridge door, ...Read moreinstalling this part can be a solution to this problem. Make sure to unplug your appliance from the power source before installing this part and safely store food to prevent it from deteriorating. Refer to the diagram provided by the manufacturer for further instruction.
Read less

$23.60
In Stock
Roller Assembly
Part #AHJ72909001
This is a drawer roller for the freezer compartment of your LG refrigerator. This roller is made of white plastic, and acts as a wheel to allow the drawer to glide smoothly back and forth when you open and close the freezer compartment. Over time and with further frequent use, this roller can crack, break, or stop rolling smoothly, at whi...Read morech point it will need replacing. Your refrigerator comes with two rollers, and this roller is sold individually, so consider how many rollers you require before ordering.
Read less

$75.43
In Stock
Refrigerator Water Filter LT1000P
Part #AGF80300704
The Water filter reduces contaminants such as lead, iron, and chlorine from drinking water. This OEM filter is a genuine part manufactured by LG for use in refrigerators. We recommend you replace every 6 months or 200 gallons for best performance.

$227.76
In Stock
Refrigerator Ice Maker Assembly
Part #AEQ72909603
This ice maker assembly is for refrigerators. This Ice maker assembly contains the complete ice maker and housing. The assembly may include multiple parts; refer to your parts diagram for a complete list of parts included.

$23.60
In Stock
Roller Assembly
Part #AHJ72909101
This roller assembly supports smooth movement of drawers or sliding components, reducing friction and maintaining alignment. It is replaced when items bind, drag, or no longer glide easily during use.

$45.29
In Stock
DECOR,TRAY
Part #MCR66806901
This genuine OEM cover is both a protective shield and an aesthetic front for the deli drawer in your refrigerator. It has a clear color and is typically in the lower section of the fresh food compartment. It can become worn with repeated use over time or break due to accidental drops. Your refrigerator has covers in different sizes, so be sure to purchase the correct one for your model.

$34.74
On Order
Temperature Sensor
Part #6500JB2002X
This is a temperature sensor for various models of LG refrigerators. Temperature sensors are used to adjust the level of cooling depending on the internal temperature of the refrigerator. If your refrigerator is warm or not cooling consistently, ensure your evaporator fan is not blocked, before replacing this sensor. To replace this senso...Read morer, you will need a screwdriver and a set of pliers, and simply need to unplug the old sensor, and plug in the new one. This temperature sensor is a genuine OEM part that is sold individually and does not come with any other parts or accessories.
Read less

$15.00
In Stock
Holder,Pipe
Part #MEG61879201
This pipe holder secures tubing or piping in place to maintain proper alignment and routing. Its durable construction supports stable installation and reliable operation.

$47.40
In Stock
CONTROLER ASSEMBLY
Part #AEH74216502

$91.06
In Stock
Refrigerator DC Motor Assembly
Part #EAU65058502
Introducing the MOTOR ASSEMBLY,DC from the trusted brand, LG. This genuine OEM item is specifically crafted to work with select LG refrigerator models. Its essential role is to power the condenser fan blade's movement across the condenser coil for effective cooling. Before installing, ensure your refrigerator is safely unplugged and food ...Read moreis properly stored. We recommend wearing work gloves during installation for safety. Please ensure this part is correct for your model as parts may vary in size and shape.
Read less
Common Symptoms of the GR-F298NLSM
How this model fails, and the parts that fix it.
Door won’t open or close
Fixed by
these parts
these parts


Show All
Ice maker not making ice
Fixed by
these parts
these parts

Show All
Noisy
Fixed by
these parts
these parts


Show All
Door Sweating
Fixed by
these parts
these parts
Show All
Ice maker won’t dispense ice
Fixed by
these parts
these parts
Show All
Leaking
Fixed by
these parts
these parts

Show All
Fridge and Freezer are too warm
Fixed by
these parts
these parts

Show All
Fridge too warm
Fixed by
these parts
these parts
Show All
Watch our pros, then fix it yourself.
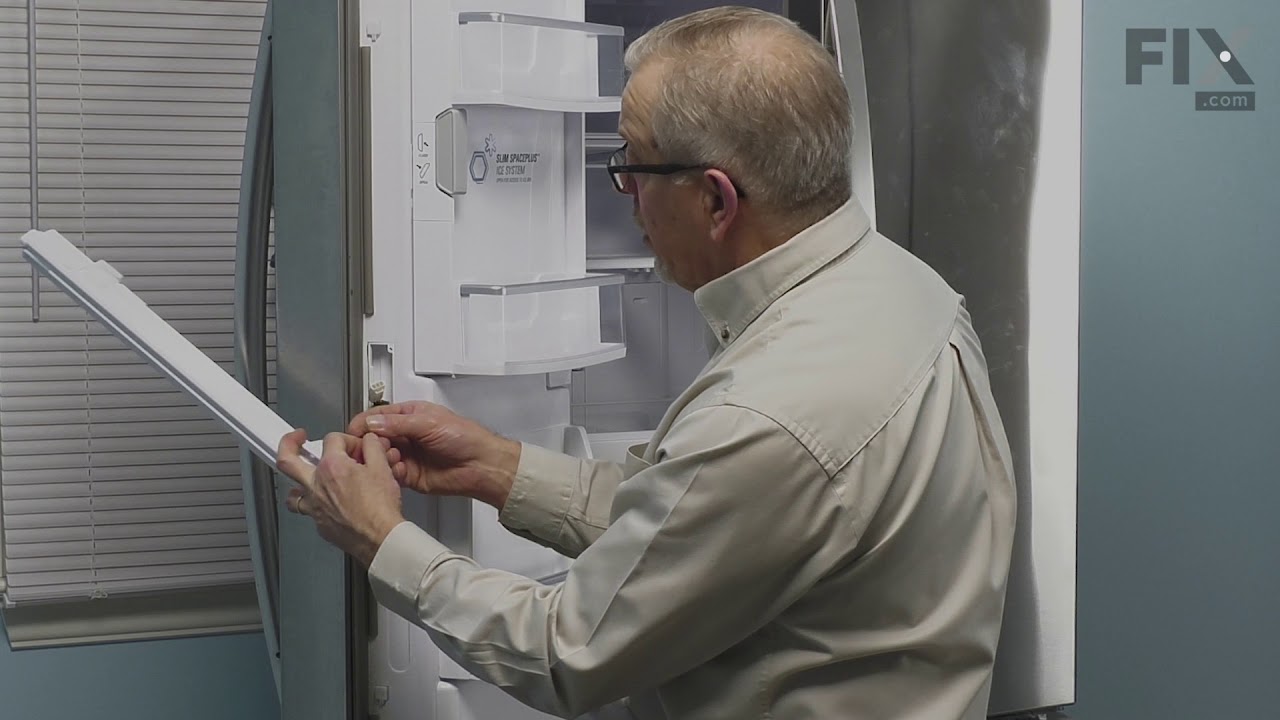
See how others fixed this model. Time, tools, difficulty, and steps that lead to victory!
View More