This water inlet valve attaches the water lines to the back of your appliance. The attaching solenoids on the valve open and close according to the desired temperature, or amount of water needed.
Ensure safe and reliable operation of your front-load washer with this door lock assembly. This genuine OEM component secures the door during wash and spin cycles, preventing it from opening until the cycle is complete. It plays a critical role in system safety by ensuring the door is properly locked before the appliance begins operation....Read more Common symptoms of a failing lock include difficulty latching, the door opening mid-cycle, or the washer refusing to start. Error codes may also appear when the lock fails to communicate with the control system. Installation requires basic tools and should be matched to your appliance model for compatibility.
This part is the replacement door plunger or door strike for your washer. It is made of white plastic and is approximately 2 inches by 1.5 inches. The door strike attaches to the washer door and activates the door switch when the door is closed. If the door switch is not activated, the washer will not start. Therefore, if your washer will...Read more not start, you should inspect your door strike to see if it is cracked, damaged, or missing. This part is sold individually and is an OEM part sourced directly from the manufacturer.
This washer drive belt connects the motor to the drive system, enabling the drum to spin during wash and spin cycles. Designed with a 7-ribbed, 6-grooved structure, it ensures efficient power transfer and smooth operation. Manufactured to original equipment standards, it fits select top-load washer models and helps maintain reliable perfo...Read morermance. A worn or broken belt may cause the drum to stop spinning, produce unusual noises, or emit a burning smell. Installation involves accessing the motor and drum pulleys and should be done with the appliance unplugged. Work gloves are recommended for safety, and professional installation is advised for complex repairs.
This drive pulley kit is a critical component that transfers power from the motor to the washer drum via the drive belt, enabling smooth agitation and spin cycles. Designed for durability and a precise fit, it helps maintain proper drum movement and reduces excessive vibration. Ideal for resolving issues such as failure to spin, shaking d...Read moreuring operation, or burning smells near the motor, this kit restores reliable performance. Installation is straightforward—follow manufacturer guidelines and use the included hardware for a secure setup.
This stacking kit allows a washer and dryer to be securely installed in a vertical configuration, saving valuable floor space. Designed for stability and proper alignment, it helps prevent movement and vibration during operation while supporting a clean, organized laundry area.
Ask our experts a question about this model and we'll get back to you as soon as possible!
We may have answered a similar question already! Search questions and answers left by others using simple keywords like "fit", "broken", "easy", or "quality" to find questions that match.
Search filter:
Clear Filter
Your search term must have 3 or more characters.
Sort by:
Prev
1
2
Next
Sorry, we couldn't find any existing answers that matched.Try using some different or simpler keywords, or submit your new question by using the "Ask a Question" button above!
Mike - For model number GFWH2400L0WW
December 7, 2019
Washer stops i mid cycle and have to push start button again.Is it the door lock switch
Hello Mike, thank you for your question. Yes, that would be the first part we would recommend testing/replacing. I hope this helps!
2 peoplefound this instruction helpful.
Was this helpful?
Thank you for voting!
Charles - For model number GFWH2400L0WW
May 5, 2022
Washer sounds louder than usual when in spin mode
Hi Charles,
Thank you for your question. If the washer makes a loud noise when it spins, the tub bearing is likely worn or damaged and it will need to be replaced. The bearing is part of the rear tub assembly. The part number listed under your model number for the rear tub assembly is PS11729508. If you need help placing an order for it, customer service is open 7 days a week and anyone will be happy to assist you. Please feel free to give us a call. We look forward to hearing from you!
Hello Albert, thank you for contacting us. We have researched the model and would suggest checking the door lock assembly, part number PS1021459. A damaged or broken door lock might be causing the door to not close properly, resulting in the washer not starting. You may also check the electrical continuity of the door lock using a multimeter. We hope this helps!
I hit start on my washer and it just sits and clicks won’t start, sometimes it will say door locked then spin 2 times then stop and door unlocks, I retry and it sits and clicks again
Hi Alisia, thank you for reaching out to PartSelect. We believe your washer is having this problem because of a faulty door latch, part number PS1021459. Good luck with your repair!
Hi James, thank you for getting in touch. We would suggest checking the drain hose for any blockage first. If it is fine, the issue could be with the drain pump, part number PS16743374. It removes water from the washer during the drain portion of the cycle. You may need to replace it to fix the issue. We hope this solves your problem!
See how others fixed this model. Time, tools, difficulty, and steps that lead to victory!View More
Search repair tips from other customers using simple keywords like "replace", "fit", "remove", "inspect". DIY doesn't mean you have to do it alone!
Search filter:
Clear Filter
Your search term must have 3 or more characters.
machine would not fill on any cycle requiring hot water, Machine would work fine on cold cycles
57 of 77 peoplefound this instruction helpful.
Robert from Altoona, PA
Really Easy
15 - 30 mins
Nutdriver, Pliers, Wrench (Adjustable)
I Disconnected power to machine and shut off water supply lines. Move washer away from wall and removed supply lines.(good time to replace them if older than five years) Where these supply lines attach to the washer is the water valve you are replacing. There are 3 screws on the back of the cabinet lid, then on the front 3 more screws hol
... Read mored the lid to the plastic control housing. After removing screws you need to slide the lid up and towards the back of the machine app. 1 1/2"to 2" before you can raise the lid up and off of the machine. Once the lid is off it is just one screw holding the valve, and a hose clamp that needs removed from the end of the valve. Then slide valve to the right (looking from front of machine to the back.) I left the wires attached to the old valve,installed the new valve then reattached the wires in the same order as they were on the old valve to avoid confusion. (note valve must slide into place to get screw to line up.)assemble is reverse of the above steps. Don't forget to level machine. Be careful attaching water supply lines plastic valve threads can strip without much effort.
Read less
Was this helpful?
Thank you for voting!
inlets cross threaded from water hose connections
37 of 52 peoplefound this instruction helpful.
Allan from Tucson, AZ
Really Easy
15 - 30 mins
Nutdriver, Pliers, Screw drivers
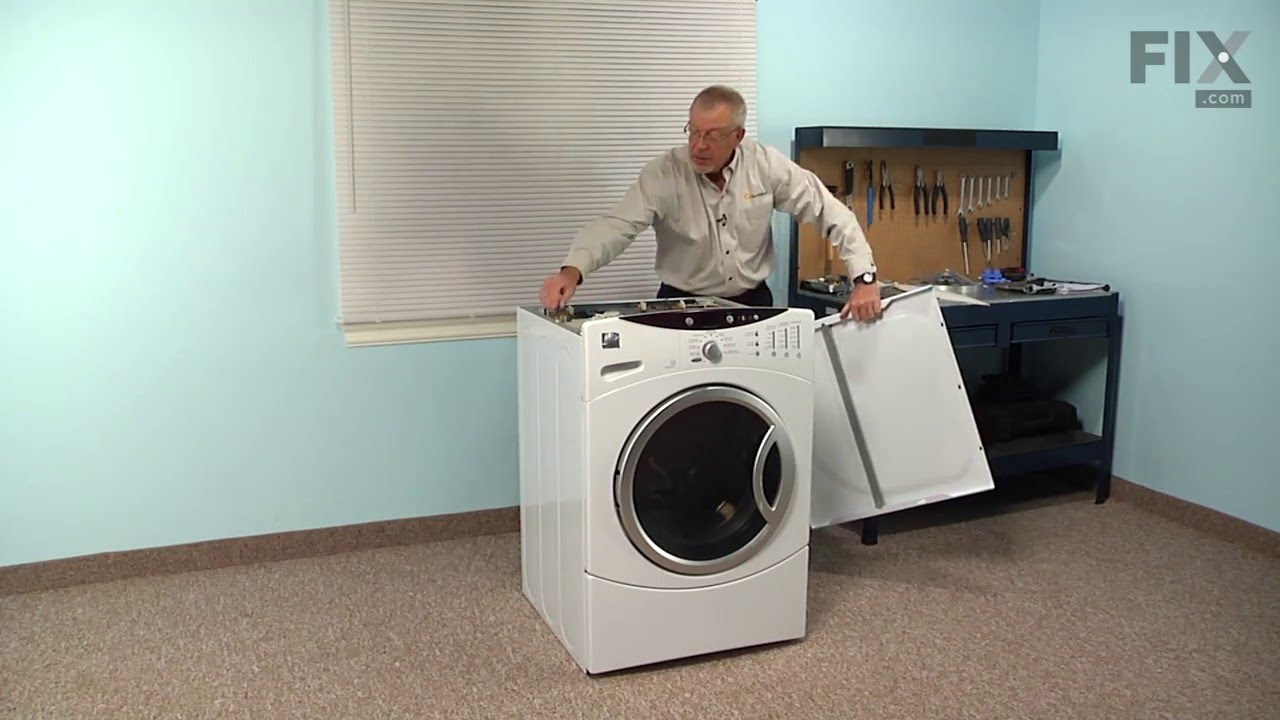
I unplugged the power cord from the wall outlet, then I had to remove the top panel off the machine by removing the three phillips screws holding the back trim strip to the front top of the machine, than I removed the three 1/4 inch head screws holding the top panel found at the back top of machine. I now pulled the top pannel to the rear
... Read more and removed the top pannel. Then I used pliers to squeeze open and slide clear the small clamp to the rubber hose to the valve and removed the hose end to the valve. Then I carefully pulled off the four wire connectors to the two solenoids of the valve. Than I removed the one 1/4 inch head screw found on the back side of the machine securing the valve to the machine. Then I removed the valve by sliding it to the mounting screw side to disengage it. Install the valve in reverse order but I tightened the valve holding screw only till it's seated because it screws into soft plastic. 6/15/08
Read less
Was this helpful?
Thank you for voting!
"Door Locked" light always on. Washer would not run
36 of 56 peoplefound this instruction helpful.
Robert from Dallas, PA
Easy
15 - 30 mins
Nutdriver, Screw drivers
Remove bottom kick plate of washer. Remove 4 screws behind door that hold the latch/lock assembly. Reach up inside the washer from underneath to unplug 3 wire connectors. (This is a very tight spot). Once wires are off, part comes right out. Connect wires to the new part - this is by far the most difficult part of the job because it
... Read moreis way up inside the washer. Replace all bolts. Overall, pretty easy to do - just reconnecting the wires is a pain, but if you are patient it is not a big deal.



 My Orders