This is a knob designed for use with washing machines. This knob is used to select, adjust, and change the various settings of your washer cycle. This knob is made of plastic with a chromated finish, and replaces the current knob your washer if it is broken or missing. Replacing this knob is easy and only requires you to carefully pull th...Read moree old one off its post, and push this new one on. This knob is sold as an individual OEM part and does not come with any other parts.
This washer shock absorber is designed to reduce vibrations and stabilize the movement of the outer tub during operation, helping to ensure quieter and smoother performance. It plays a crucial role in maintaining balance, especially during high-speed spin cycles. Before installation, make sure to unplug the washer to ensure safety. It’s a...Read morelso recommended to wear protective work gloves to avoid injury while handling internal components.
This washer drive belt connects the motor to the drive system, enabling the drum to spin during wash and spin cycles. Designed with a 7-ribbed, 6-grooved structure, it ensures efficient power transfer and smooth operation. Manufactured to original equipment standards, it fits select top-load washer models and helps maintain reliable perfo...Read morermance. A worn or broken belt may cause the drum to stop spinning, produce unusual noises, or emit a burning smell. Installation involves accessing the motor and drum pulleys and should be done with the appliance unplugged. Work gloves are recommended for safety, and professional installation is advised for complex repairs.
This door plunger detects proper door closure to ensure safe and correct appliance operation. Reliable engagement prevents start failures or unexpected interruptions. Replacing a faulty plunger restores dependable performance.
This washing machine door lock is a genuine OEM safety component designed for select GE models. It secures the washer door during operation, preventing it from opening mid-cycle and ensuring safe, uninterrupted performance. By locking the door, it protects users from potential water spills and mechanical hazards while the machine is runni...Read moreng. Constructed from durable materials, the lock is built to withstand repeated use and exposure to moisture. Installation typically involves accessing the door latch assembly and connecting the lock to the control system using standard fittings. Replacing a faulty door lock can resolve issues such as cycle interruptions, error codes, or doors that fail to latch properly.
This drive pulley kit is a critical component that transfers power from the motor to the washer drum via the drive belt, enabling smooth agitation and spin cycles. Designed for durability and a precise fit, it helps maintain proper drum movement and reduces excessive vibration. Ideal for resolving issues such as failure to spin, shaking d...Read moreuring operation, or burning smells near the motor, this kit restores reliable performance. Installation is straightforward—follow manufacturer guidelines and use the included hardware for a secure setup.
Ask our experts a question about this model and we'll get back to you as soon as possible!
We may have answered a similar question already! Search questions and answers left by others using simple keywords like "fit", "broken", "easy", or "quality" to find questions that match.
Search filter:
Clear Filter
Your search term must have 3 or more characters.
Sort by:
Prev
1
2
3
Next
Sorry, we couldn't find any existing answers that matched.Try using some different or simpler keywords, or submit your new question by using the "Ask a Question" button above!
Mathew - For model number GFW450SSM1WW
September 1, 2021
Washer will not spin after the rinse cycle.
Hello Mathew, Thank you for the question. If the Tub spins on the last drain and spin cycle but not for the rinse cycle, you may have a defective User Interface Board. The board controls the cycles and it maybe skipping or not proceeding to the Spin cycle. We hope this helps!
Hi Brice,
Thank you for your question. Here is a link to one of our YouTube videos that you may reference on how to install the tub baffle, https://www.youtube.com/watch?v=7UEKr8SMZWM. The washer in the video may be different from yours, but it will give you a general idea on how to install the part. We hope this helps! Good luck with the repair!
Why is the fabric softener compartment still have water in the reservoir after washer has finish?
Hello Susie, Thank you for the question. Normally this is caused by a blocked Dispenser from a soap build up. We suggest removing the dispenser and cleaning it out. We hope this helps!
3 peoplefound this instruction helpful.
Was this helpful?
Thank you for voting!
Robert - For model number GFW450SSM1WW
February 7, 2023
I am looking for the rubber gasket for this washer. It’s the one as soon as you open the door
Hello Robert, Thank you for your inquiry. We have researched the model you have provided and have found the part you are looking for is PS11763264. We hope this helps you.
Hello William, thank you for contacting us. We would recommend checking the following parts to fix your issue: Drawer Kit, part number PS12171726, Driving Belt, part number PS3487272, Drive Pulley Kit, part number PS3487269, Drain Pump, part number PS11763289, and Control Panel, part number PS11763312. If you need help placing an order for it, please feel free to give us a call. We look forward to hearing from you!
~Unplugged ~Removed front bottom and rear center panel ~Removed broken dampers. Varying difficulty; other components in the way. Used socket to help push pin out with screwdriver and pliers to help remove the pin. ~Installed New Dampers: Used Small (6") crescent wrench for top. Fitting two (2) hands in there, one to h
... Read moreold and one to turn was a challenge for all four (4) dampers. Had to extend a couple to wedge to damper in there to hold the arrow hear flush. Installing the pins in the bottom was somewhat easier than the top. I broke the retaining pin completely off an old pin to align the new damper to the base mounting hole (hard to see in there). Used Pliers, a long screwdriver and rubber mallet. Note my situation was in a very small room. So small I had to remove the door to the room so that I could pull the washer out to get behind it. The warnings about sharp edges should not be ignored! Long sleeves (chainmail) and steel fish fillet gloves might help!
Read less
Was this helpful?
Thank you for voting!
Washer stopped during wash cycle and wouldn't open.
9 of 11 peoplefound this instruction helpful.
Jason from HARRIMAN, TN
Easy
15 - 30 mins
Nutdriver, Pliers, Screw drivers
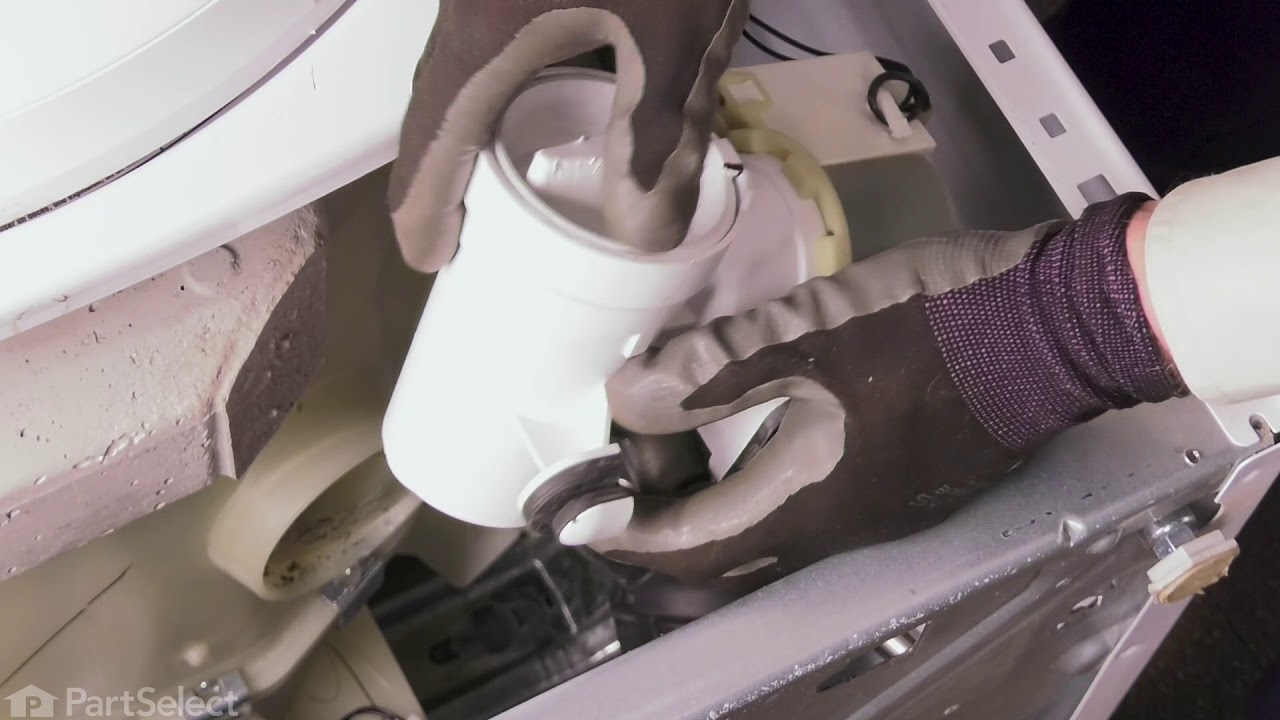
Removed three 7mm sheet metal screws from the bottom front panel. The drain pump is in the front right. Removed the manual drain screen to drain residual water from the system. A bucket was necessary to collect all the water. Disconnected the inlet and outlet hose. Disconnected the electric supply. Removed two Phi
... Read morellips screws holding the pump to the bottom of the machine. Slid the pump towards the rear to clear the support pegs and removed it from the front opening. Installation is the reverse of those steps.
Read less
Was this helpful?
Thank you for voting!
Shock absorber sheared off from drum out of balance
7 of 11 peoplefound this instruction helpful.
Denise from BRANCHBURG, NJ
A Bit Difficult
15 - 30 mins
Wrench set
2 things to note if you’re going to replace this part. First, you definitely need the 6” crescent wrench as noted in the instructions. Second, tape up the flanges of the machine so you don’t cut your arms to pieces on sharp metal edges.



 My Orders