EasyApplianceParts is now PartSelect! We've merged our sites to provide a better shopping experience for you.   Full Details

Find Parts

Parts Departments

Top Model Types

Top Brands

Repair Help

Expert Repair Videos

Keep typing for more specific results...

GFS185 (MN00) Caloric Refrigerator - Overview

Enter a part description. DIY Heroes keep it simple, eg. "belt" or "pump".

Search filter:
Clear Filter
Your search term must have 3 or more characters.
Defrost Timer – Part Number: W10822278
$34.74
In Stock
Defrost Timer
★★★★★
★★★★★
(40)
Part #W10822278
The Defrost Timer (Defrost control) acts like a clock by switching on the defrost heater circuit after a predetermined amount of compressor run time. This allows the defrost circuit to clear the evaporator of ice or frost to maintain proper airflow. If this part is not working, it can lead to temperature increases in your refrigerator. If the compressor circuit fails, no cooling will take place; if the defrost circuit isn't activated, ice will quickly build up on the evaporator coils and reduce airflow and efficiency. If the timer doesn't advance or if the contacts have no continuity, the timer will need to be replaced. This part is located inside of the control housing on most models, and is approximately 3 inches long and 2.5 inches wide. This part is constructed of plastic and metal, and comes in white. It features 1 defrost timer, along with all necessary mounting hardware and installation instructions
High Limit Thermostat – Part Number: 489P3
No Longer Available
High Limit Thermostat
★★★★★
★★★★★
(1)
Part #489P3
If you notice that your dryer will not start, shuts off too soon or provides too much heat, you may need to replace your high limit thermostat. This high limit thermostat acts as a safety mechanism that keeps the dryer from overheating. Once the dryer temperature reaches a certain point, this piece will shut down power to the heating element. The high limit thermostat is in the rear of the dryer behind the back panel. To complete this repair, you will need to remove the back panel of your dryer. Be sure to disconnect power to the dryer before beginning this repair.
Refrigerator Screw – Part Number: WP8281196
$9.62
In Stock
Refrigerator Cold Control Thermostat – Part Number: 1123394
$105.35
In Stock
Refrigerator Cold Control Thermostat
★★★★★
★★★★★
(2)
Part #1123394
This cold control thermostat has a temperature range from 29.5 degrees Fahrenheit to 16.5 degrees Fahrenheit and a capillary length of 35 inches.
THERMOSTAT,LOW LIMIT – Part Number: 56591
No Longer Available
THERMOSTAT,LOW LIMIT
Part #56591
STICKER – Part Number: 56980
No Longer Available
STICKER
Part #56980
DISCONTINUED – Part Number: 56535
No Longer Available
DISCONTINUED
Part #56535
COVER, HINGE - ALMOND – Part Number: 56624L
No Longer Available
COVER, HINGE - ALMOND
Part #56624L
DISCONTINUED – Part Number: 56984
No Longer Available
DISCONTINUED
Part #56984
DISCONTINUED – Part Number: 56885
No Longer Available
DISCONTINUED
Part #56885
DISCONTINUED – Part Number: 56883
No Longer Available
DISCONTINUED
Part #56883
COVER, HINGE - WHITE – Part Number: 56624W
No Longer Available
COVER, HINGE - WHITE
Part #56624W

Common Symptoms of the GFS185

How this model fails, and the parts that fix it.

Watch our pros, then fix it yourself.

See how others fixed this model. Time, tools, difficulty, and steps that lead to victory! View More

Search repair tips from other customers using simple keywords like "replace", "fit", "remove", "inspect". DIY doesn't mean you have to do it alone!

Search filter:
Clear Filter
Your search term must have 3 or more characters.
Defrost timer was faulty. Required a mild tap to restart
69 of 76 people found this instruction helpful.
  • LES from MADERA, CA
  • Really Easy
  • 30 - 60 mins
  • Nutdriver, Screw drivers
Trouble shot the electrical circuit per the electrical schematic and zeroed in when I noted the Defrost Timer circuit was open. When I tapped on the bottom of the timer it began functioning normally (for a few days). Ordered a new Defrost Timer Kit and along with the installation instruction, I watched the on-line video. It was very help ful!!
After installation was complete, I plugged the Refrigerator into the electrical outlet and.......nothing happened! Hmmm!

Removed the Defrost Time Kit and inspected it for any damage and found none. Then I placed a flathead screwdriver to the manual advance knob and slightly rotate the gear mechanism. I heard a distance "click”. I believe the Timer was in the ‘defrost’ mode when received.

I reinstalled the timer, verified the wiring connections and this time plugged the Refrigerator into the electrical outlet and ….. it worked!!!

I unplugged the refrigerator, finished the installation per the instructions, plugged the unit in and monitored it for a few hours (just in case). That was a week ago and the Refrigerator is working like new.

The instructions were written in a manner which required re-reading a few times as they could be a bit vague. The video was what really helped and I appreciate PartSelect adding it to the instructions.
Was this helpful?
Thank you for voting!
Freezer Iced up, dripping water into refrigerator below
63 of 75 people found this instruction helpful.
  • Robert from Bradenton, FL
  • Really Easy
  • Less than 15 mins
  • Pliers, Screw drivers
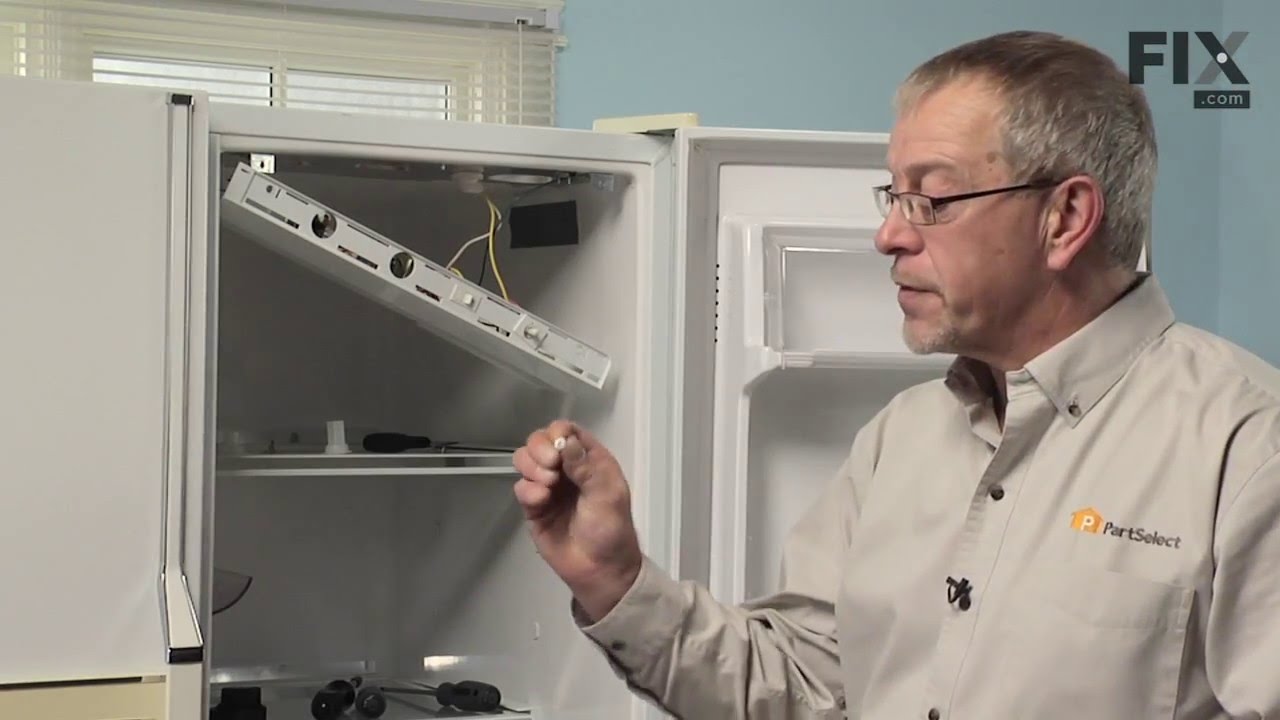
De-iced the refrigerator. Removed two screws from the thermostat panel on the upper refrigerator section. Tilted it down, removed two speed nuts holding the timer, unplugged the timer plug. Determined from the instruction sheet (easy to follow) what time delay function is used, based on wire colors, placed the jumper on the correct ter minal on the new timer. Plugged it in, replaced the speed nuts and screws. The timer fit perfect, works just like it is supposed to, quick easy job.
Was this helpful?
Thank you for voting!
Timer "clicking", indicating worn gears
38 of 43 people found this instruction helpful.
  • John from Plano, TX
  • Easy
  • 15 - 30 mins
  • Nutdriver, Pliers, Screw drivers
1. Unplug refrigerator to remove power!
2. The timer is inside the control housing located at the top of the refrigerator compartment.
3. Remove two control knobs (the pull off).
4. Remove the front panel escutcheon. The panel is not held in place with screws, but can be gently pried off.
5. Remove two screws from the back that hold the housing in place.
6. Remove screws from the front that hold the housing in place.
7. Drop housing down (still attached by wires - do not detach). Timer is inside housing, located on right.
8. Follow the instructions provided to identify your particular wiring setup. You'll find the wiring diagram (on my model) at the bottom of the refrigerator, alongside the defrost catch pan, behind the airflow grille.
9. Remove connector from timer terminals (4).
10. Remove two screws/nuts that hold the timer in place.
11. Install replacement timer following included directions. Read and follow ALL instructions applicable to your particular model and wiring setup.
12. Reassemble by reversing the steps above.
13. Note: You may need to "jog" the replacement timer when you first plug the refrigerator back in, if the timer happens to be in a "defrost cycle" (the compressor won't start). This can be done by inserting a wide bladed screwdriver into the hole below the timer, aligning it with the timer shaft, and slightly turning the shaft CW. Don't force it, and don't turn it very far.
Was this helpful?
Thank you for voting!