This an authentic OEM 40-Watt replacement light bulb, used in a number of household appliances. It is specially designed to withstand extreme temperatures, which is why these replacement bulbs are most often used to light the inside of refrigerators and ranges. It features a standard socket base, which means you simply unscrew the burnt-o...Read moreut bulb and screw in the replacement. Depending on the appliance you may require a screwdriver or nut driver to access the light bulb. We recommend you wear work gloves while handling this replacement part. It is constructed of glass and metal and is sold individually. Depending on the appliance and location of the bulb within it, you may want to consider disconnecting power and using a flashlight for easier access to unscrewing and re-screwing in your bulb during this repair.
This oven temperature sensor, for ranges, works together with the oven control board to measure and regulate the oven temperature. The sensor detects the temperature in the oven cavity. If the following symptoms occur, replacing the temperature sensor could be the solution: Little or no heat when baking, oven not heating evenly, oven will...Read more not start, and/or oven is overheating. Often, if the sensor is defective, the oven temperature will fluctuate and be inaccurate by more than 50 degrees. The tool needed for this replacement is a #2 square head screwdriver or a #2 Philips screwdriver. Remember to unplug the range before installing the part.
This is a multi-use and multi-appliance screw. It can be used on a microwave, refrigerator, range/oven, air conditioner, dehumidifier, washer, or dryer. The measurements of this screw are 8 x 1/2 inch. It has 6 threads. Refer to the manual provided by the manufacturer for further information on repair and accurate guidance. Remember to wear work gloves as a safety precaution.
This OEM replacement rear drawer glide supports the storage drawer on your range, and allows the drawer to open and close with ease. If your storage drawer will not open or close, or catches and sticks when you are trying to move it, there could be an issue with the glides. Check the glides and glide channels for any physical damage, and ...Read moremake sure they are properly fastened to the range walls. To complete this quick and easy repair, you will need a Phillips screw driver. Because the drawer has four glides and each are sold separately, make sure to order the correct amount you require.
This part is for oven ranges, it connects individual wires and protects the device from electrical surges, voltages, and current. With this part, the house power is connected to the range wire harness. Some symptoms replacing the terminal block could be a solution for are little to no heat when baking, element will not heat and/or it will...Read more not start. This part will prevent loosening and will reduce damage caused by corrosion (by two different metals). Refer to the instructional diagram for further replacement guidance and exact placement. You must unplug the appliance before installing this part and wear gloves to protect your hands.
This is a door hinge active with spring, for your range. The hinge controls the opening and closing of the oven door. If your oven door seems to be sticking, you may want to consider replacing this part. We recommend replacing both hinges at the same time. This model is roughly 9.5 inches long, f4 inches wide, and almost 1inch thick.
This touch-up paint can be used on a wide variety of household appliances. It is most often used on washers, dryer, refrigerators, dishwashers, ranges, freezers, trash compactors, or microwaves. It is an 18 ml, or.6 fluid ounces, bottle of touch-up paint. It also features a brush for easy application. This quick-drying, long-lasting paint...Read more is perfect for fixing any nicks, scratches, or chips on the exterior of your appliance. This paint is white in color, and provides a durable finish.
This surface element control switch, also known as an infinite switch, is a genuine OEM replacement designed for 6-inch electric burners on select ranges. It regulates the power supplied to the surface element, allowing precise control over heat levels from low to high. Compatible with models from Whirlpool, KitchenAid, Maytag, Jenn-Air, ...Read moreAmana, and other associated brands, this dual-coil switch is a common solution for issues such as burners that fail to heat, remain stuck on high, or cannot adjust temperature properly. If the burner heats intermittently or not at all, replacing the switch may restore proper function. Always disconnect power or turn off the circuit breaker before installation. Sold individually.
This chrome-colored oven rack is designed to provide a stable and heat-resistant surface for cooking, baking, and broiling inside compatible range ovens. Engineered for durability, it fits a variety of models and withstands high temperatures and heavy use. Whether you're replacing a damaged rack or adding an extra one for increased cookin...Read moreg flexibility, this component helps maintain optimal oven performance. Sold individually.
This broil element supplies heat for cooking purposes and is located in the roof of an oven. If you find there is little to no heat when cooking, a burned-out element, or food is taking too long to cook, these symptoms could be solved by replacing this part. Before starting this replacement, make sure you unplug the range from the power s...Read moreource or shut off from the house circuit breaker. All you need to complete this repair is a Phillips screwdriver. For safety reasons, make sure to wear gloves. Refer to the manual provided by the manufacturer for more instruction.
This bottle of non-abrasive cooktop cleaner breaks down and gets rid of the hardest baked-on stains and residue without causing any harm to your appliance. The bottle is 10 oz and does not require a large amount of product to do the job. This cleaner is perfectly safe to use on any glass, ceramic, stainless steel, chrome, or porcelain coo...Read morektop surface. The cleaner is creamy in texture and provides a protective coat of silicone on smooth surfaces. To apply, use a gentle scrub, sponge, or rag and gently press in a circular motion until the stains are removed.
Ask our experts a question about this model and we'll get back to you as soon as possible!
We may have answered a similar question already! Search questions and answers left by others using simple keywords like "fit", "broken", "easy", or "quality" to find questions that match.
Search filter:
Clear Filter
Your search term must have 3 or more characters.
Sort by:
Prev
1
Next
Sorry, we couldn't find any existing answers that matched.Try using some different or simpler keywords, or submit your new question by using the "Ask a Question" button above!
Goldie - For model number GFE461LVB0
December 1, 2024
Displayed features not available when contol button is pressed
Hello Goldie, Thank you for contacting us. First make sure that the control lock is not on by pressing and holding it for 3 sections. Then, if you haven't already done so, try unplugging the stove for 10 minutes to see if this resets the control board. The issue could be also caused by a faulty touchpad or control board. You can try checking for any loose connections or visible damage on both parts. We hope this helps.
See how others fixed this model. Time, tools, difficulty, and steps that lead to victory!View More
Search repair tips from other customers using simple keywords like "replace", "fit", "remove", "inspect". DIY doesn't mean you have to do it alone!
Search filter:
Clear Filter
Your search term must have 3 or more characters.
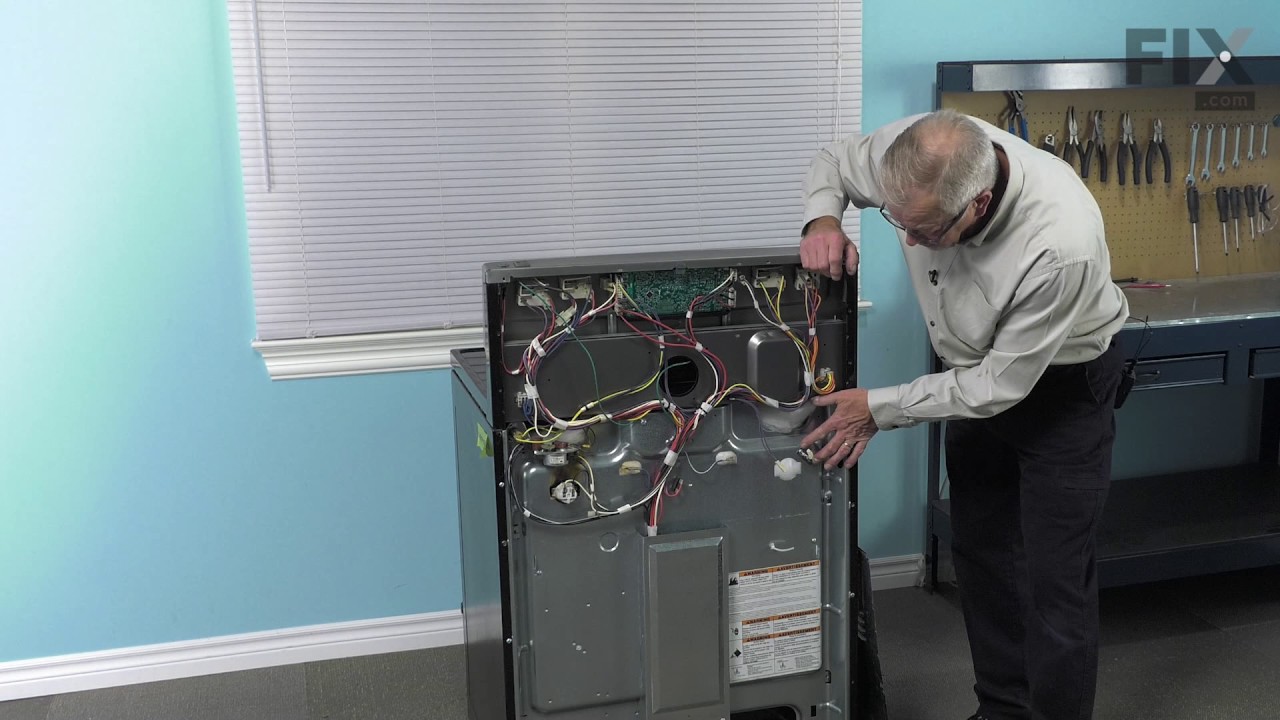
mice had made nests in the insulation wrap in the range
128 of 209 peoplefound this instruction helpful.
Wendy from Red Hook, NY
Easy
More than 2 hours
Screw drivers
I numbered every part. ex: 1 L., for first part removed left side. I used a magic marker to circle the holes and wrote the number of screws used on the part, set the srews in a separete place, so that I new where these screws went to. The cleanup was pretty time consuming, but I was able to keep my stove, when every repairman I called to
... Read more fix my stove told me I was better off buying a new stove. ($600.00 stove 2 years old)Please Note: The insulation blanket needed for the entire stove is two pieces, the sides and top are one part # and the bottom and back, are another part #. I did not know this. I just purchased the top and sides. I got lucky, the back and bottom were still in good shape. So I guess I should have read the description of the part more carefully to see what it covers, before I ordered it. It took two people two hours to do the work, it was really nice to have an extra set of eyes, to remember what direction pieces of metal from the stove went. I would do it all over in a heart beat instead of buying a new stove.
Read less
Was this helpful?
Thank you for voting!
temperature not accurate after 3 1/2 years of happy usage
144 of 272 peoplefound this instruction helpful.
Ruth from Oregon, IL
Really Easy
15 - 30 mins
Screw drivers
Opened up the back of the stove. Unpluged the sensor. Replaced the sensor. Replace the back of the stove.
The sensor that has been replaced is not what is expected. After reading all of the instructions for adjusting the temperatures, the only temp that stays steady is when we first turn on the oven to 350 degrees. That stays s
... Read moreteady but when I turn it to 400 it slowly goes up to 425 degrees.
Read less
Was this helpful?
Thank you for voting!
Replace shattered outer door glass
86 of 106 peoplefound this instruction helpful.
Philip from Vandalia, MI
A Bit Difficult
Less than 15 mins
Screw drivers
This is not the best design. You'll need to have an extra set of hands to hold the trim pieces in place. Remember the glass is positioned outside [on top of]the trim pieces. Be careful as the trim pieces are rather brittle and can be hard to locate in their proper position. Position glass in the holding tabs at the bottom, hold glass ag
... Read moreainst the trim pieces and gently position door handle over glass and trim.The handle holds everything together. No instructions are shipped w/ parts.



 My Orders