


 My Orders




GFD240-1W2 (GFD24001W 2) Caloric Refrigerator - Overview
Diagrams for GFD240-1W2
See every part. Know exactly what you need.


Enter a part description. DIY Heroes keep it simple, eg. "belt" or "pump".
Search filter:
Clear Filter
Your search term must have 3 or more characters.

$19.54
In Stock
Light Bulb - 40W
Part #8009
This an authentic OEM 40-Watt replacement light bulb, used in a number of household appliances. It is specially designed to withstand extreme temperatures, which is why these replacement bulbs are most often used to light the inside of refrigerators and ranges. It features a standard socket base, which means you simply unscrew the burnt-o...Read moreut bulb and screw in the replacement. Depending on the appliance you may require a screwdriver or nut driver to access the light bulb. We recommend you wear work gloves while handling this replacement part. It is constructed of glass and metal and is sold individually. Depending on the appliance and location of the bulb within it, you may want to consider disconnecting power and using a flashlight for easier access to unscrewing and re-screwing in your bulb during this repair.
Read less

$34.74
In Stock
Defrost Timer
Part #W10822278
The Defrost Timer (Defrost control) acts like a clock by switching on the defrost heater circuit after a predetermined amount of compressor run time. This allows the defrost circuit to clear the evaporator of ice or frost to maintain proper airflow. If this part is not working, it can lead to temperature increases in your refrigerator. If...Read more the compressor circuit fails, no cooling will take place; if the defrost circuit isn't activated, ice will quickly build up on the evaporator coils and reduce airflow and efficiency. If the timer doesn't advance or if the contacts have no continuity, the timer will need to be replaced. This part is located inside of the control housing on most models, and is approximately 3 inches long and 2.5 inches wide. This part is constructed of plastic and metal, and comes in white. It features 1 defrost timer, along with all necessary mounting hardware and installation instructions
Read less

$17.15
In Stock
Refrigerator Plastic Tubing
Part #WPB5705307
This part supplies water to refrigerator components that require water, such as the ice maker and water dispenser. If you notice a leak coming from your refrigerator, the plastic tubing that feeds your water and ice dispenser might need to be replaced. This part is made of clear plastic and is 1/4 inch thick, and 8 1/2 feet long. Make sur...Read moree to disconnect power to the refrigerator and shut off the water supply prior to installing this part. Safely store any perishable food items that could deteriorate while the power to the refrigerator is disconnected. Work gloves are recommended to protect your hands during this installation.
Read less

$7.47
In Stock

$7.47
In Stock

$81.96
On Order
Filter
Part #WPB2150504

No Longer Available
SWITCH
Part #55882P

No Longer Available
Hinge Pin Clip
Part #M0118901
This hinge pin clip is less than an inch in diameter. It is is made of metal.
No Longer Available
WASHER
Part #M0274049
No Longer Available
MULLION TRIM - ALMOND
Part #53701L
No Longer Available
MULLION TRIM - WHITE
Part #53701W
No Longer Available
GASKET, FERRULE
Part #Y311189
Common Symptoms of the GFD240-1W2
How this model fails, and the parts that fix it.
Fridge too warm
Fixed by
these parts
these parts

Show All
Freezer not defrosting
Fixed by
these parts
these parts
Show All
Leaking
Fixed by
these parts
these parts

Show All
Freezer section too warm
Fixed by
these parts
these parts
Show All
Will Not Start
Fixed by
these parts
these parts
Show All
Fridge and Freezer are too warm
Fixed by
these parts
these parts
Show All
Fridge runs too long
Fixed by
these parts
these parts
Show All
Frost buildup
Fixed by
these parts
these parts
Show All
Freezer too cold
Fixed by
these parts
these parts
Show All
Fridge too cold
Fixed by
these parts
these parts
Show All
Too warm
Fixed by
these parts
these parts
Show All
Noisy
Fixed by
these parts
these parts
Show All
Won’t start
Fixed by
these parts
these parts
Show All
Watch our pros, then fix it yourself.

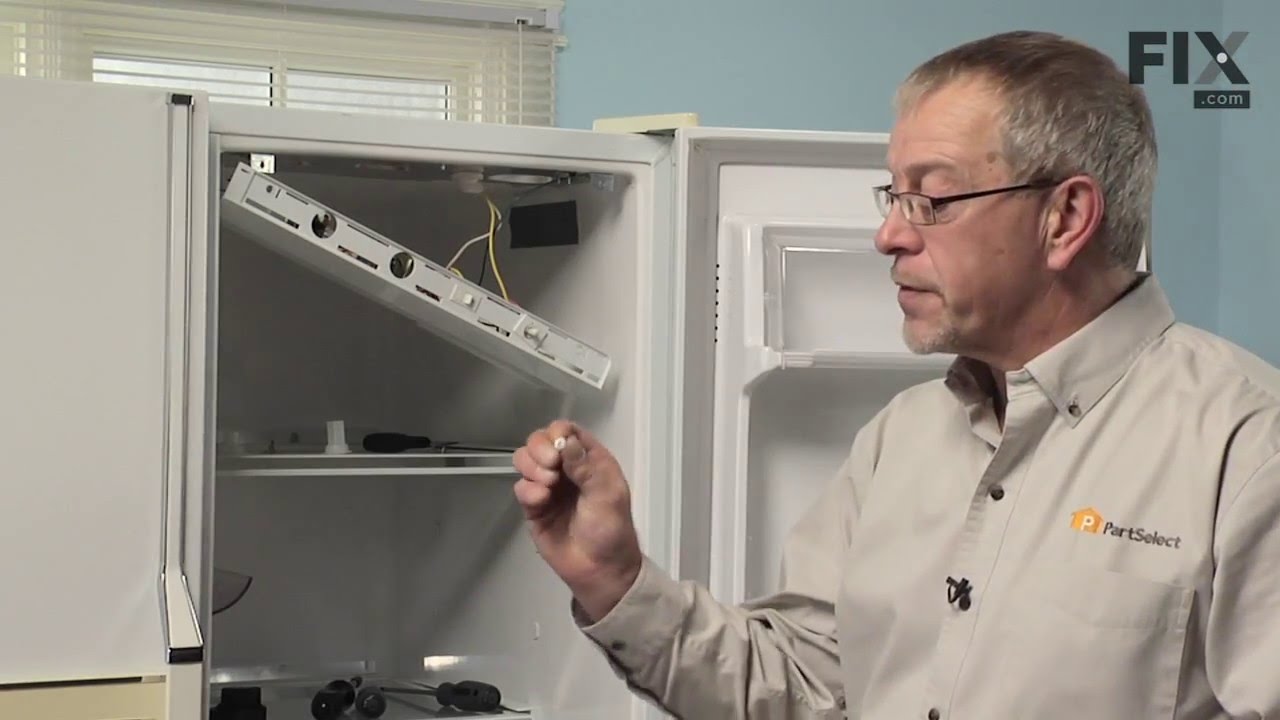
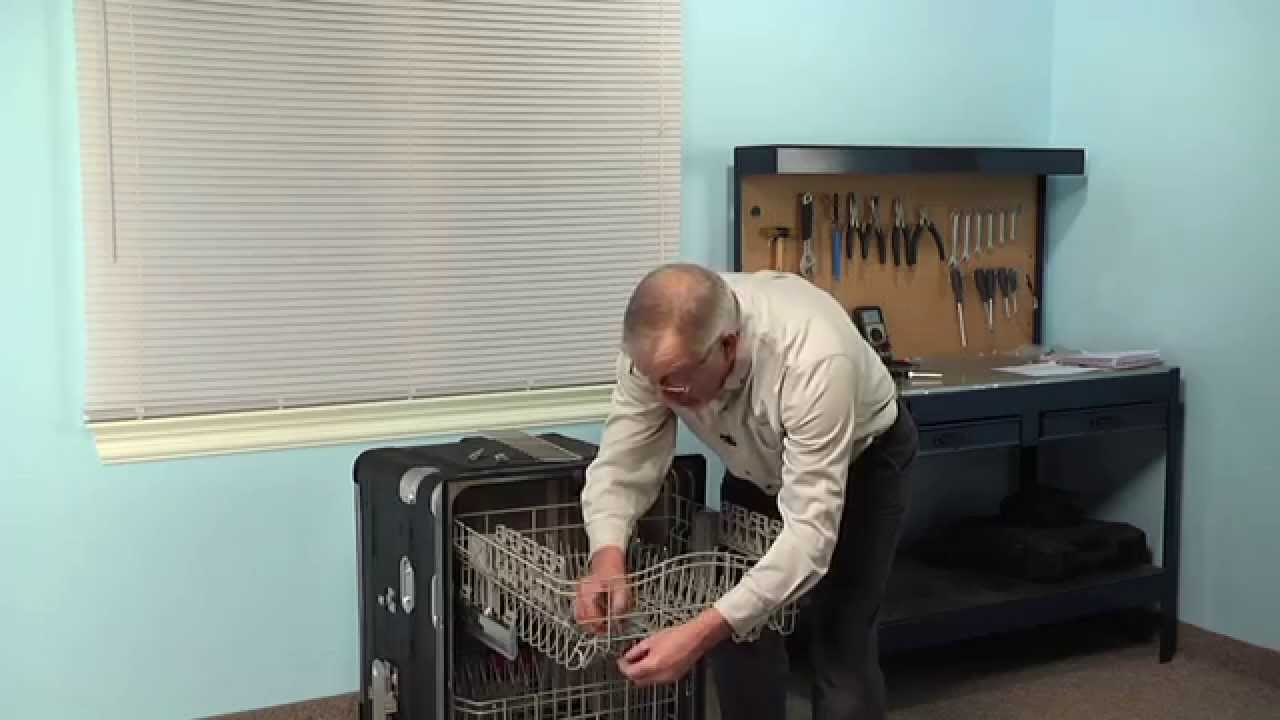
See how others fixed this model. Time, tools, difficulty, and steps that lead to victory!
View More