


 My Orders




GCWL1069CS3 (ASSEELC) LG Washer - Overview
Diagrams for GCWL1069CS3
See every part. Know exactly what you need.


Enter a part description. DIY Heroes keep it simple, eg. "belt" or "pump".
Search filter:
Clear Filter
Your search term must have 3 or more characters.

$35.80
In Stock
Water Inlet Valve - Hot
Part #5220FR2006H
The hot water inlet valve on your washing machine controls the water flow into the washer. This inlet valve has a standard hose fitting inlet and one water outlet. The water inlet valve opens to allow water to enter the washing machine. If the water inlet valve is defective, the washer may leak, fill slowly, or not fill at all. To test yo...Read moreur valve, unplug the washer when the symptom occurs. If the washer continues to fill, then your inlet valve is defective. This part is approximately 3 inches long x 3 inches wide.
Read less

$19.30
In Stock
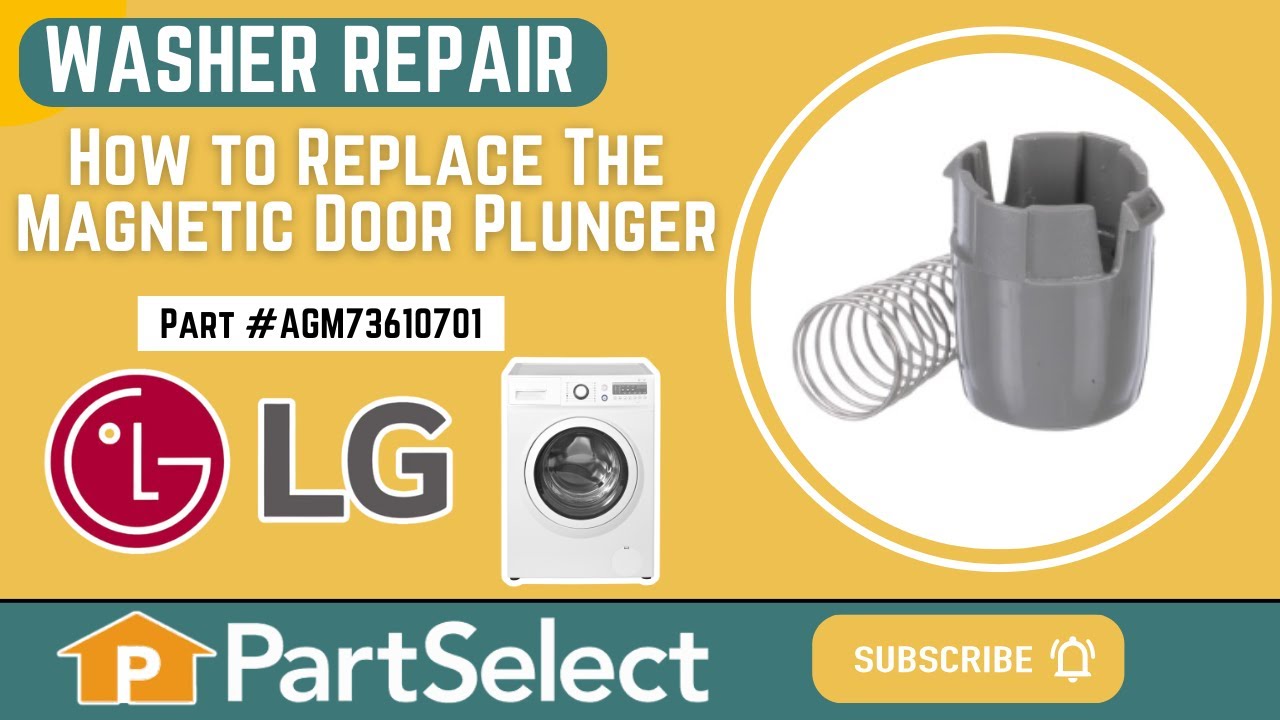
Magnetic Door Plunger
Part #AGM73610701
This magnetic door plunger, also known as the magnet holder, is built for your washer. When you order this part, you will receive the plastic housing and a spring that goes with it. The magnetic door plunger attaches to the inner door panel of the washer. It holds the door open when the washer is not running, and allows the door and tub s...Read moreeal to dry. This prevents mold and mildew from building up. Occasionally, the plastic tabs on the housing can break, and when this happens the part will need to be replaced. You may also notice that your washer lid or door will not close; this can also be a sign of a damaged magnetic door plunger.
Read less

$24.67
In Stock
Rear Tub Gasket
Part #4036ER2004A
If you notice your washing machine is leaking water from the top of the transmission, it might be due to the gasket being damaged or worn down. When replacing your gasket, consider replacing your tub bearings at the same time. The gasket (or seal) is located at the back of the outer tub of your washing machine. To access this part you wil...Read morel need to pull the top off of the appliance by releasing the screws holding it in place. This part is sold individually, is black in color, and measures 3 inches in diameter.
Read less

$55.29
In Stock
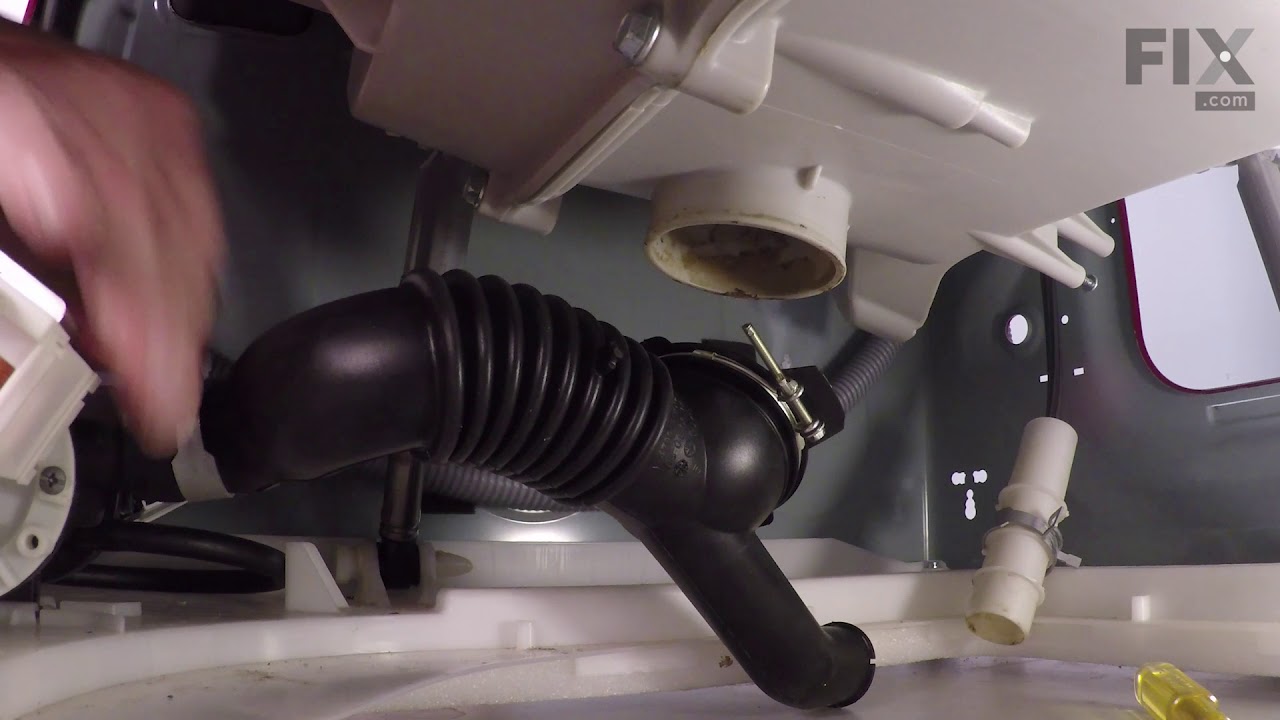
Tub-to-Pump Drain Hose
Part #4738ER1002A
This is a tub-to-pump drain hose for a front load washer. The hose features flexible bellows which allow it to expand and contract when necessary. It carries the water from the tub of the washer to the drain pump so the used water can properly empty from the tub. This part is made of rubber, is black in color and measures 13 inches long. ...Read moreBe sure to drain the excess water from the washer before completing this repair. This is an authentic OEM part that is sourced directly from the manufacturer.
Read less

$24.67
In Stock
Washer Gasket
Part #4036ER4001B
This is a seal for a washer tub. It creates a seal between the front and rear halves of the washer tub to prevent the appliance from leaking. If you notice leakage between the two sections of the tub, you may need to replace this part. Seals can get dry and brittle over time which compromises the integrity of the part and may cause your a...Read moreppliance to leak. This is a genuine replacement part sourced from the original manufacturer. You will need to disassemble the outer panels of the washer to access the tub seal.
Read less

$45.29
In Stock
Washer Tub Bearing, Rear
Part #MAP61913707
This tub bearing is for washers.
Tub bearing supports the spin basket shaft at the tub.
Unplug the washer and shut off the water supply before installing this part. Wear work gloves to protect your hands.

$128.66
In Stock
Inlet Valve Assembly
Part #5221ER1003A
This replacement water inlet valve is designed for use in washing machines to manage water flow during the cold water fill, bleach dispensing, and prewash cycles. It features a standard hose fitting inlet and three outlet ports—two angled 45 degrees to the right and one angled 45 degrees to the left—ensuring precise routing of water to de...Read moresignated compartments. Constructed for durability and compatibility with select models, this genuine OEM component helps maintain proper cycle performance and water distribution. Replacement is recommended if water fails to enter the machine correctly or if specific cycles are not functioning. Always disconnect power and water supply before installation.
Read less

$24.67
In Stock
Pump Filter
Part #383EER2001A
This replacement pump filter, also known as a filter assembly, is a genuine OEM part for your washer or washer/dryer combo. Before beginning this repair, turn off the power and water supply to your washer. The filter assembly may need to be replaced because it is broken or is leaking water. To locate the filter assembly, pry open the smal...Read morel door on the front of the washer, using a flat-blade screwdriver. Unplug the drain hose next to the filter and drain the water into a bucket. Then unscrew the pump filter, and replace with your new one.
Read less

$56.33
Special Order
Washer Tub Bearing
Part #MAP61913708
Tub bearing. This part is very difficult to install. The manufacturer recommends replacing the complete rear tub and bearing assembly.

$21.45
Special Order
Locking Pin
Part #4774FR3118B
This is a locking pin, and it works in conjunction with your washer. The part measures to be roughly 3 inches long, and less than an inch wide. The pin is cylindrical, off-white in color, and made entirely of plastic. This part is used to hold the shock absorber on the washing machine. There is a pin used at the bottom and top of the shoc...Read morek absorber. This model is sold individually. If your washing machine is experiencing an above-average amount of shaking and moving this part may be the reason.
Read less

$21.45
In Stock
Clamp Assembly
Part #2W20017E
The door boot seal clamp, also referred to as an outer door gasket clamp, holds the door boot in place in a front-loading washer. If your washer is leaking from the door and there are no signs of damage to the door boot seal, check to ensure that it is securely fastened. If your boot seal clamp is faulty, or damaged, it should be replaced immediately.

$15.00
In Stock
Clamp
Part #4861FR3068A
Common Symptoms of the GCWL1069CS3
How this model fails, and the parts that fix it.
Leaking
Fixed by
these parts
these parts


Show All
Lid or door won’t close
Fixed by
these parts
these parts


Show All
Water Filling Issues
Fixed by
these parts
these parts

Show All
Will not drain
Fixed by
these parts
these parts


Show All
Locking Issues
Fixed by
these parts
these parts
Show All
Noisy and Marks Left on Clothes
Fixed by
these parts
these parts


Show All
No hot or cold water
Fixed by
these parts
these parts
Show All
Burning smell
Fixed by
these parts
these parts
Show All
Spinning Issues
Fixed by
these parts
these parts
Show All
Will Not Start
Fixed by
these parts
these parts
Show All
Watch our pros, then fix it yourself.
See how others fixed this model. Time, tools, difficulty, and steps that lead to victory!
View More
Search repair tips from other customers using simple keywords like "replace", "fit", "remove", "inspect". DIY doesn't mean you have to do it alone!
Search filter:
Clear Filter
Your search term must have 3 or more characters.
Dry bearing noise, rough bearing, very loud in spin cycle
33 of 36 people
found this instruction helpful.
I went online and looked at the different parts companies for this brand of washer. This is an LG Tromm steam washer. I am pretty mechanically inclined so I watched videos on this machine which you can also find on line and U-Tube and took down some notes that I felt relevant for the disassembly and the repair. I looked at the break down
... Read more
parts schematics and ordered all the parts I felt I needed for this machine. The parts I ordered were the tub hub seal and the inner and outer bearings that go on the spindle shaft which is connected to a piece they call the spider that connects to the inner tub. I also ordered the outer tub o-ring where the outer tub splits in half. Note that I mentioned the spider and that they have a tendency to corrode bad, but you cannot see it until it is disassembled, the parts I ordered are reasonable, the spider can cost upwards of a hundred plus dollars so make sure you evaluate the cost of parts to the age of your machine and to the cost of a new one. Well on my front load washer when I finally took it apart and I felt I got lucky with just the two spindle hub bearings and the seal and the outer tube seal. After looking at the videos and taking some notes, written and mental, I started the disassembly of the washer. First " unplug the power to the washer". the next step is to shut off your two water supplies to the washer and disconnect the hot and cold water lines, note that I disconnected the lines at the washer just for the convenience of not having those lines hanging off the machine and out of your way. another note is that you will want an area with some space so you can keep everything organized and give yourself some room to work. Once you have your machine moved to a open space, start by removing the top of the machine. there are two screws, 4 total in the back of the cover that are removed with a plastic bracket on each side, these are Phillips head or cross type screws. once removed, take the top and shift it back about 1 to 1.5 inches, you then can lift the top off and out of the way. The next step is to remove the front control panel by starting with the wire connectors that go into the control panel. Each connecter is different so there is no mix up. next is to remove your soap dispenser tray, on top of the tray about in the center towards the back is a spot that you gently push down on and this will release the tray for removal and move it out of the way. There are two Phillip screws on each side where you removed the tray that need to be removed to be able to remove the dispenser section out of the way. there are hoses connected to the dispenser but once lifted up an out you can lay the dispenser with the hoses connected over towards the back. There is a large rubberized hose connection that needs to be removed which has a clamp on it that you need to loosen up to take loose the connection. back to the front control panel there is one more screw on the back side on the right side looking at the front that must be removed then the front control panel assembly can be removed. there are some plastic clips on the control panels back side that need undone, gently and be careful not to force these clips but slightly lift up on the rear of the control panel and it should come out of there and then set the control panel aside. There are I believe 6 screws on the top of the front door panel assembly that need removed but before you do that down on the left bottom corner you have a panel door which pops open then is easily removed out of the way. there is a small rubber line with a plug in the end of it which can be pulled a little ways. Get a container that is low profile and pull the plug on the hose and direct it into the container, you may or may not get any water out of it, it is the tub drain. reinstall plug when done and put line back in place. Next take the pump screen out by unscrewing it out counter clockwise like a bolt, it is about 1.5 inches in diameter, you may want to put a small towel down in front of it because you will usually get a little water out of it. Once removed, inspect the plastic screen for any debri and remove it and reinstall the screen. Now down in that same area below the screen there is a Phillips screw which needs to be removed and set aside. Now you go to the rubber boot behind the washer door when the door is open on the outer edge there is a metal wire that goes around the boot to hold it in place with a spring on it. You want to gently take a flat blade screw driver and not to tear the boot, work that wire and spring out of its groove and remove it out of the way. now you may take the rubber boot on the front and take it off its edge and push it back in towards the tub. Now we go back to the six screws at the top of the panel and remove them. at this time you should be able to lean the panel out enough to disconnect the wires to the door latch. Once the door latch has been disconnected, lift up on the front door panel and bring it out
Read less
Other Parts Used:


Was this helpful?
Thank you for voting!