EasyApplianceParts is now PartSelect! We've merged our sites to provide a better shopping experience for you.   Full Details
✖

Find Parts

Parts Departments

Top Model Types

Top Brands

Repair Help

Expert Repair Videos

Keep typing for more specific results...

GBP24FC Amana Range - Overview

Enter a part description. DIY Heroes keep it simple, eg. "belt" or "pump".

Search filter:
Clear Filter
Your search term must have 3 or more characters.
Blower Wheel – Part Number: 56000
$68.86
In Stock
Blower Wheel
★★★★★
★★★★★
(12)
Part #56000
If your dryer is noisy, will not tumble, or is not producing enough heat, you may need to replace the blower wheel. This part is white in color, and is made of plastic. This part is approximately 8 inches in diameter. The blower wheel is located near the bottom of your dryer cabinet. To access it for this repair, you will need to remove both the front panel and the front bulkhead assembly. Before you begin this repair, be sure to disconnect the power source to the dryer. To complete this repair, you will need a 5/16 inch nut driver, a 1/4 inch nut driver, a pair of locking pliers and a 7/8 socket with a short extension and a ratchet.
2 Piece Broiler Pan – Part Number: 4396923
$49.50
In Stock
2 Piece Broiler Pan
★★★★★
★★★★★
(6)
Part #4396923
This broiler pan and roasting rack set is designed to help reduce mess while cooking by allowing grease to drain away from food. Its durable porcelain-coated construction stands up to high temperatures and makes cleanup simple. With approximate dimensions of 16 3/4 inches long, 12 3/4 inches wide, and 1 3/4 inches high, it offers a convenient size for everyday broiling and roasting.
Range Surface Burner Control Knob – Part Number: WP4179282
$25.75
In Stock
Range Surface Burner Control Knob
★★★★★
★★★★★
(1)
Part #WP4179282
Sold Individually. This knob accepts a D-shaped shaft.
Range Thermostat Knob – Part Number: WPY07506601
$54.24
In Stock
Range Thermostat Knob
★★★★★
★★★★★
(1)
Part #WPY07506601
This black oven thermostat knob is just over two inches in diameter. It has a chrome trim around the perimeter of the knob and white lettering denoting the various temperature within the oven.
Bowl Liner – Part Number: Y07514500
No Longer Available
Bowl Liner
Part #Y07514500
Sold individually.
Range Suface Burner Ignition Switch – Part Number: WP4157180
$59.47
Special Order
Range Suface Burner Ignition Switch
★★★★★
★★★★★
(1)
Part #WP4157180
When the gas burner valve knob is depressed and turned, this part creates a spark that lights the gas and starts the burner.
Screw – Part Number: 707407
$12.85
Special Order
Screw
Part #707407
This screw is sold individually.
Range Screw – Part Number: WP8281236
$7.47
Special Order
Range Screw
Part #WP8281236
This screw is sold individually.
Top Burner Spark Igniter – Part Number: Y07491203
No Longer Available
Top Burner Spark Igniter
Part #Y07491203
Also known as a spark electrode.
DISCONTINUED – Part Number: Y07507201
No Longer Available
DISCONTINUED
Part #Y07507201
Gas Oven Thermostat with Screws – Part Number: R0711030
No Longer Available
Gas Oven Thermostat with Screws
Part #R0711030
This gas oven thermostat has pre-made holes right through the body of the thermostat so that you easily mount it horizontally. This thermostat has a 36 inch capillary tube and it allows for temperatures between 140 degrees Fahrenheit and 550 degrees Fahrenheit, plus the broiling temperature. Use this thermostat for your standing pilot model Amana brand gas range.
INSULATION – Part Number: 31975801
No Longer Available
INSULATION
Part #31975801

Common Symptoms of the GBP24FC

How this model fails, and the parts that fix it.

Watch our pros, then fix it yourself.
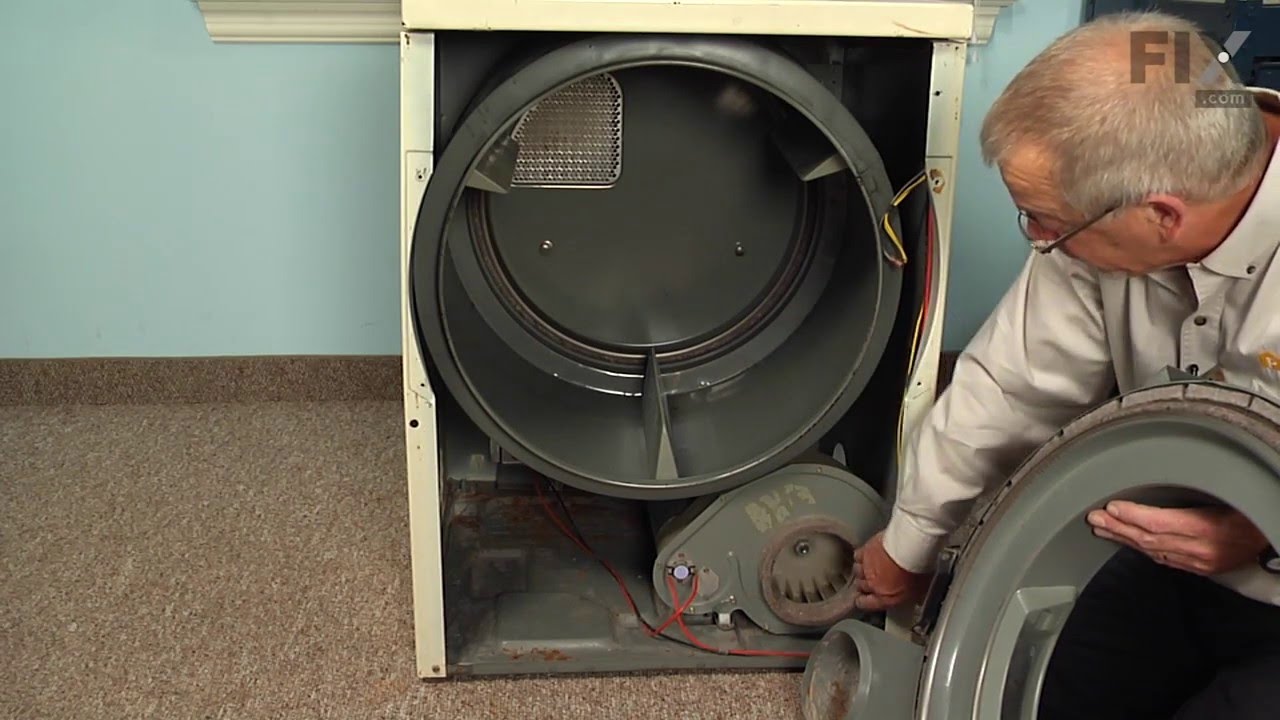
See how others fixed this model. Time, tools, difficulty, and steps that lead to victory! View More

Search repair tips from other customers using simple keywords like "replace", "fit", "remove", "inspect". DIY doesn't mean you have to do it alone!

Search filter:
Clear Filter
Your search term must have 3 or more characters.
Blower fan cracked
44 of 54 people found this instruction helpful.
  • Rick from Birch Run, MI
  • A Bit Difficult
  • 30 - 60 mins
  • Nutdriver, Socket set
Unplug the power cord from the unit. Remove the lower front panel; then the upper front panel including the door (unplug wire to door switch). Then remove the cover on the fan housing. Need to block the motor from turning; I used a stick to jamb the front of the motor; then unscrew the old blower fan and screw on the new one. Then repla ce the cover and put front panels back on.
Was this helpful?
Thank you for voting!
The insert-molded nut stripped from the wheel
18 of 21 people found this instruction helpful.
  • Ted from Grayslake, IL
  • Really Easy
  • 30 - 60 mins
  • Pliers, Screw drivers
Because the wheel had stopped and the shaft kept turning (junk from child's pocket got in there), the nut stripped itself away from the wheel causing low RPM and low air movement (lazy flame, vibration and clothes not drying)

I had to use a screwdriver to break the wheel away from the center nut and remove the fan. I then remo ved the air fan housing (3 bolt behind the fan wheel). I used a small pair of vise grips to hold the motor shaft staionary while I used a pair of channel lock pliers to remove the nut that was molded into the fan from the motor shaft. It was harder to get the nut started then I would have thought.

Once complete, I put the fan housing back on and threaded the new wheel on easily. The motor has external fins on it which turn with the shaft-I held one lightly while I threaded the fan on to keep the shaft from turning. Tighten just slightly more than hand tight-don't go crazy-it's threaded to stay tight with rotation. Works great and very quiet now.
Was this helpful?
Thank you for voting!
Ignitor did not spark when turning the know
9 of 11 people found this instruction helpful.
  • Richard from Lansing, MI
  • Easy
  • 15 - 30 mins
  • Screw drivers
Had to remove the 4 range knobs, and the oven knob and then the facie. Two screws under the end caps and two on each side from the back on each end. Design defect: one of these screws which attaches through the frame to the facie also attaches the support which holds up the range top. Take that one off last. Remove the two wires that atta ch to the oven light switch. After detaching the power supply to the defective ignition unit, it just pulls right off. Push the new switch on over the knob shaft and reassemble.
Was this helpful?
Thank you for voting!