


 My Orders




FRSS2323AW3 Frigidaire Refrigerator - Overview

Enter a part description. DIY Heroes keep it simple, eg. "belt" or "pump".
Search filter:
Clear Filter
Your search term must have 3 or more characters.

$76.11
In Stock
Refrigerator Water Filter
Part #FPPWFU01
The PurePour water filter keeps your Frigidaire refrigerator’s water clean and fresh. Designed for models with a ceiling-mounted cylindrical filter, it’s an easy, genuine replacement for safe and great-tasting drinking water.

$71.98
In Stock
Dispenser Crusher Housing
Part #241885001
This dispenser crusher housing may also be known as a refrigerator ice crusher housing, and is compatible with your refrigerator. The function of the dispenser crusher housing is to shield the ice crushing blades within the ice container. To make this repair you will need a Phillips screwdriver, a flat blade screwdriver, a quarter-inch nu...Read moret driver, and a pair of channel lock pliers. For this installation, work gloves are recommended. Note that this piece may look different or be a different color than the original, but this part will fit and function in the same way as the original part.
Read less

$26.35
In Stock
Screw
Part #240521303
This small, Phillips-head screw works with your refrigerator/freezer. It screws in to the freezer door and connects to the door handle. This part is made of stainless steel and is sold individually. This is an OEM part sourced directly from the manufacturer.

$25.25
In Stock
Screw
Part #218755504
Sold individually.
This is a genuine part. The handle mounting shoulder screw (no.10 ab) is made for use with many refrigerators. The metal screw helps to fasten the handle assembly to the outer door panel. The handle mounting shoulder screw is sold individually. For the repair, you will need a pair of pliers.

$27.51
In Stock
DRIVE BLADE
Part #241684503
This drive blade is a little under five inches long. It is used for the icemaker of many refrigerators.

$14.79
In Stock

$25.25
In Stock

$33.29
Special Order

$25.25
In Stock
Mounting Screw
Part #5304453707

$26.35
In Stock
Hinge Mounting Hexagonal Screw
Part #240578902
This genuine OEM hinge mounting screw is designed for use in Frigidaire and Electrolux refrigerators, providing a secure and reliable way to fasten door hinges to the cabinet. Built with a durable hex washer head and standard threading, it helps restore proper door alignment and maintain a tight seal to prevent cold air loss. Ideal for re...Read moreplacing worn, stripped, or corroded hardware, this heavy-duty screw ensures long-lasting stability and dependable everyday performance.
Read less

$56.92
In Stock

$60.27
Special Order
Basket Hanger - Left Side
Part #240343102
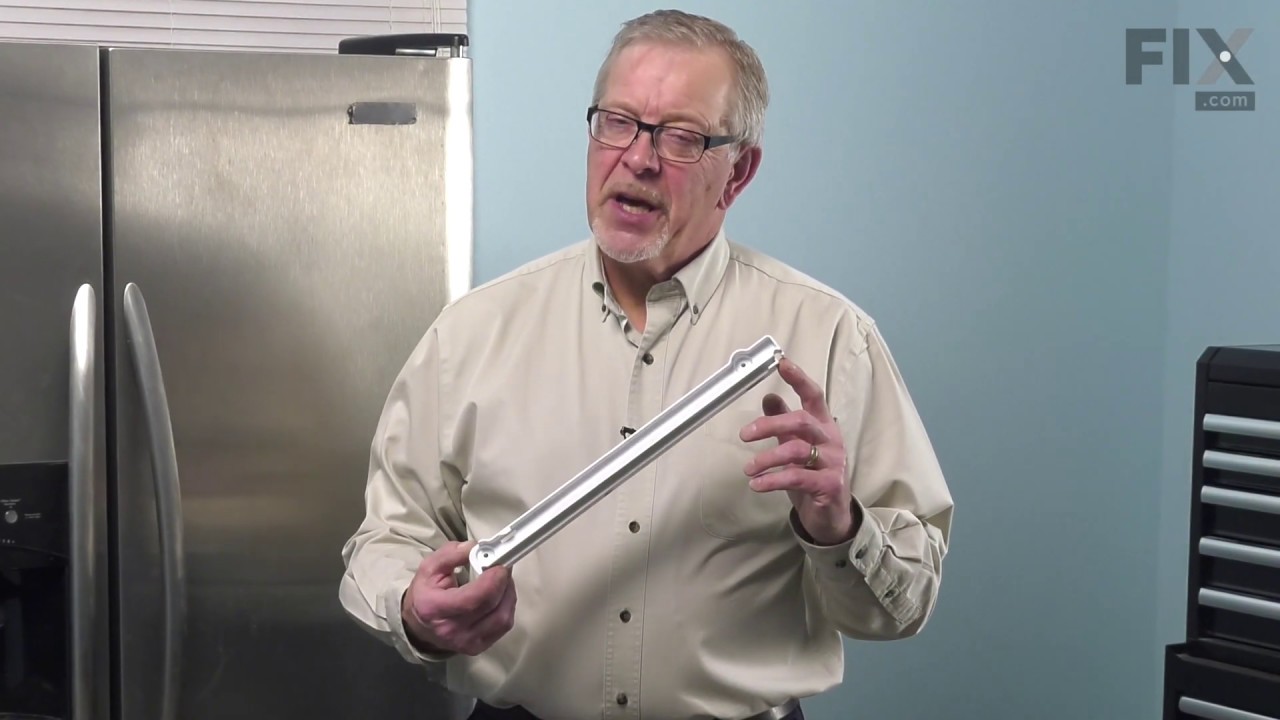
This freezer basket hanger, also known as a drawer slide rail, is a genuine OEM replacement part for the freezer compartment of your refridgerator. This hanger is for the left side. Pull out the front trim, glass shelf, and basket. Use a 1/4 inch nut driver to unscrew to the basket hanger. Remove the hanger and put the new one on the mounting pegs, installing the rest of the parts in reverse order.
Common Symptoms of the FRSS2323AW3
How this model fails, and the parts that fix it.
Ice maker won’t dispense ice
Fixed by
these parts
these parts


Show All
Fridge too warm
Fixed by
these parts
these parts


Show All
Noisy
Fixed by
these parts
these parts


Show All
Ice maker not making ice
Fixed by
these parts
these parts

Show All
Leaking
Fixed by
these parts
these parts

Show All
Ice maker dispenses too much ice
Fixed by
these parts
these parts
Show All
Fridge too cold
Fixed by
these parts
these parts
Show All
Frost buildup
Fixed by
these parts
these parts

Show All
Door won’t open or close
Fixed by
these parts
these parts

Show All
Ice maker dispenses too little ice
Fixed by
these parts
these parts
Show All
Fridge and Freezer are too warm
Fixed by
these parts
these parts
Show All
Door Sweating
Fixed by
these parts
these parts

Show All
Watch our pros, then fix it yourself.
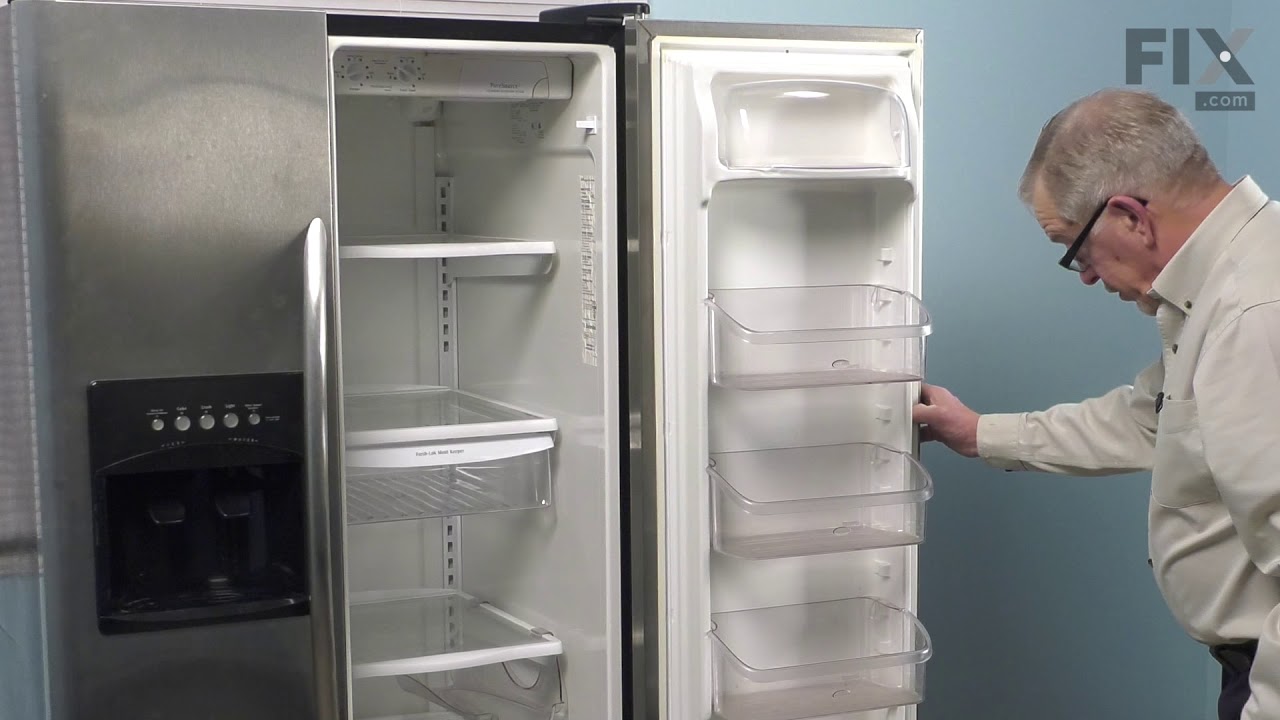
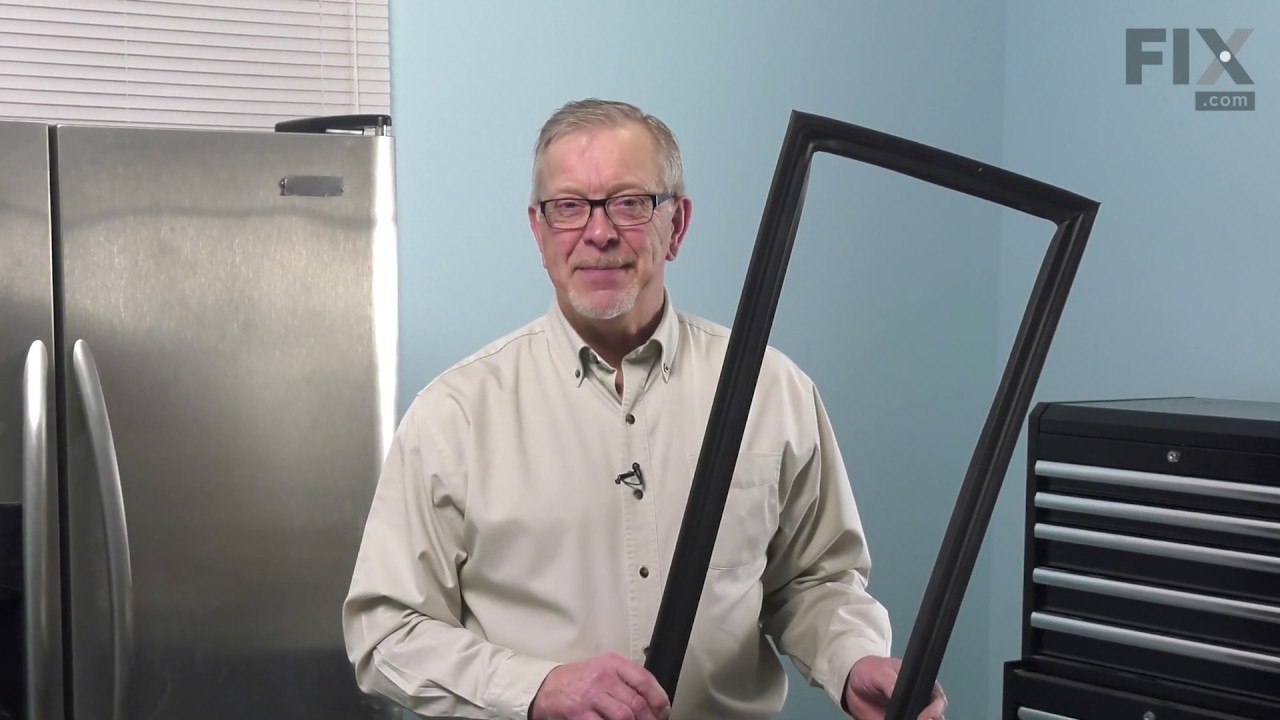
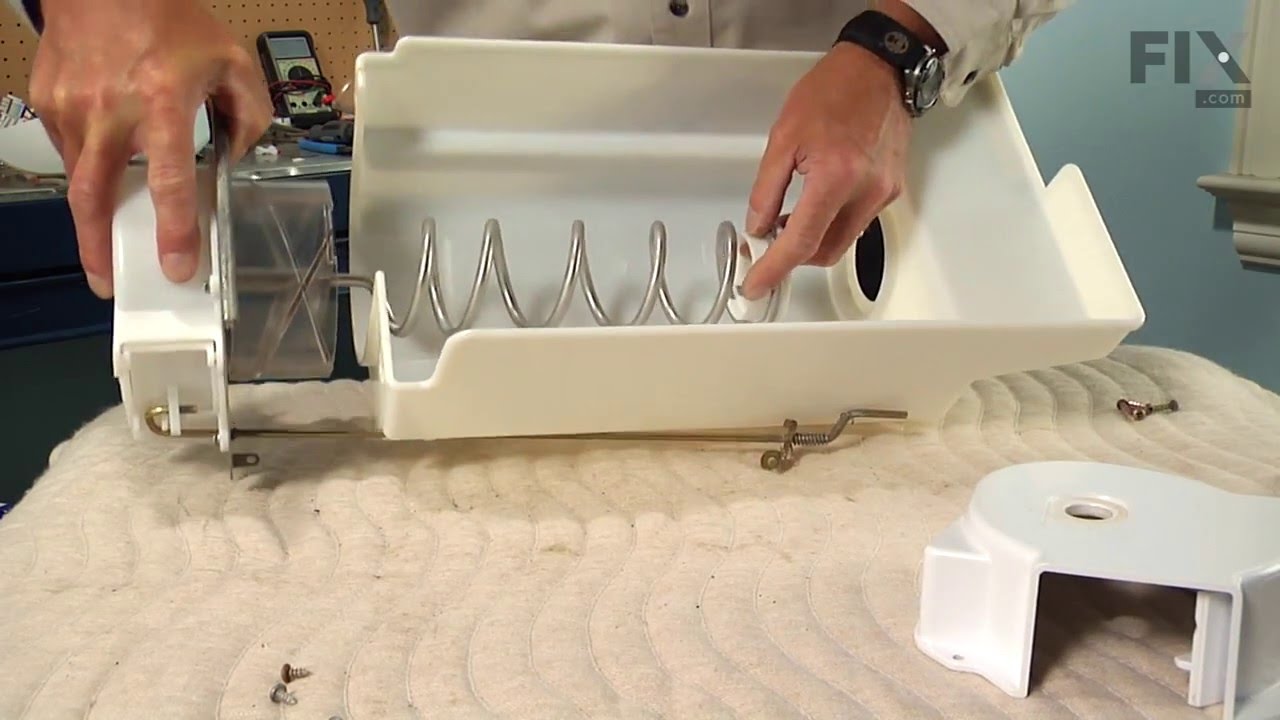

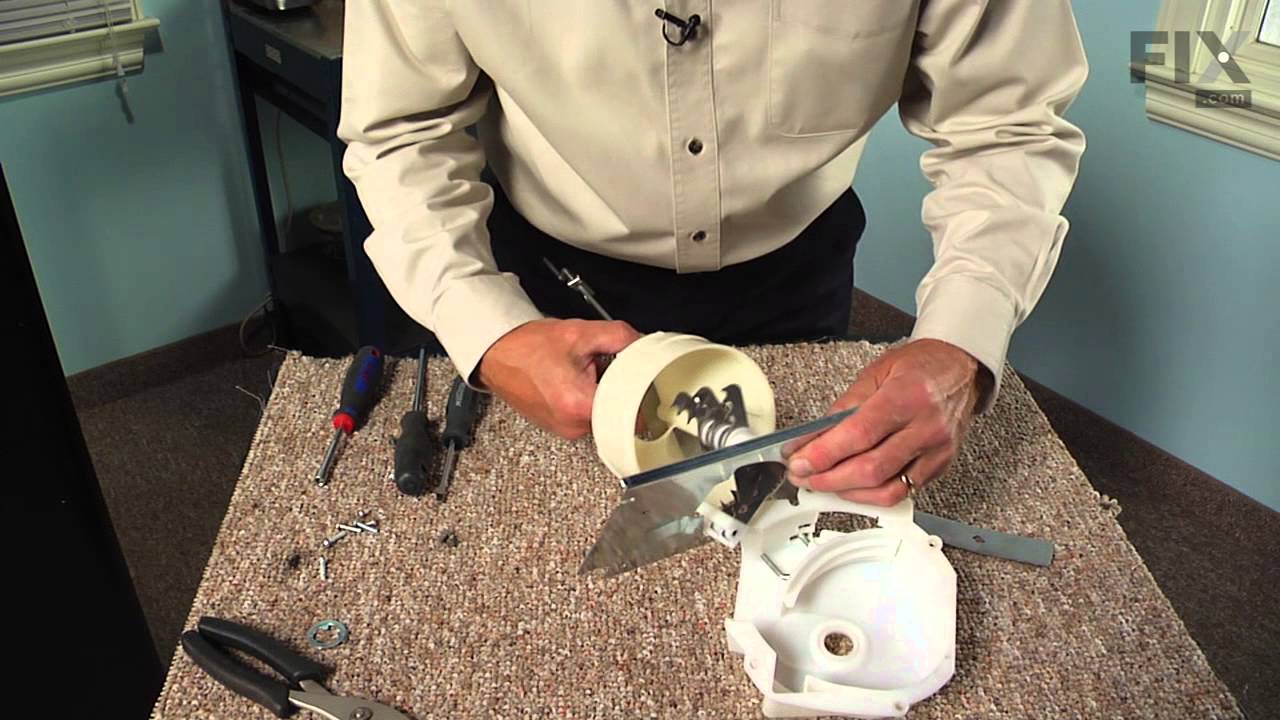
See how others fixed this model. Time, tools, difficulty, and steps that lead to victory!
View More