


 My Orders




FRS20WRHW2 (V2) Frigidaire Freezer - Overview
Diagrams for FRS20WRHW2
See every part. Know exactly what you need.


Enter a part description. DIY Heroes keep it simple, eg. "belt" or "pump".
Search filter:
Clear Filter
Your search term must have 3 or more characters.

$40.84
In Stock
Defrost Timer - 60Hz 120V
Part #215846602
This Defrost Timer works like a clock by switching on the defrost heater circuit after a predetermined amount of compressor run time. This allows the defrost circuit to clear the evaporator of ice or frost to maintain proper airflow. The defrost timer is located in the control housing which is in the refrigerator section of your appliance...Read more. If this part is not working, it can lead to temperature increases in your refrigerator. If the compressor circuit fails, no cooling will take place; if the defrost circuit isn't activated, ice will quickly build up on the evaporator coils and reduce airflow and efficiency. If the timer doesn't advance or if the contacts have no continuity, the timer will need to be replaced. This timer measures approximately 3 inches long and 2.5 inches wide, and is constructed of plastic and metal. It comes in black/white/silver and is sold individually. This replacement part features 1 defrost timer.
Read less

$27.45
In Stock
Light Bulb
Part #316538904
This OEM 40 watt appliance light bulb is used for some ranges, refrigerators, freezers, and microwaves. Simply locate the existing bulb, unscrew it from its socket, and replace with new light bulb. If the existing bulb is broken in the socket, disconnect the power to the refrigerator and use a pair of needle nose pliers to grip the intern...Read moreal fragments of the bulb to unscrew. Replace with the new bulb and reconnect the power to the refrigerator. These bulbs are sold individually and are a commonly replaced part; consider ordering a spare.
Read less

$56.05
In Stock
Run Capacitor
Part #5304464438
The run capacitor helps the compressor kick on and off while maintaining a constant temperature in your fridge and freezer. You may need to replace your run capacitor if your refrigerator or freezer section will not start, if they are too warm, or if your refrigerator has become too noisy. Replacing the run capacitor is a relatively easy ...Read moreproject. For this repair you will only need a 1/4 inch nut driver and needle nose pliers. Remember to disconnect the power and water supply line to the unit before you begin this repair. For full step by step instructions, simply click on the video below.
Read less

$95.86
In Stock
Replacement Ice Maker
Part #5303918277
This replacement icemaker may also be known as the ice maker assembly and is compatible with your refrigerator/freezer. This assembly replaces the heat-release ice maker unit only. The kit comes with four round female connectors at the end of the wire harness. It also comes with the adaptor that converts the harness to three round female,...Read more and one round male connectors. The tools you will need in order to make this installation include a 1/4-inch nut driver, and a Phillips screwdriver. Before starting this repair make sure to unplug your refrigerator and shut off the water supply.
Read less

$89.54
In Stock
Ice Container/Bucket
Part #241734001
This genuine OEM ice container, also known as an ice bucket, is designed for use in refrigerators to store ice cubes. It should be replaced if it develops significant cracks or breaks that could affect performance. To remove the container, open the freezer door and lift it out, ensuring the ice maker’s shut-off arm is in the off position....Read more Transfer the front panel, access door, shield, crusher assembly, and auger assembly from the old container to the new one—without disassembling the crusher and auger assembly, if possible, to simplify the process. When aligning the control rod, make sure one set of crimps sits in front of the crusher assembly plate and the other behind it. To secure the other end, hook the spring around the tab at the bottom of the container and tuck the bracket behind the tab. Engage the rod’s hook by rotating it into the flapper door. Reinstall the front panel and access door by aligning the holes and fastening them in place. Finally, snap the guard back onto the side rails of the bin, ensuring the ridged edge faces forward. Please note that this replacement part includes only the ice bucket; additional components must be purchased separately.
Read less

$54.95
In Stock
Ice Dispenser Drum
Part #241685101
This genuine replacement ice dispenser drum is designed for use with a wide range of refrigerator models. Made from durable plastic, the drum plays a key role in your ice maker by capturing ice and directing it to the crusher for dispensing. It is positioned between the ice dispenser drive plate and the ice crusher mounting plate, ensurin...Read moreg smooth and efficient operation.
If the drum becomes damaged or worn, replacing it is a simple process. All you’ll need is a Phillips head screwdriver. Just remove the necessary components to access the drum, unfasten it, and install the new one in its place. This part is sold individually and is compatible with many refrigerator models—check your model’s diagram to confirm fit.
Read less

$121.09
Special Order
Upper Crisper Drawer
Part #5303288971
The front for this part is sold separately or you can use your existing part.

$124.59
In Stock
Refrigerator Door Shelf Bin
Part #215441502
This white door shelf bin is a genuine OEM replacement component designed for select Frigidaire, Kenmore, Electrolux, and related brand refrigerators. Positioned inside the refrigerator door, it provides a stable and organized space for storing bottles, jars, and other frequently accessed items. Constructed from durable plastic, the bin i...Read mores engineered to restore lost storage capacity and improve overall organization within the fresh food compartment. Installation is simple and requires no tools—just slide the bin into the designated shelf track for a secure fit.
Read less

$29.26
Special Order

No Longer Available
Dispenser Drip Tray
Part #5303297845
This almond dispenser tray catches any overflow from the ice/water dispenser.

No Longer Available

$24.67
Special Order
White Touch up Paint
Part #5303321319
This is white touch up paint for refrigerators, microwaves, ranges, dryers, and freezers. It is used to cover, or touch up, nicks and scratches on the appliance from wear and tear. It is an 18ml bottle that contains paint and a small brush for easy application. It is a little over 2 inches tall. This is an OEM part that is sourced directl...Read morey from the genuine manufacturer, and is meant to be an exact match to the color of the appliance. If the appliance is not white, please see other colors such as almond or black.
Read less
Common Symptoms of the FRS20WRHW2
How this model fails, and the parts that fix it.
Fridge too warm
Fixed by
these parts
these parts


Show All
Ice maker not making ice
Fixed by
these parts
these parts


Show All
Freezer section too warm
Fixed by
these parts
these parts

Show All
Will Not Start
Fixed by
these parts
these parts

Show All
Freezer not defrosting
Fixed by
these parts
these parts
Show All
Ice maker won’t dispense ice
Fixed by
these parts
these parts


Show All
Fridge and Freezer are too warm
Fixed by
these parts
these parts
Show All
Leaking
Fixed by
these parts
these parts
Show All
Too warm
Fixed by
these parts
these parts
Show All
Fridge runs too long
Fixed by
these parts
these parts
Show All
Won’t start
Fixed by
these parts
these parts
Show All
Light not working
Fixed by
these parts
these parts


Show All
Noisy
Fixed by
these parts
these parts

Show All
Fridge too cold
Fixed by
these parts
these parts
Show All
Freezer too cold
Fixed by
these parts
these parts
Show All
Frost buildup
Fixed by
these parts
these parts
Show All
Not dispensing water
Fixed by
these parts
these parts
Show All
Doesn’t stop running
Fixed by
these parts
these parts
Show All
Clicking sound
Fixed by
these parts
these parts
Show All
Watch our pros, then fix it yourself.

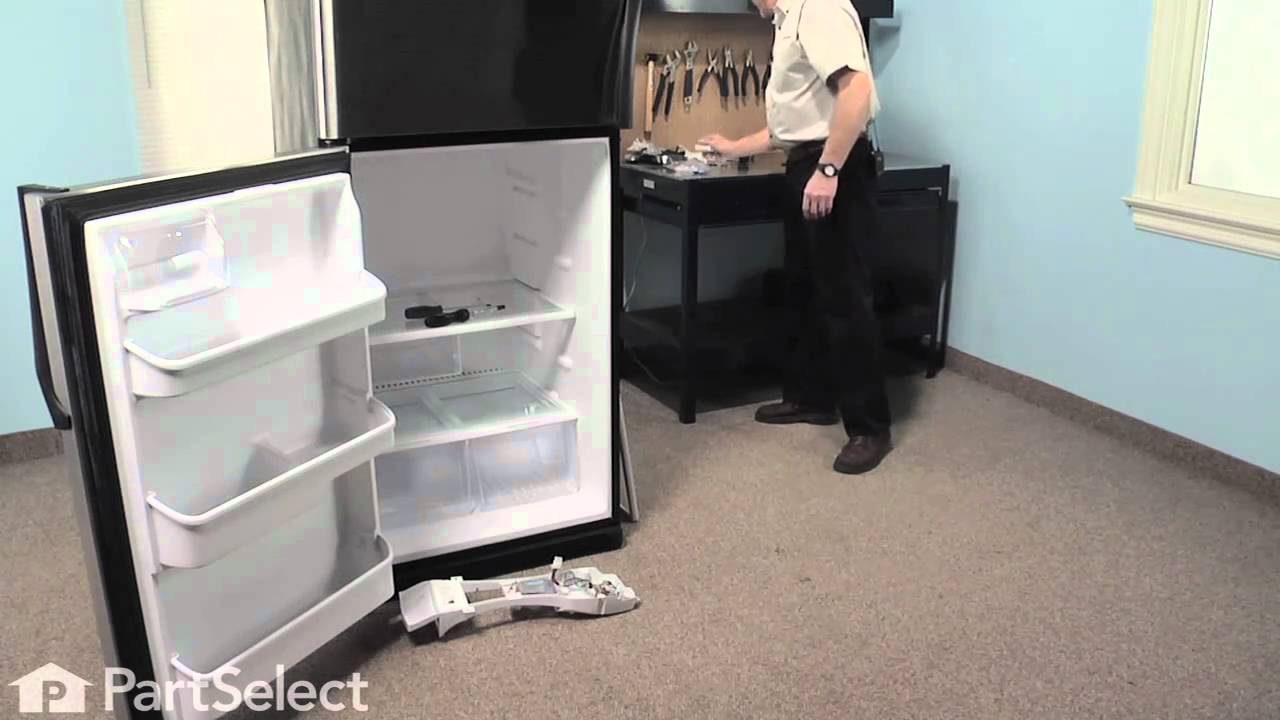
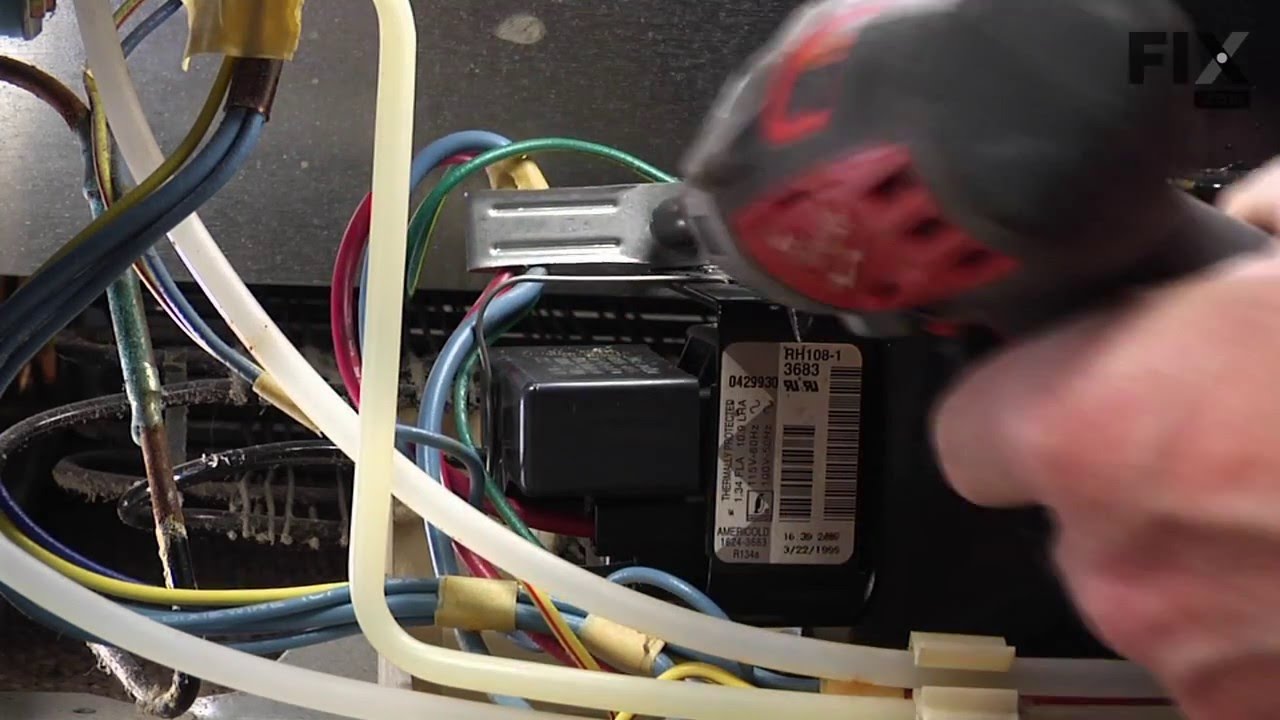
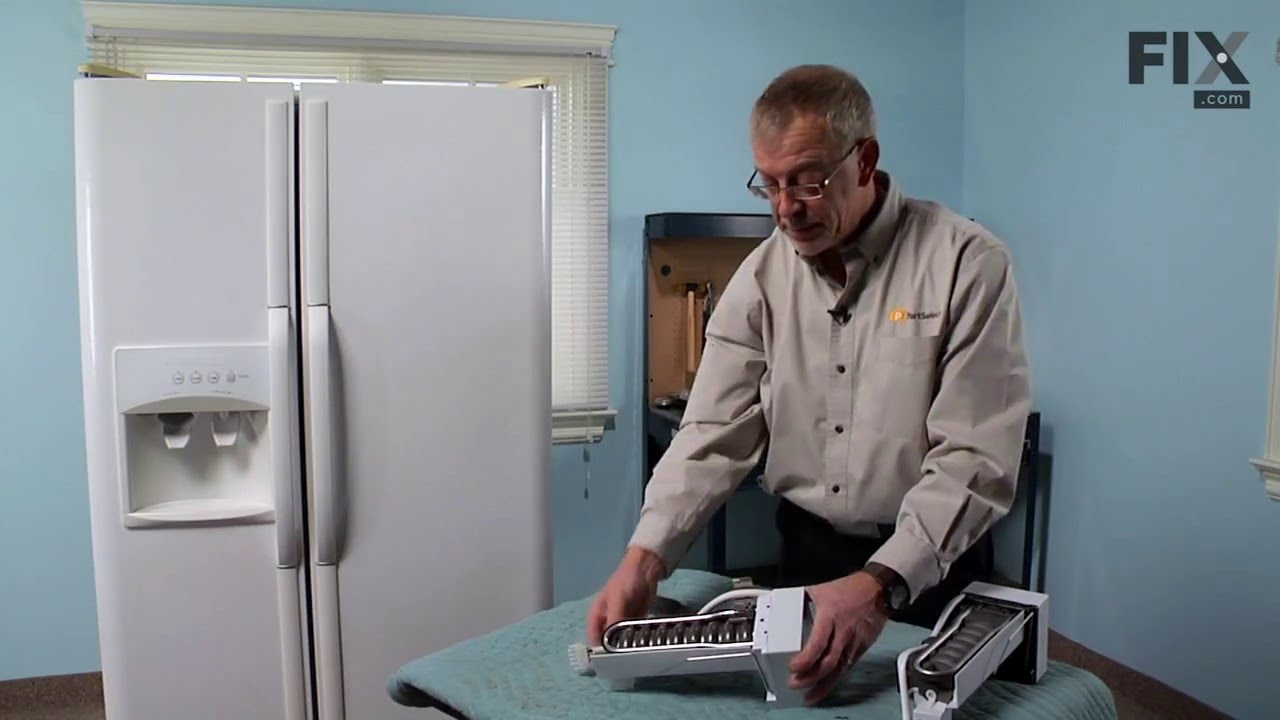
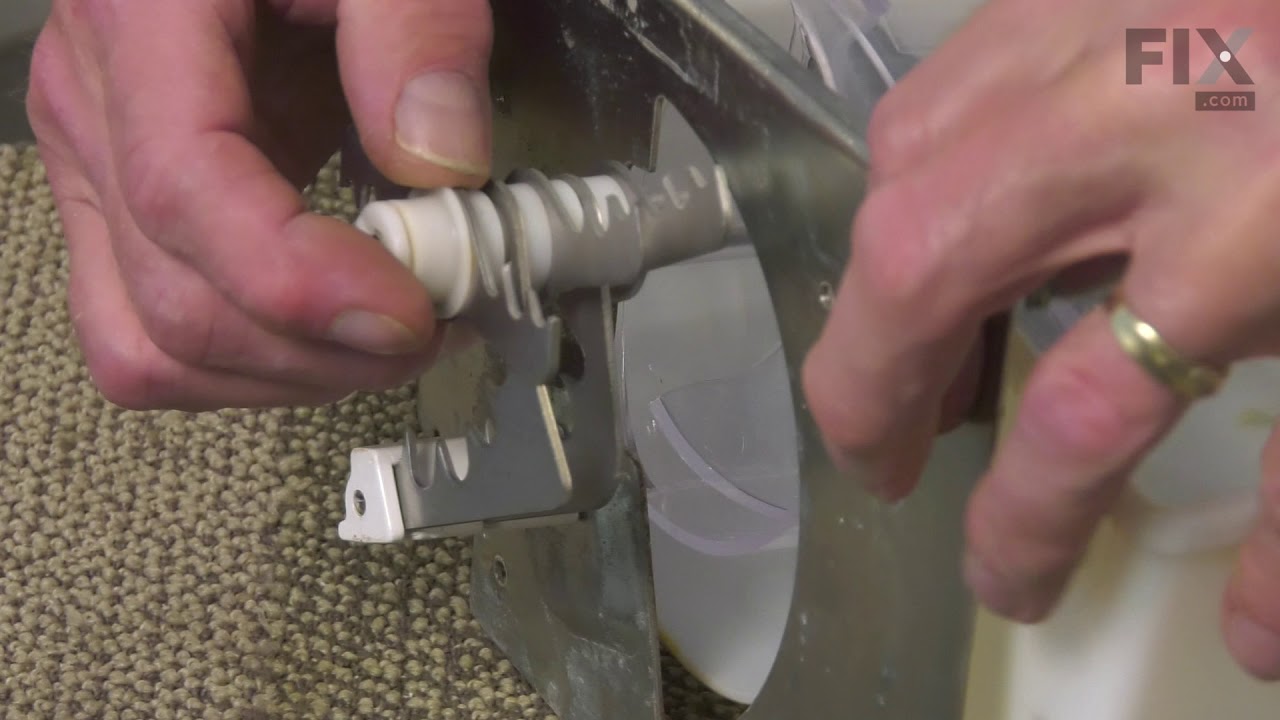
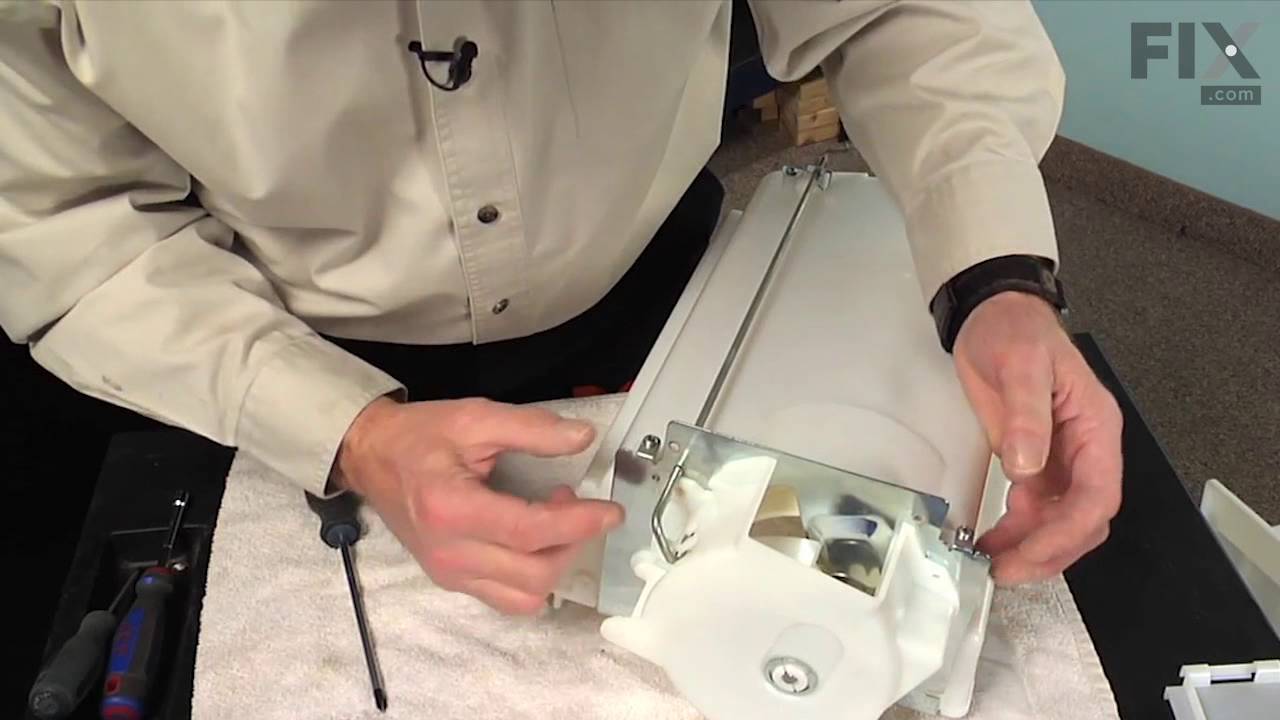

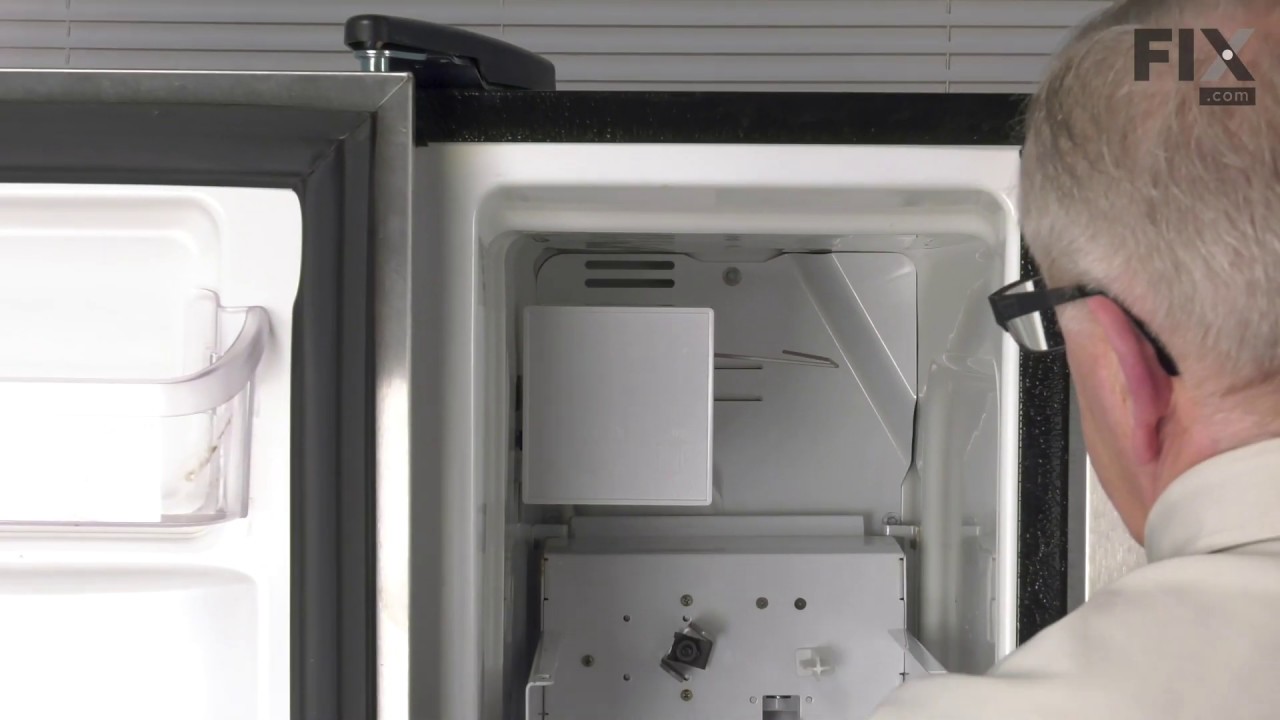
See how others fixed this model. Time, tools, difficulty, and steps that lead to victory!
View More