


 My Orders




FMK220AN4W Gibson Refrigerator - Overview

Enter a part description. DIY Heroes keep it simple, eg. "belt" or "pump".
Search filter:
Clear Filter
Your search term must have 3 or more characters.

$106.91
In Stock
Evaporator Fan Motor Kit
Part #5300158289
The evaporator fan motor kit is specifically made for your refrigerator to run the evaporator fan in your refrigerator. It is mounted on the center hub and has three lead wire terminals; its shaft has a diameter of 1/8 inches and is 1-1/4 inches long. The function of the evaporator fan motor is that it supplies air to the evaporator coils...Read more which then circulate cool air throughout your refrigerator, efficiently keeping your fresh food compartment cold. The tools you will need for this installation include a 1/4 inch nut driver, and a pair of wire strippers. Keep your hands protected during this repair by wearing work gloves.
Read less

$53.85
In Stock
Evaporator Fan Blade
Part #5308000010
This evaporator fan blade is a genuine OEM part that is sourced directly from the manufacturer. The evaporator fan blade circulates air through the refrigerator to control the amount of cold air goes that goes to internal compartments of the unit. It may need to be replaced if the fridge is noisy or not cold enough. This part is made of p...Read morelastic and is sold individually. It will be necessary to disconnect power to the refrigerator and empty the freezer compartment of the refrigerator. The tools needed to complete this repair are a 1/4 inch nut driver and a pair of needle nose pliers.
Read less

$13.73
In Stock
Ice Cube Tray
Part #215667501
The ice cube tray is made of plastic, is white in color, and is sold individually. This is a part for your freezer. The ice cube tray is sturdy but flexible to allow you to easily release the ice once it is frozen. The ice cube tray is what holds the water that eventually freezes into ice before being used. This tray measures approximatel...Read morey 11 inches long and 4 1/2 inches wide and holds 12 cubes at one time. The frigid temperature of the freezer can cause these trays to crack over time. This part is genuine and comes right from the manufacturer.
Read less

$38.96
Special Order

$12.95
In Stock
Kickplate Grille Clip
Part #5308000847
This clip is used to hold the kickplate grille in place. Sold Individually.

$38.30
In Stock

No Longer Available

No Longer Available
Fresh Food Door Gasket
Part #215019102
This almond door gasket is used to seal the refrigerator door when closed to keep the cool air inside and the room air out.

No Longer Available
PAN-DEFROST
Part #5303001026

No Longer Available
USE ERP ER215019103
Part #215019103

$115.08
Special Order
Upper Crisper Pan Cover
Part #5308009642

No Longer Available
Thermostat
Part #5308000068
This temperature control thermostat is used in refrigerators. This part regulates and maintains a certain temperature in the refrigerator to keep it from overcooling or getting too warm. If your refrigerator runs too long, and/or freezes your food in all compartments, replacing the thermostat can fix the problem. Tip for installation: Whi...Read morele the power is off during this repair, remember to store food elsewhere to keep it from spoiling. Refer to the manual provided by the manufacturer for further installation instructions and accurate guidance.
Read less
Common Symptoms of the FMK220AN4W
How this model fails, and the parts that fix it.
Noisy
Fixed by
these parts
these parts


Show All
Fridge too warm
Fixed by
these parts
these parts
Show All
Light not working
Fixed by
these parts
these parts

Show All
Freezer section too warm
Fixed by
these parts
these parts
Show All
Watch our pros, then fix it yourself.

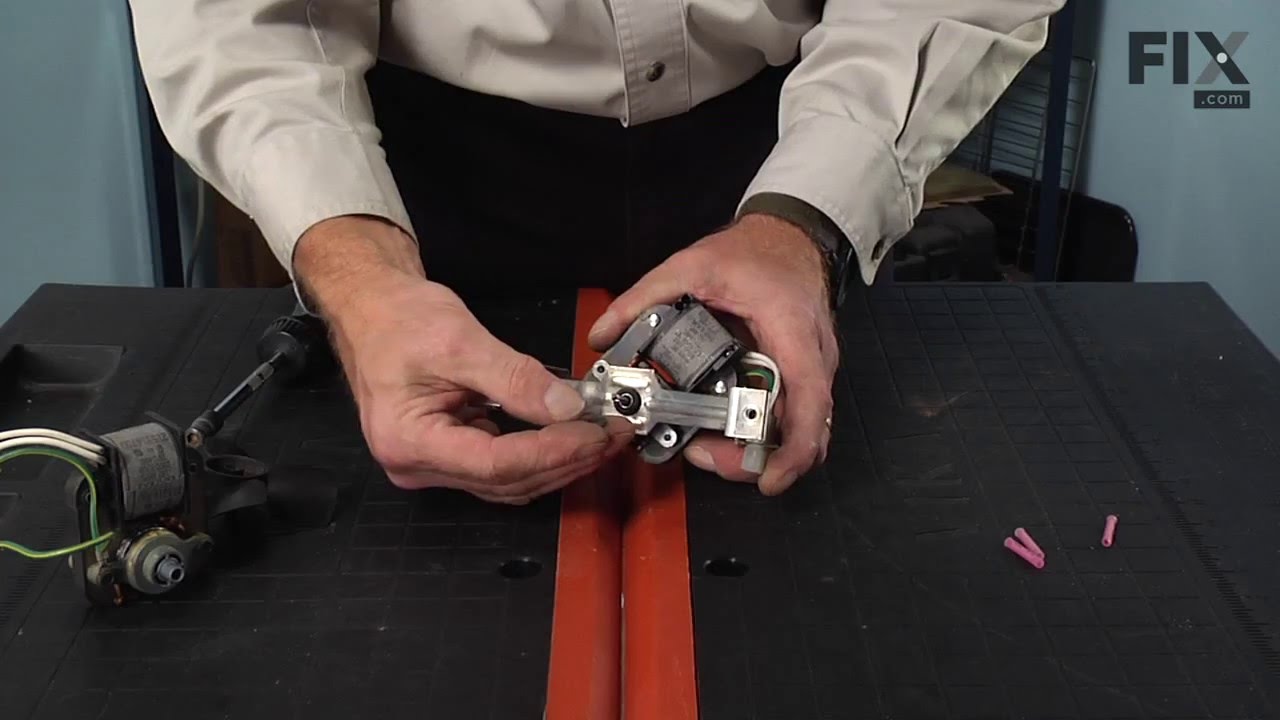
See how others fixed this model. Time, tools, difficulty, and steps that lead to victory!
View More
Search repair tips from other customers using simple keywords like "replace", "fit", "remove", "inspect". DIY doesn't mean you have to do it alone!
Search filter:
Clear Filter
Your search term must have 3 or more characters.
Noisy fan
153 of 180 people
found this instruction helpful.
1. Removed the 7 nuts using the nut driver from the freezer back panel inside the freezer.
2. Remove the back panel. The evaporator motor and fan are located above the coils.
3. Unplug the wiring harness.
4. Remove the two gold mounting screws holding the motor and fan in place.
5. Remove the motor and fan including th ... Read more e brackets.
6. Install the new motor and fan onto the mounting bracket.
6a. Attach the green ground to the mounting bracket.
7. Screw the two gold screws back into the freezer.
8. Attach the new wiring harness. Note, the old harness had a mounting hole/space for it to connect to the wiring harness of the freezer. The new motor's harness was not long enough for this, so it is connected freely to the freezer harness.
9. Use the hair dryer to melt any ice that may have formed on the coils and hole where the fan goes.
10. Turn the freezer on to see if the fan turns on.
11. Reinstall the back panel.
All done!
2. Remove the back panel. The evaporator motor and fan are located above the coils.
3. Unplug the wiring harness.
4. Remove the two gold mounting screws holding the motor and fan in place.
5. Remove the motor and fan including th ... Read more e brackets.
6. Install the new motor and fan onto the mounting bracket.
6a. Attach the green ground to the mounting bracket.
7. Screw the two gold screws back into the freezer.
8. Attach the new wiring harness. Note, the old harness had a mounting hole/space for it to connect to the wiring harness of the freezer. The new motor's harness was not long enough for this, so it is connected freely to the freezer harness.
9. Use the hair dryer to melt any ice that may have formed on the coils and hole where the fan goes.
10. Turn the freezer on to see if the fan turns on.
11. Reinstall the back panel.
All done!
Read less
Other Parts Used:
Was this helpful?
Thank you for voting!
The Evaporator Fan Burnt Up
29 of 39 people
found this instruction helpful.
The fan motor all but caught the inside of the freezer on fire . Had to remove then clean, and I mean clean the walls of the freezer . Then had to pry out the old fan without breaking anything . Replacement of new fan was quick and easy because all the parts that I needed were in the bag
Other Parts Used:
Was this helpful?
Thank you for voting!