


 My Orders




FLF334BGWG Frigidaire Range - Overview
Diagrams for FLF334BGWG
See every part. Know exactly what you need.

Enter a part description. DIY Heroes keep it simple, eg. "belt" or "pump".
Search filter:
Clear Filter
Your search term must have 3 or more characters.

$21.95
In Stock
Light Bulb
Part #316538904
This OEM 40 watt appliance light bulb is used for some ranges, refrigerators, freezers, and microwaves. Simply locate the existing bulb, unscrew it from its socket, and replace with new light bulb. If the existing bulb is broken in the socket, disconnect the power to the refrigerator and use a pair of needle nose pliers to grip the intern...Read moreal fragments of the bulb to unscrew. Replace with the new bulb and reconnect the power to the refrigerator. These bulbs are sold individually and are a commonly replaced part; consider ordering a spare.
Read less

No Longer Available
Porcelain Drip Pan
Part #316011401
This part is the replacement porcelain drip pan for your range or cooktop. It is a square-shaped drip pan and is black in color. It is approximately 9 inches in length and 9 inches in width. The drip pan will have one slightly rounded edge, and one flat edge, with a circular hole in the center that is approximately 2 1/8 inches in diamete...Read morer. The porcelain drip pan sits under the surface burner and catches spills. The main reason to replace the drip pan is if it is cracked or damaged. Be sure that your range is off, and the surface is cool to the touch before beginning this repair. This is an OEM part from the manufacturer.
Read less

$83.95
In Stock
Oven Burner Igniter
Part #5304509706
This is an oven igniter for various ranges. This part is used to ignite the burner within gas ovens. If your oven is not heating properly this igniter has likely failed and is in need of replacement. To replace this igniter, you will need pliers, a screwdriver, and a wrench. This igniter is an OEM part and does not come with any other accompanying parts or accessories.

$87.37
In Stock
Oven Rack
Part #316067902
Oven racks can become rusted or damaged from constant use, and need to be properly maintained and cleaned to keep them working properly. If you notice that your oven rack has been damaged or rusted, the rack should be replaced. This oven rack has two anchor points on either side to keep it stable and secure within the oven. This ensures t...Read morehat your food stays in place when baking, and allows you to remove pots and pans without the threat of the entire rack falling out in the process. This metal oven rack measures 16 inches long x 23 inches wide, and is sold individually.
Read less

No Longer Available
GLASS
Part #5304506004
This part is the replacement inner oven door glass for your oven. It is made of glass and is approximately 16 inches wide and 7 inches long. The oven door glass allows you to see inside the oven when the door is closed. The main reason to replace the inner oven door glass is if the old glass is cracked, broken, or missing. This part is an OEM part sourced directly from the manufacturer.

$84.65
In Stock
Oven Thermostat - 125V 60Hz
Part #316032411
This part establishes and maintains the internal temperature of the oven cavity.

$7.65
In Stock
Top Burner Mounting Screw with Washer
Part #316069301
This is now a new zinc and black-coated screw that will resist rust and
seizing.

$26.68
In Stock
Anti-Tip Kit
Part #316112005
The anti-tip bracket kit comes with one metal bracket and two installation screws, and is sourced directly from the genuine manufacturer. It prevents the freestanding oven, range, or stove from tipping when force or weight is applied to an open oven door. The bracket is secured to the floor and wall and fits over the rear leveling leg in ...Read morethe back of the appliance, in a cutout specifically designed for the anti-tip bracket. This part is very essential to the safe operation of the appliance. Failure to install the bracket properly can result in the oven tipping or falling and causing injuries.
Read less

No Longer Available
Leveling Leg
Part #316129200

$23.05
In Stock
Steel Washer
Part #316008401
This steel washer is also known as the range washer and is used on your oven door. The measurements for the steel washer are a three quarter inch outer diameter, and a one quarter inch inner diameter. This washer is an OEM part, made of steel, which is sourced directly from the manufacturer. This specific steel washer is used with your ra...Read morenge, to secure the inner and outer door together and to secure the oven door handle back in place. Users have ranked this repair as a simple installation that should take you less than fifteen minutes to complete.
Read less

$253.00
In Stock
Safety Valve
Part #3203459
This safety valve ensures that no gas is released until the igniter has received the proper voltage needed to ignite the gas range.

No Longer Available
Broiler Pan Grate Insert
Part #5304494997
This OEM broiler pan and grate insert are cooking accessories used in your oven to broil food. The pan catches drippings and prevents them from falling into the appliance, while the grate insert ensures the food is cooked evenly. You can usually find them at the bottom of your appliance. If your broiler pan and grate insert are broken, yo...Read moreur food may not cook evenly and the drippings may fall into your appliance. Additionally, it can be difficult to clean a damaged pan or grate. These authentic accessories come together when you purchase them, ensuring that you can enjoy evenly-cooked food without any mess.
Read less
Manuals & Care Guides for FLF334BGWG
Click to downloadInstall
Installation Instructions
(1.51MB)
Manual
Owner's Manuals
(0.99MB)
Wiring
Wiring Diagram
(0.1MB)
Common Symptoms of the FLF334BGWG
How this model fails, and the parts that fix it.
Gas igniter glows, but will not light
Fixed by
these parts
these parts


Show All
Will Not Start
Fixed by
these parts
these parts


Show All
Little to no heat when baking
Fixed by
these parts
these parts
Show All
Element will not heat
Fixed by
these parts
these parts
Show All
Oven is too hot
Fixed by
these parts
these parts
Show All
Oven not heating evenly
Fixed by
these parts
these parts
Show All
Watch our pros, then fix it yourself.
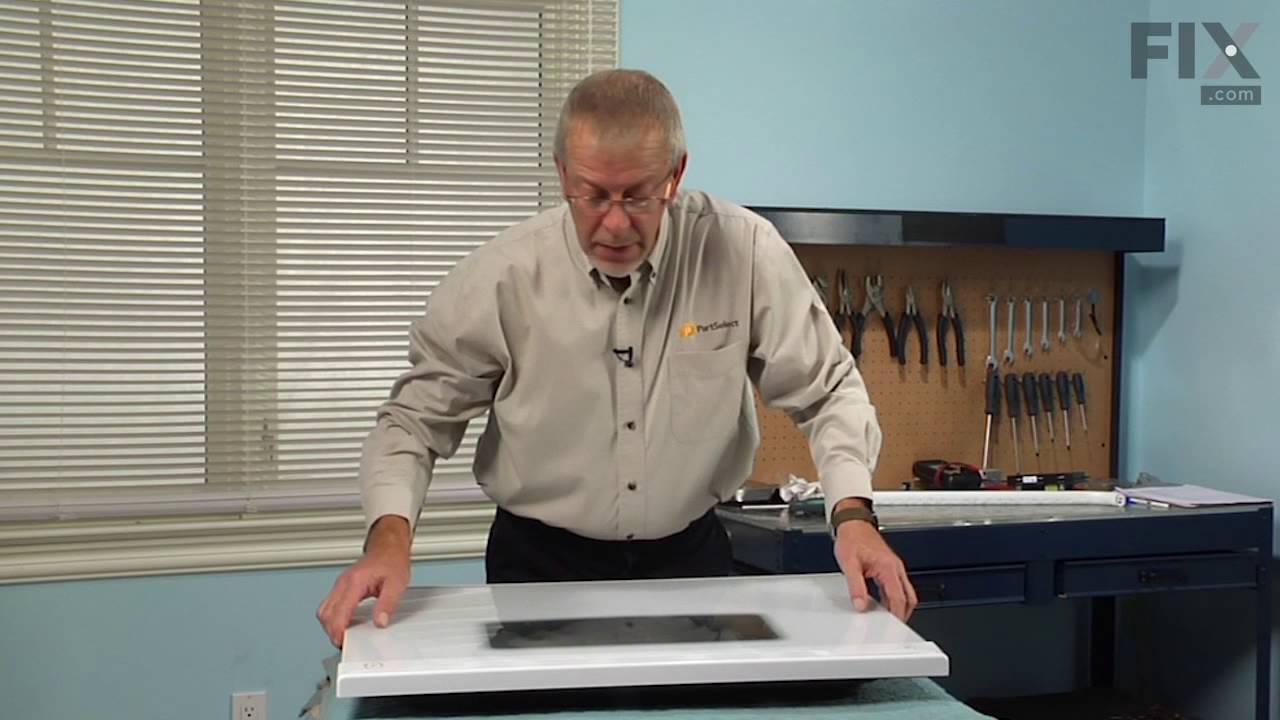
See how others fixed this model. Time, tools, difficulty, and steps that lead to victory!
View More