


 My Orders




FH6G1BAPK21 (ABWEEUS) LG Washer - Overview
Diagrams for FH6G1BAPK21
See every part. Know exactly what you need.


Enter a part description. DIY Heroes keep it simple, eg. "belt" or "pump".
Search filter:
Clear Filter
Your search term must have 3 or more characters.

$35.80
In Stock
Water Inlet Valve - Hot
Part #5220FR2006H
The hot water inlet valve on your washing machine controls the water flow into the washer. This inlet valve has a standard hose fitting inlet and one water outlet. The water inlet valve opens to allow water to enter the washing machine. If the water inlet valve is defective, the washer may leak, fill slowly, or not fill at all. To test yo...Read moreur valve, unplug the washer when the symptom occurs. If the washer continues to fill, then your inlet valve is defective. This part is approximately 3 inches long x 3 inches wide.
Read less

No Longer Available
Drain Hose Cap
Part #5006ER3009A
This drain hose plug, also known as a hose cap, is a genuine OEM part for your washing machine. This plug caps the drain hose from the pump housing, and helps prevent leaks from your washer. Before beginning this repair, make sure the power and water sources to your washer are shut off. To access the pump housing, open the pump filter cov...Read moreer, pull out the drain hose, remove the old plug and replace it, first draining the remaining water from the drain hose.
Read less

$21.45
In Stock

$41.07
In Stock
Drain Hose
Part #5214FR3188G
This drain hose is a genuine OEM replacement part that is specially made for LG washing machines. It is a flexible rubber pipe designed to remove wastewater from the washer. When the washing machine goes through its drain cycle, water is pumped out of the drum and into the drain hose assembly, which then directs the water out of the machi...Read morene. The drain hose is attached to the back of the washing machine at one end and connected to a drain pipe or standpipe at the other end. The hose assembly includes one standard connector at one end of the hose and an elbow fitting on the other. These connectors ensure that the hose remains securely attached to the washing machine and the drain pipe to prevent leaking, and kinks, and to ensure efficient drainage.
Read less

$125.62
Special Order
Heater Assembly
Part #AEG33121501
This heating element assembly warms water during wash cycles to improve cleaning performance. It's designed to deliver steady, consistent heat so your laundry comes out fresh and thoroughly cleaned.

$21.45
In Stock
Clamp
Part #4860FR3092C

$15.00
In Stock
Motor Stator Bolt
Part #4011FA4353B

$21.45
Special Order

$21.45
Special Order

$21.45
In Stock
Clamp
Part #4860FR3092D

$48.45
Special Order

$15.00
In Stock
SCREW,CUSTOMIZED
Part #4000FR4031C
Common Symptoms of the FH6G1BAPK21
How this model fails, and the parts that fix it.
Leaking
Fixed by
these parts
these parts


Show All
Water Filling Issues
Fixed by
these parts
these parts
Show All
No hot or cold water
Fixed by
these parts
these parts
Show All
Will not drain
Fixed by
these parts
these parts
Show All
Watch our pros, then fix it yourself.
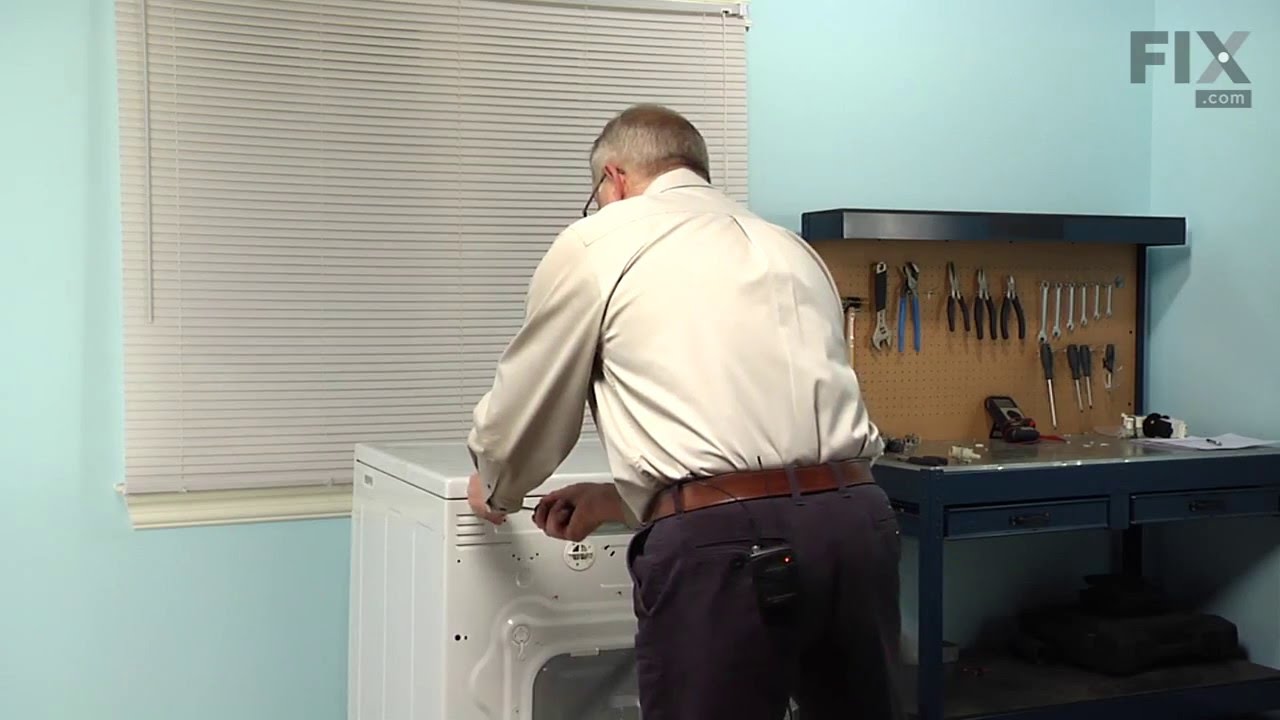
See how others fixed this model. Time, tools, difficulty, and steps that lead to victory!
View More