


 My Orders




FGP337GQ5 Roper Range - Overview
Diagrams for FGP337GQ5
See every part. Know exactly what you need.


Enter a part description. DIY Heroes keep it simple, eg. "belt" or "pump".
Search filter:
Clear Filter
Your search term must have 3 or more characters.

$6.40
In Stock

$44.23
In Stock
Oven Igniter
Part #W10918546
This flat-style oven igniter is a genuine OEM replacement part designed for gas ranges. Housed in durable ceramic, it includes a connector for easy installation and is responsible for igniting the gas that powers the oven burner. When functioning properly, the igniter glows and triggers the gas valve to open, allowing the burner to light ...Read moreand heat the oven. If the igniter glows but fails to ignite the burner, it may be worn or faulty and should be replaced. Before installation, always disconnect both the power and gas supply to ensure safety. This component is engineered for compatibility and reliable performance in select models.
Read less

$21.45
In Stock
Screw
Part #W11233072
This is a multi-use and multi-appliance screw. It can be used on a microwave, refrigerator, range/oven, air conditioner, dehumidifier, washer, or dryer. The measurements of this screw are 8 x 1/2 inch. It has 6 threads. Refer to the manual provided by the manufacturer for further information on repair and accurate guidance. Remember to wear work gloves as a safety precaution.

$53.85
Special Order
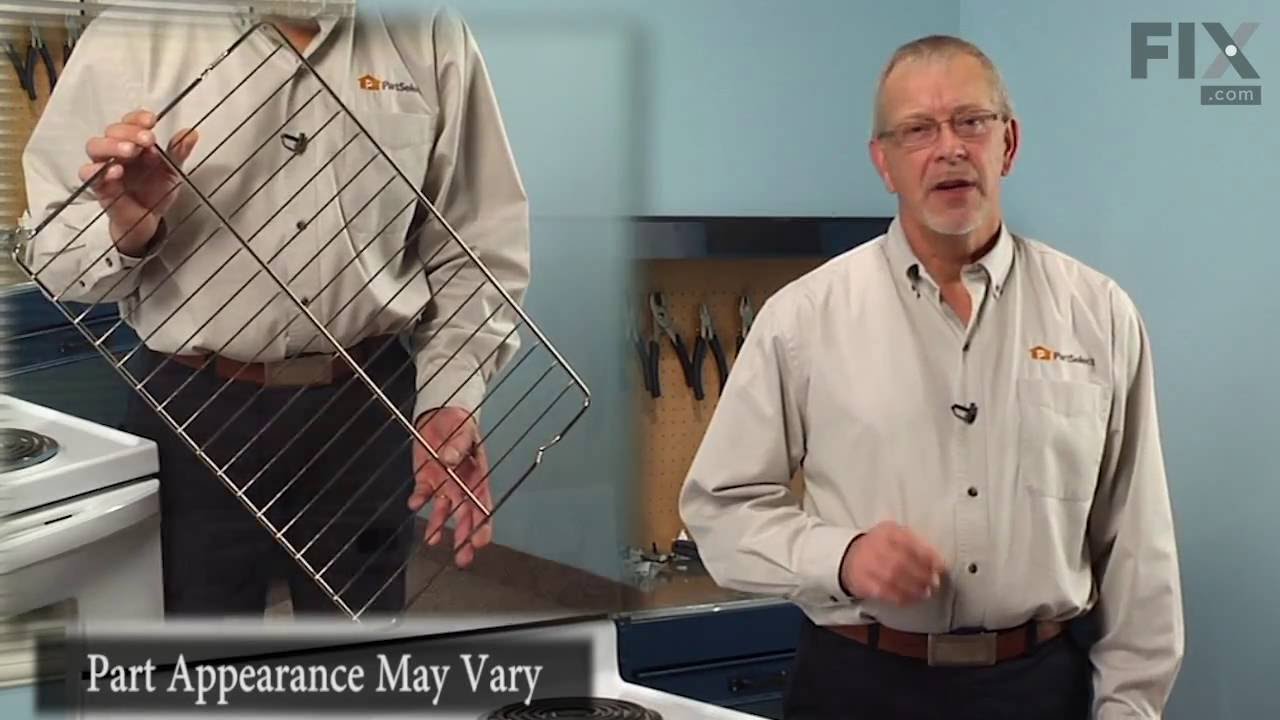
Range Rack
Part #WPW10256908
This oven rack is a piece for your range. The oven rack is sold individually and is silver in color. The function of this part is to provide a balanced and flat surface for your cookware to sit inside your oven. The measurements of this piece are 24 inches wide and 16 inches deep. When replacing your old oven rack with your new piece, no ...Read moretools are required. Before making this installation, make sure your range is turned off and your oven has cooled down inside.
Read less

$35.80
In Stock
Range Surface Burner Spark Igniter
Part #WP8523793
Is your oven not cooling like it used to? You might need a new blower, a crucial component that circulates air to safeguard controls, wiring, and other parts from overheating. We understand how important it is to keep your oven in top shape, and that's where the genuine OEM Whirlpool Blower comes in. Specially designed for wall oven insta...Read morellations, it helps bring your oven back to peak performance, ensuring effective and efficient cooling. This blower isn?t just for Whirlpool appliances?it's the perfect match for a wide array of models from KitchenAid, Maytag, Jenn-Air, Amana, Inglis, and Magic Chef too. But remember, ovens can have subtle differences, so it's a good idea to match the part to your model's specifications. This way, you can be confident it?s the perfect fit for your oven's needs. Installing your new blower requires a little care. Please disconnect the power first because safety should always come first. And don?t forget to wear work gloves to protect your hands. So, ready for your oven to cool like it's brand new again? Choose the genuine OEM Whirlpool Blower, the key to maintaining a safe, balanced temperature within your oven while extending its longevity.
Read less

$7.47
In Stock

$7.47
Special Order
Range Screw
Part #WP179051
Sold individually. Lock washers are used with screws when vibration from an appliance may cause the screw to loosen. Lock washers are also used in the electrical components of an appliance to ensure an electrical connection is not lost.

No Longer Available
Touch-Up Paint - White
Part #72017
This touch-up paint can be used on a wide variety of household appliances. It is most often used on washers, dryer, refrigerators, dishwashers, ranges, freezers, trash compactors, or microwaves. It is an 18 ml, or.6 fluid ounces, bottle of touch-up paint. It also features a brush for easy application. This quick-drying, long-lasting paint...Read more is perfect for fixing any nicks, scratches, or chips on the exterior of your appliance. This paint is white in color, and provides a durable finish.
Read less

$69.91
In Stock
Oven Door Trim Kit
Part #8184859
This white oven door trim set contains three pieces: two for the sides of the door and one for the bottom. The screws are sold separately.

$7.47
In Stock

$7.47
In Stock

$124.60
In Stock
Range Door Handle
Part #WPW10202217
This is a door handle for the oven on your range. It mounts onto your oven, allowing you the ability to have full control of the door. This handle does not come with the required screws, and they will be needed for installation. Take note that this part has been updated by the manufacturer, which is why it requires new mounting screws. Th...Read moree old handle was threaded and the new design is not. To purchase the mounting screws that are needed, see related parts. This model is roughly 30 inches long, and black in color.
Read less
Common Symptoms of the FGP337GQ5
How this model fails, and the parts that fix it.
Gas igniter glows, but will not light
Fixed by
these parts
these parts


Show All
Will Not Start
Fixed by
these parts
these parts
Show All
Little to no heat when baking
Fixed by
these parts
these parts
Show All
Element will not heat
Fixed by
these parts
these parts
Show All
Oven not heating evenly
Fixed by
these parts
these parts

Show All
Door won’t close
Fixed by
these parts
these parts

Show All
Watch our pros, then fix it yourself.



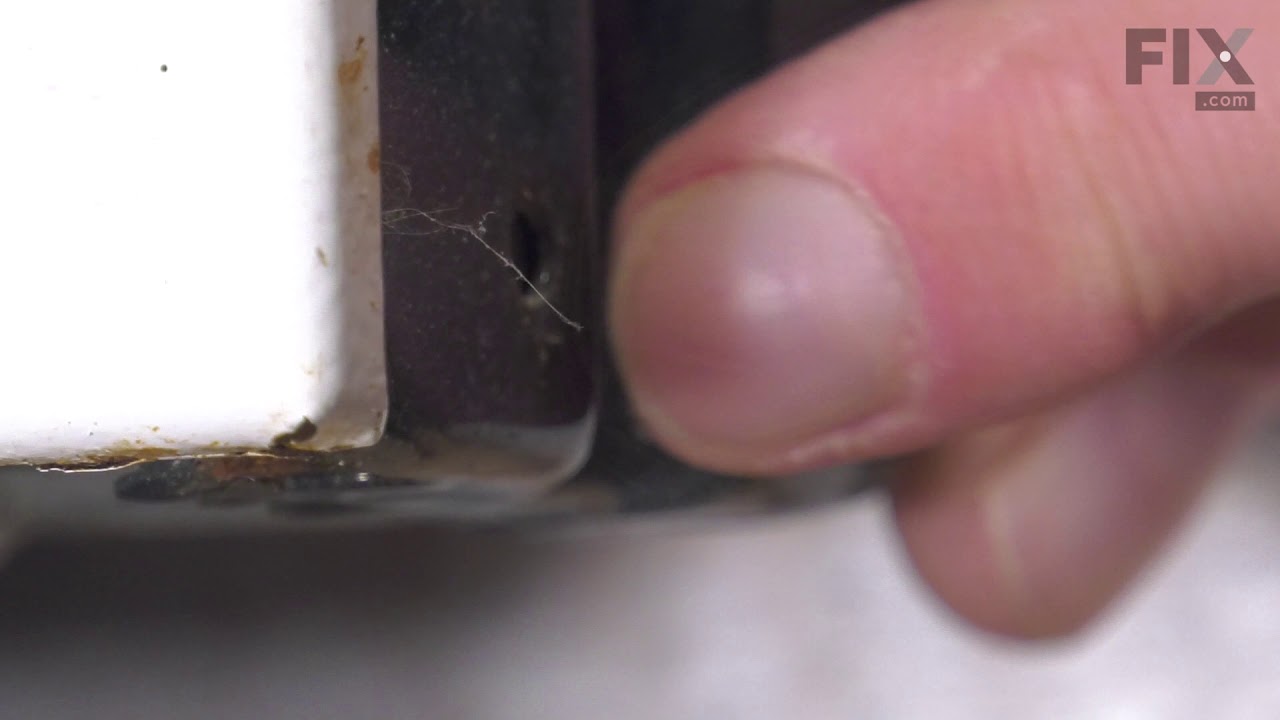
See how others fixed this model. Time, tools, difficulty, and steps that lead to victory!
View More