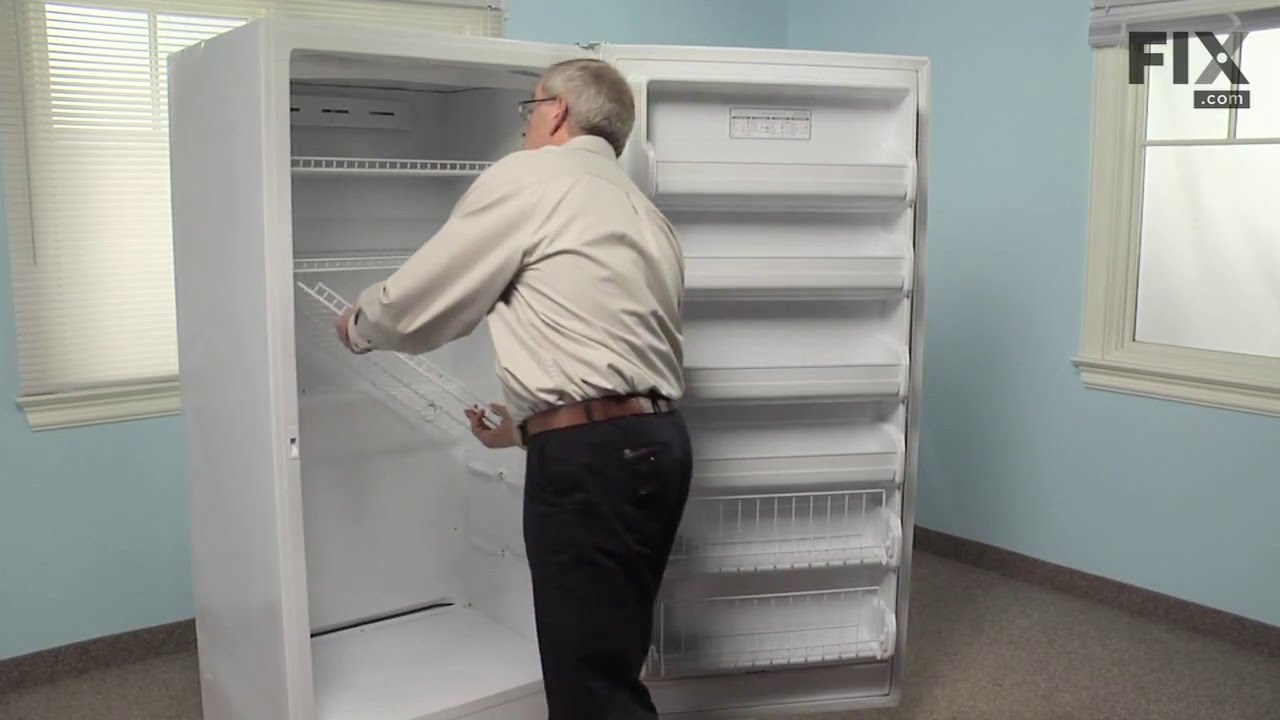
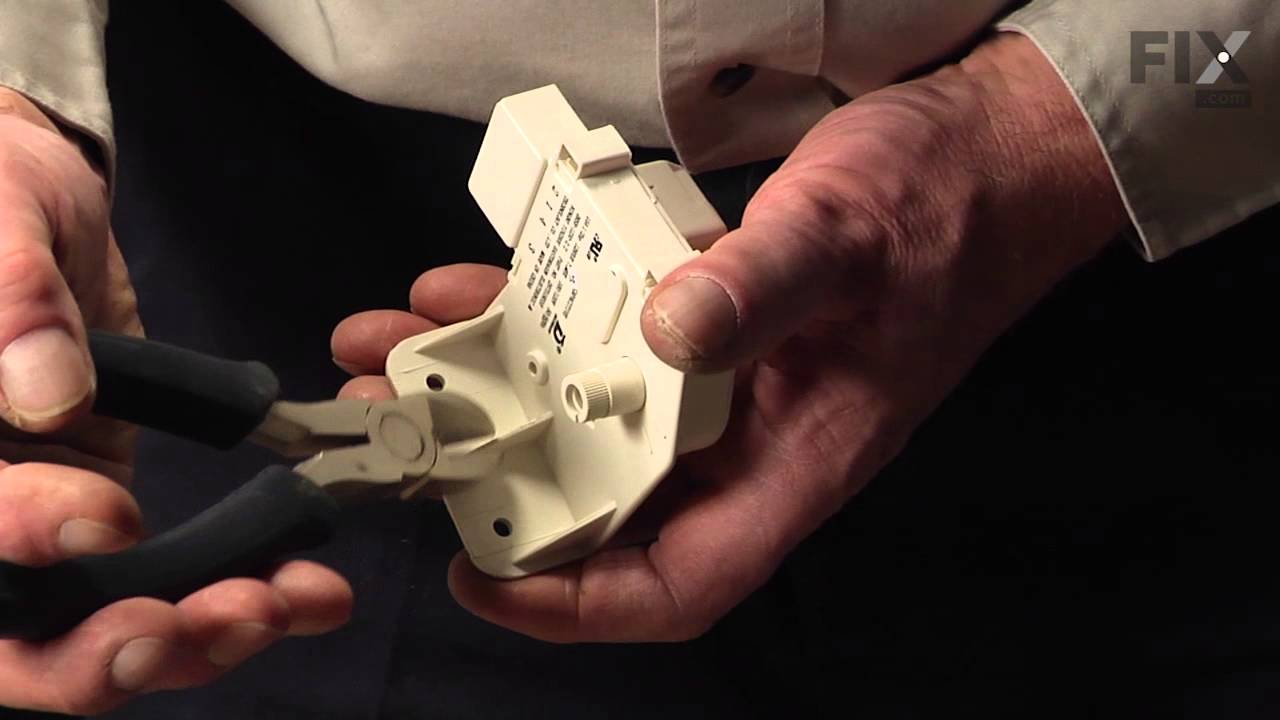
This refrigerator defrost thermostat is a genuine OEM part and is sourced directly from the manufacturer. Located on the back wall of the freezer section in the refrigerator, the defrost thermostat is used to regulate the appliances temperature to keep the refrigerator cold and constant. The part is made of plastic, and has a 4 inch termi...Read morenal on the white lead and a 6 inch terminal on the red lead. A refrigerator defrost thermostat may need to be replaced if the appliance is experiencing temperature related issues such as: too cold, too warm, frost buildup, not running, or running too long.
This gasket is used to seal the freezer door when closed to keep the cool air inside and the warm temperature surrounding the freezer from getting in. It is white in color. If you notice that your freezer is not shutting with ease, is not maintaining your desired temperature, or there is frost build up, it could be due to the door gasket ...Read morebeing damaged. You might also notice that there is a leak coming from the door and this could also be caused by the gasket being worn, damaged, or no longer aligned properly. You will need to remove the existing screws before installing the gasket.
This is a 120 volt defrost timer manufactured for refrigerators. The defrost timer manages the automatic defrost systemin the unit. It acts like a clock by switching between activating the cooling cycle and the defrost heater to maintain the set thermostat temperature, preventing the unit from being too warm or cold. The defrost timer may...Read more need to be replaced if the fridge will not maintain its temperature or has frost buildup. Depending on the model, it could be located on the rear panel or ceiling of the fresh food compartment. Be sure to disconnect power to the refrigerator before replacing this part.
This part helps maintain a constant temperature within the appliance. The temperature control thermostat regulates the temperature inside the refrigerator. It turns on and shuts off the compressor as needed to maintain the set temperature.
This evaporator fan blade is a genuine OEM part that is sourced directly from the manufacturer. The evaporator fan blade circulates air through the refrigerator to control the amount of cold air goes that goes to internal compartments of the unit. It may need to be replaced if the fridge is noisy or not cold enough. This part is made of p...Read morelastic and is sold individually. It will be necessary to disconnect power to the refrigerator and empty the freezer compartment of the refrigerator. The tools needed to complete this repair are a 1/4 inch nut driver and a pair of needle nose pliers.
This gasket retainer clip kit is for freezers. There are 24 pieces in this kit. The clips are what secure the gasket and liner to the freezer lid. The clips are white in color and made of plastic. If you notice frost build up in your freezer or that is it is not maintaining its temperature, this might be because the retainer clips have br...Read moreoken, and this has caused the gasket to become loose. This is a genuine OEM part that is obtained right from the manufacturer, ensuring a quality repair.
This part could be found underneath a fridge, dryer, or freezer. The original foot may be cracked, broken, or perhaps missing altogether. If you notice the appliance is uneven to the floor or wobbling, it may indicate that the levelling foot needs to be replaced. You will need pliers and a block of wood to perform this task. There will be...Read more one adjustable foot found in the package. Lift the dryer and place the wood to keep it propped up. You may need to use the pliers to remove the old foot. Screw the new foot into place using your hand. Once the new leveling foot is in place, lift the appliance and remove the block. Test the machine out to ensure it is now sitting level.
This is white touch up paint for refrigerators, microwaves, ranges, dryers, and freezers. It is used to cover, or touch up, nicks and scratches on the appliance from wear and tear. It is an 18ml bottle that contains paint and a small brush for easy application. It is a little over 2 inches tall. This is an OEM part that is sourced directl...Read morey from the genuine manufacturer, and is meant to be an exact match to the color of the appliance. If the appliance is not white, please see other colors such as almond or black.
This refrigerator run capacitor is a 220-volt, 12-microfarad component designed to support the compressor motor by providing continuous current to its windings. By regulating electrical flow, it helps the appliance maintain proper cooling performance and prevents issues such as excessive run time or temperature fluctuations. If your refri...Read moregerator or freezer is struggling to start or maintain its temperature, replacing the run capacitor may restore efficient operation. Always unplug the appliance before installation.
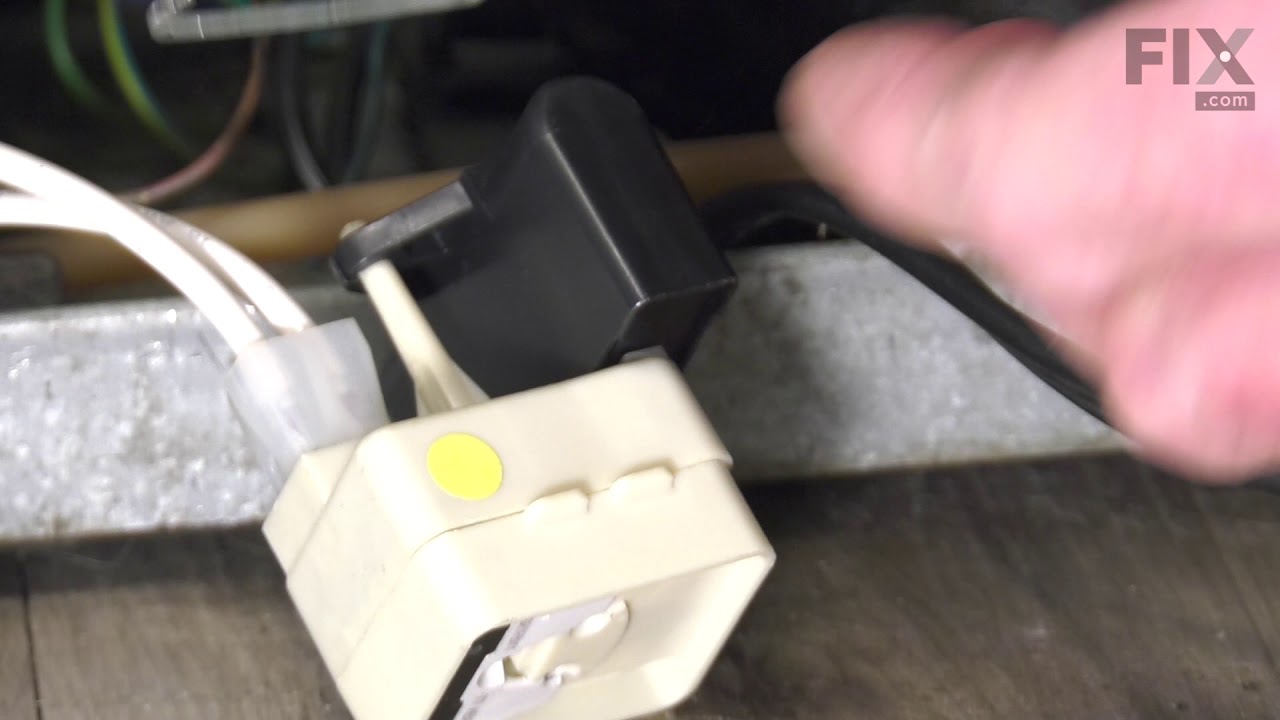
This part is both the start relay and the overload. The start relay boosts the compressor, and then shuts off as soon as the motor gets up to speed and the overload provides extra protection against excessive temperatures.
Ask our experts a question about this model and we'll get back to you as soon as possible!
We may have answered a similar question already! Search questions and answers left by others using simple keywords like "fit", "broken", "easy", or "quality" to find questions that match.
Search filter:
Clear Filter
Your search term must have 3 or more characters.
Sort by:
Prev
1
Next
Sorry, we couldn't find any existing answers that matched.Try using some different or simpler keywords, or submit your new question by using the "Ask a Question" button above!
Lisa - For model number FFU20FK1CW0
March 11, 2026
The shelves inside of my freezer fall down. It is not an issue of weight. How do I fix them so that they stay in the walls and don’t fall?
Hi Lisa, thank you for contacting us. You may need to put in a short length of small-diameter plastic or fuel line tubing. Slice the tubing down the center. Snap the cut tubing over the horizontal wire on the side of the shelf that sits in the wall runner. This adds enough width to prevent the shelf from shifting sideways and falling off the opposite rail. We hope this solves your problem!
1 personfound this instruction helpful.
Was this helpful?
Thank you for voting!
Bob - For model number FFU20FK1CW0
April 27, 2023
looking for pricing "evaporator motor". can't find it listed in the available parts for said model. can only see a new fan blade for motor.
Hi Bob, Thank you for asking. The Fan Motor for this model is listed as Part #: PS900500. All current prices are shown on the site. We hope this helps!
See how others fixed this model. Time, tools, difficulty, and steps that lead to victory!View More
Search repair tips from other customers using simple keywords like "replace", "fit", "remove", "inspect". DIY doesn't mean you have to do it alone!
Search filter:
Clear Filter
Your search term must have 3 or more characters.
Gasket old and leaking
118 of 125 peoplefound this instruction helpful.
Thomas from RIXEYVILLE, VA
A Bit Difficult
30 - 60 mins
Screw drivers
This freezer has many screws that hold the cover on the back of the door and assist clamping the edge of the gasket in place. Be sure to just loosen the screws 3/4 the way out, use a flat head screw driver to pry the cover from the door in case over time it is stuck to the door. The new gasket will come in a creative box trying not to kin
... Read morek the gasket itself, but there will be some distortion of the gasket when you get it. Put it in the sun or in hot water. I put it in my dryer for 10 minutes. Remove the old gasket, and start at the top of the door to replace the gasket. TIPS: If the screws are backed out enough, there should not be any problem sliding the back part of the gasket under the cover. When on the sides, do not pull the gasket down to make it easier to slide the gasket underneath the cover. This will distort and lengthen the gasket so it will not fit and thin it out so it will not function well. Once the gasket is in place, tighten the screws being sure to feel along the outside edge of the gasket for any bulging that would indicate that portion of the gasket is NOT under the cover properly.
Read less
Was this helpful?
Thank you for voting!
freezer would run then thaw then freeze. tap on the control knob, it would start running again
48 of 59 peoplefound this instruction helpful.
WILLIAM from URBANA, OH
Easy
15 - 30 mins
Screw drivers
Easy fix. I unplugged the freezer, unload items in freezer. took out shelves and baskets, Pulled off the control knob then removed all screws. removed inside panel, replaced part exactly as I took out old part. Put the panel back on, put everything back in place. Plugged freezer back in and turned the knob to 3. Let freezer run for a day
... Read more to see if I ordered the correct part. Problem is fixed. Thank you, PartSelect for making it so easy to find, order the correct part and for all the customers input to make the repair easy.
Read less
Was this helpful?
Thank you for voting!
Temp alarm sounding and food on top shelves partially thawed
43 of 52 peoplefound this instruction helpful.
Wayne from Forest Hill, MD
Easy
Less than 15 mins
Screw drivers
After silencing the alarm, it seemed to be running as normal without any unusual noises, but food was starting to thaw from the top shelf on down and condensation was dripping from the roof. We were able to place most of the food in 2 large ice chests and then the rest in the freezer compartments of 2 fridges we have in the house. I the
... Read moren turned down the temp dial to the coldest setting and let it run for an hour or so; no change.
After researching on the internet, it sounded like our symptoms could be pointing to a defrost timer issue. I pulled the freezer away from the wall, located the timer and used a large screwdriver to slowly advance it. While doing this, at one point I could hear the compressor kick in. I pushed the quick freeze button and let it run for a while. When I checked it in a few hours, the alarm light had gone out and water that I had placed inside was frozen. We took a chance and put the food we placed in the ice chests back in the freezer. Everything was fine several hours later.
I ordered a new defrost timer, it arrived in a couple of days, and replaced the old one with it in a matter of minutes by disconnecting the wire harness from the old timer, removing the 2 screws holding it onto the bracket, screwing the new timer to the bracket, reconnecting the wires harness, and done. It's been a week or so and no problems.



 My Orders