


 My Orders




FFH17F7HWF Frigidaire Freezer - Overview


Enter a part description. DIY Heroes keep it simple, eg. "belt" or "pump".
Search filter:
Clear Filter
Your search term must have 3 or more characters.

$14.18
In Stock
Freezer Door Key
Part #297147700
This freezer door key is designed for use with most upright and chest freezers. It is an authentic OEM replacement part. Your appliance has a lid or door that locks and unlocks, this key controls that function. If your key is lost or damaged this is the replacement you need. Be sure to store this key someplace safe, we also recommend that...Read more you store it away from the freezer. This part is made of plastic, is white in color, and it is sold individually.
Read less

$32.24
In Stock
Defrost Thermostat
Part #297216600
This refrigerator defrost thermostat is a genuine OEM part and is sourced directly from the manufacturer. Located on the back wall of the freezer section in the refrigerator, the defrost thermostat is used to regulate the appliances temperature to keep the refrigerator cold and constant. The part is made of plastic, and has a 4 inch termi...Read morenal on the white lead and a 6 inch terminal on the red lead. A refrigerator defrost thermostat may need to be replaced if the appliance is experiencing temperature related issues such as: too cold, too warm, frost buildup, not running, or running too long.
Read less

$130.85
In Stock
Refrigerator Door Gasket
Part #5304507200
This door gasket, also known as a door seal, is sourced from the original equipment manufacturer for use in refrigerators and freezers. It is a flexible rubber strip that runs along the edge of the appliance door. It creates an airtight seal between the door and cabinet to prevent cold air from escaping, and warm air from entering the ref...Read morerigerator, to ensure that the temperature in the appliance remains constant. Over time, the door gasket can lose its elasticity or tear. In this case, you will likely notice frost build-up, increased noise, and inconsistent temperatures. Peel the faulty gasket off the refrigerator frame and remove any debris or residue on the surface. Carefully place the new seal along the edge of the door and press it firmly into place. Secure it with the appropriate fasteners and close the door to verify that there are no gaps between the door and cabinet.
Read less

$53.85
In Stock
Evaporator Fan Blade
Part #5308000010
This evaporator fan blade moves cooled air through the refrigerator or freezer compartments when driven by the fan motor. A cracked, warped, or loose blade may vibrate, strike nearby parts, or fail to move enough air. Unusual ticking or humming noises and warmer compartment temperatures may be reasons to inspect the fan assembly. Check fo...Read morer ice buildup and motor or mounting problems as well, since these can cause similar symptoms. Disconnect power before accessing the blade and follow the appliance instructions for fitting it securely on the motor shaft. This is an OEM part sourced directly from the manufacturer.
Read less

$60.64
In Stock
Evaporator Fan Motor (115v)
Part #297309000
This evaporator fan motor is 115V. If you notice that your freezer is noisy or is too warm, you may need to replace the evaporator fan motor. This package comes with the evaporator fan motor itself, as well as a wire harness. The evaporator fan motor is in the back of the freezer, so you will need to remove your freezer shelves and the ba...Read moreck panel before you can access it. The function of the evaporator fan motor is to circulate air over the coils. The coils convert the heat into cool air, which is then circulated. Be sure to remove the power source from the freezer before you begin this repair.
Read less

$25.25
In Stock
Screw
Part #218755504
This metal shoulder screw secures a refrigerator or freezer door handle to the outer door panel. It is a number 10 AB handle mounting screw and is sold individually. A missing screw, damaged threads, or a worn screw head may leave the handle loose or prevent it from attaching securely. Check the handle and mounting point for damage before...Read more replacing the screw, since either can also cause movement. Confirm the correct fastening location in the appliance parts diagram before installation. This is an OEM part sourced directly from the manufacturer.
Read less

$63.72
In Stock
Refrigerator Light Bulb
Part #5304517886
This is an LED light for a variety of refrigerator models. This 3.8W LED light is used to shine and adequately light the contents of your refrigerator when you open its door. If your current light is significantly dimmer than normal, or simply not working anymore, it will need to be replaced. To replace this bulb, unplug your fridge momen...Read moretarily, and then simply unthread the old one and screw in the new one. This bulb is sold individually and does not come with any other parts.
Read less

$39.94
In Stock
Adjustable Leveling Foot - Black
Part #216396900
This part could be found underneath a fridge, dryer, or freezer. The original foot may be cracked, broken, or perhaps missing altogether. If you notice the appliance is uneven to the floor or wobbling, it may indicate that the levelling foot needs to be replaced. You will need pliers and a block of wood to perform this task. There will be...Read more one adjustable foot found in the package. Lift the dryer and place the wood to keep it propped up. You may need to use the pliers to remove the old foot. Screw the new foot into place using your hand. Once the new leveling foot is in place, lift the appliance and remove the block. Test the machine out to ensure it is now sitting level.
Read less

$26.35
In Stock
Hinge Mounting Hexagonal Screw
Part #240578902
Secure hinge attachment helps keep a refrigerator or freezer door supported during opening and closing. This hinge mounting screw fastens the hinge bracket to the cabinet framework and features a hex washer head for tightening with a nut driver or socket. Its thread size is 1/4-20, with a length of 5/8 inch. Missing hardware, stripped thr...Read moreeads, or a damaged head may leave the hinge loose. Replacing a damaged screw helps restore a firm connection and stable door support when the cabinet threads remain intact. This is an OEM part sourced directly from the manufacturer.
Read less

$65.92
In Stock
Door Bin - 2 Liter
Part #A00299203
This bin can be moved according to space needed. It holds items on the door of your refrigerator. They are sometimes called Cantilever Shelves as they are supported by the back of the shelf itself to the door of your refrigerator.

$48.35
In Stock
Drawer Slide - Left or Right Side
Part #297013500
This drawer slide supports the left or right hand side of the sliding drawer.

$202.75
In Stock
Electronic Control Board
Part #297235200
This board is used for the freezer section of the refrigerator. This is the control board only. Touch pad is NOT included.
Possible Repair Solution For: Will not start, freezer is too cold, freezer is too warm, freezer runs too long.
Manuals & Care Guides for FFH17F7HWF
Click to downloadCommon Symptoms of the FFH17F7HWF
How this model fails, and the parts that fix it.
Too warm
Fixed by
these parts
these parts


Show All
Frost buildup
Fixed by
these parts
these parts


Show All
Fridge too warm
Fixed by
these parts
these parts

Show All
Noisy
Fixed by
these parts
these parts

Show All
Doesn’t stop running
Fixed by
these parts
these parts

Show All
Won’t start
Fixed by
these parts
these parts

Show All
Light not working
Fixed by
these parts
these parts
Show All
Freezer not defrosting
Fixed by
these parts
these parts
Show All
Freezer section too warm
Fixed by
these parts
these parts
Show All
Fridge runs too long
Fixed by
these parts
these parts
Show All
Will Not Start
Fixed by
these parts
these parts
Show All
Door Sweating
Fixed by
these parts
these parts
Show All
Freezer too cold
Fixed by
these parts
these parts
Show All
Leaking
Fixed by
these parts
these parts
Show All
Door won’t open or close
Fixed by
these parts
these parts

Show All
Too cold
Fixed by
these parts
these parts
Show All
Watch our pros, then fix it yourself.
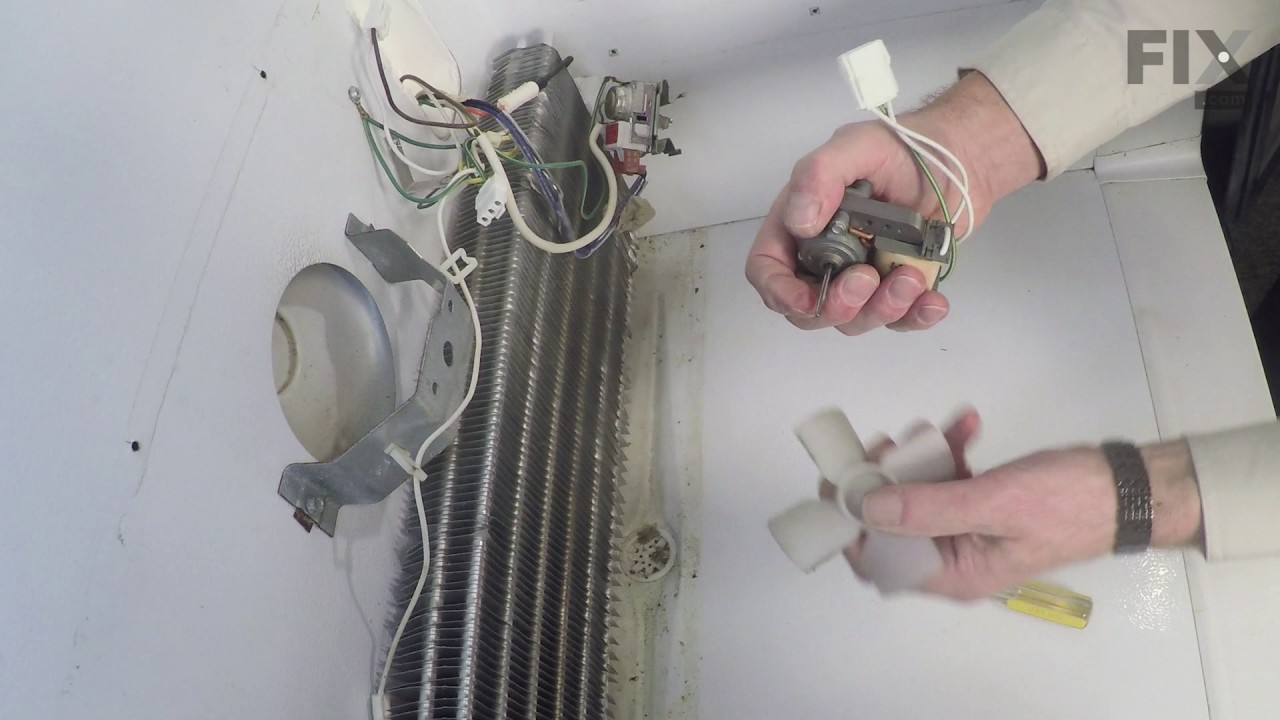
See how others fixed this model. Time, tools, difficulty, and steps that lead to victory!
View More