


 My Orders




FFGC3613LWD Frigidaire Cooktop - Overview


Enter a part description. DIY Heroes keep it simple, eg. "belt" or "pump".
Search filter:
Clear Filter
Your search term must have 3 or more characters.

$39.82
In Stock
CAP
Part #5304508442
The surface Meduim 9.5K burner cap is located on the top of the burner head and is used in ranges and ovens. The burner cap helps spread out the burner flame for even heating, and protects the burner head from cooking spills. Without the cap you can have a burning gas torch. If your cap is missing or is discolored, replacing this part ca...Read moren solve the issue. This part comes in the color black. Remember to unplug your range from the power source and allow surface to cool before installing this part. Refer to the manual provided by the manufacturer for further installation instructions.
Read less

$42.82
In Stock
CAP
Part #5304508441
Sold individually. This part helps the flame to spread for even heat. Also protects your burner head from spills.

$21.79
In Stock
Igniter/Orifice Mounting Screw
Part #316240600
This part is the igniter/orifice mounting screw for your cooktop or range. It is approximately ½ an inch in length and is made of metal. The mounting screw connects the orifice to the cooktop. If the orifice is loose, or the screw is missing, this is the part that will replace it. This part is sold individually and is a genuine OEM part sourced directly from the manufacturer.

$59.17
In Stock

$47.32
In Stock
CAP
Part #5304508510
Sold individually. This part helps the flame to spread for even heat. Also protects your burner head from spills.

$54.95
In Stock
Sealed Burner - 9.5K
Part #316558300
This sealed burner delivers consistent heat output for precise cooking performance. Its design helps contain spills and simplifies cleanup while ensuring efficient flame control. Installation is straightforward for restoring your cooktop’s functionality.

$53.85
Special Order
Support Bracket
Part #318264301

$59.35
In Stock
Sealed Burner - 5K
Part #316438200
This sealed surface burner delivers controlled heat for precise cooking while preventing spills from entering internal components. Designed for efficiency and easy cleaning, it is replaced when ignition fails, heat output weakens, or burner performance becomes inconsistent.

$96.19
In Stock
REGULATOR
Part #5304519943

$67.05
In Stock

$20.68
In Stock
BUSHING
Part #5304508440

No Longer Available
LP KIT
Part #5304506284
Manuals & Care Guides for FFGC3613LWD
Click to downloadCommon Symptoms of the FFGC3613LWD
How this model fails, and the parts that fix it.
Will Not Start
Fixed by
these parts
these parts

Show All
Gas igniter glows, but will not light
Fixed by
these parts
these parts
Show All
Watch our pros, then fix it yourself.
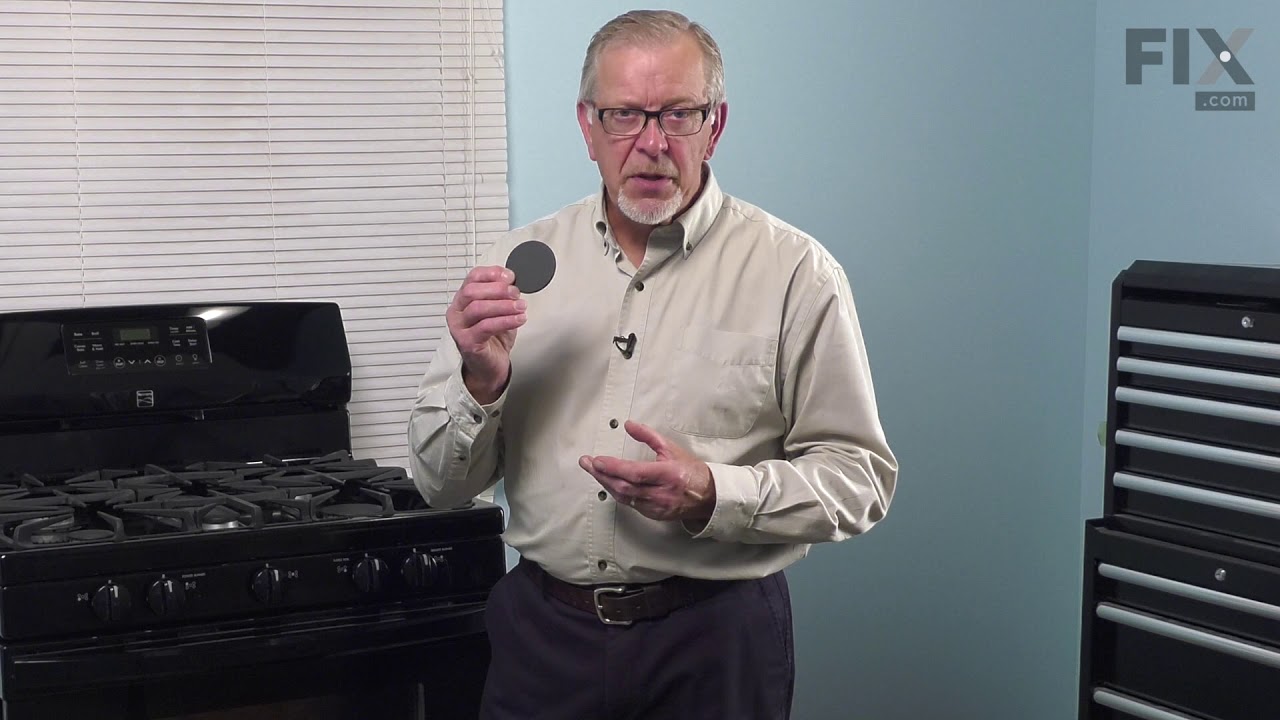
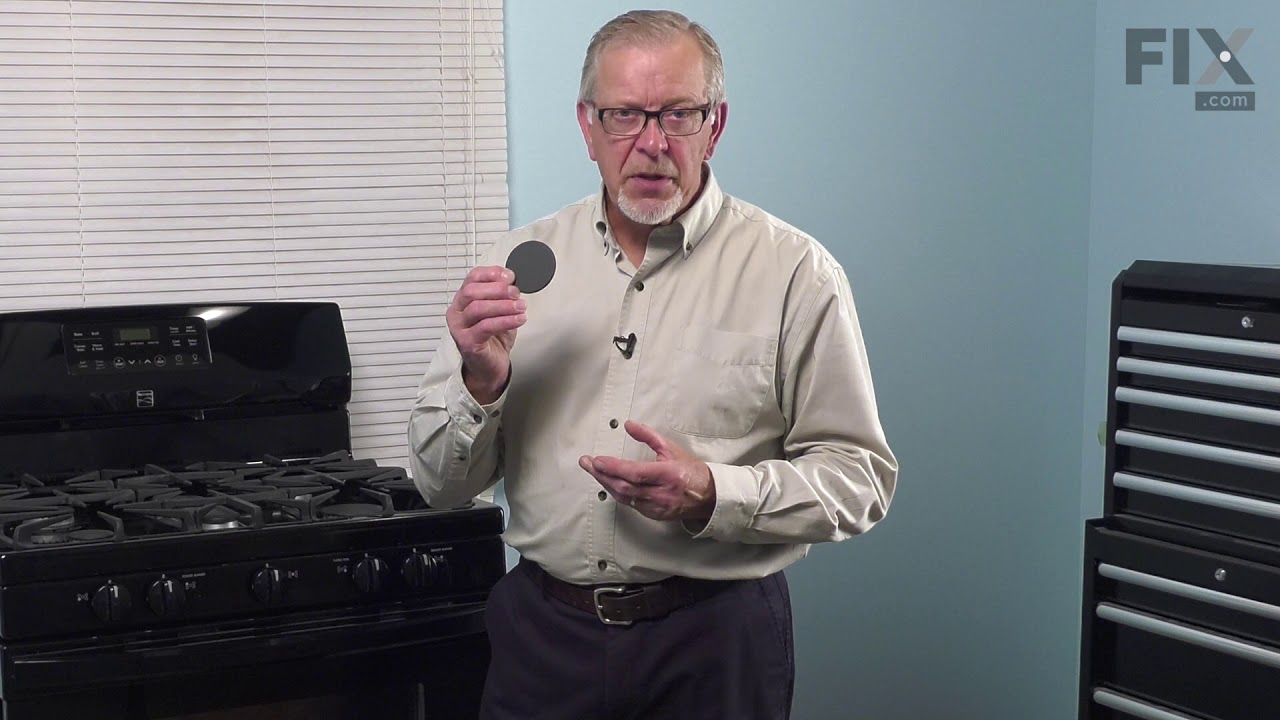
See how others fixed this model. Time, tools, difficulty, and steps that lead to victory!
View More