


 My Orders




FFFU14F1RW4 Frigidaire Freezer - Overview


Enter a part description. DIY Heroes keep it simple, eg. "belt" or "pump".
Search filter:
Clear Filter
Your search term must have 3 or more characters.

$48.93
In Stock
DEFROST TIMER
Part #5304518034
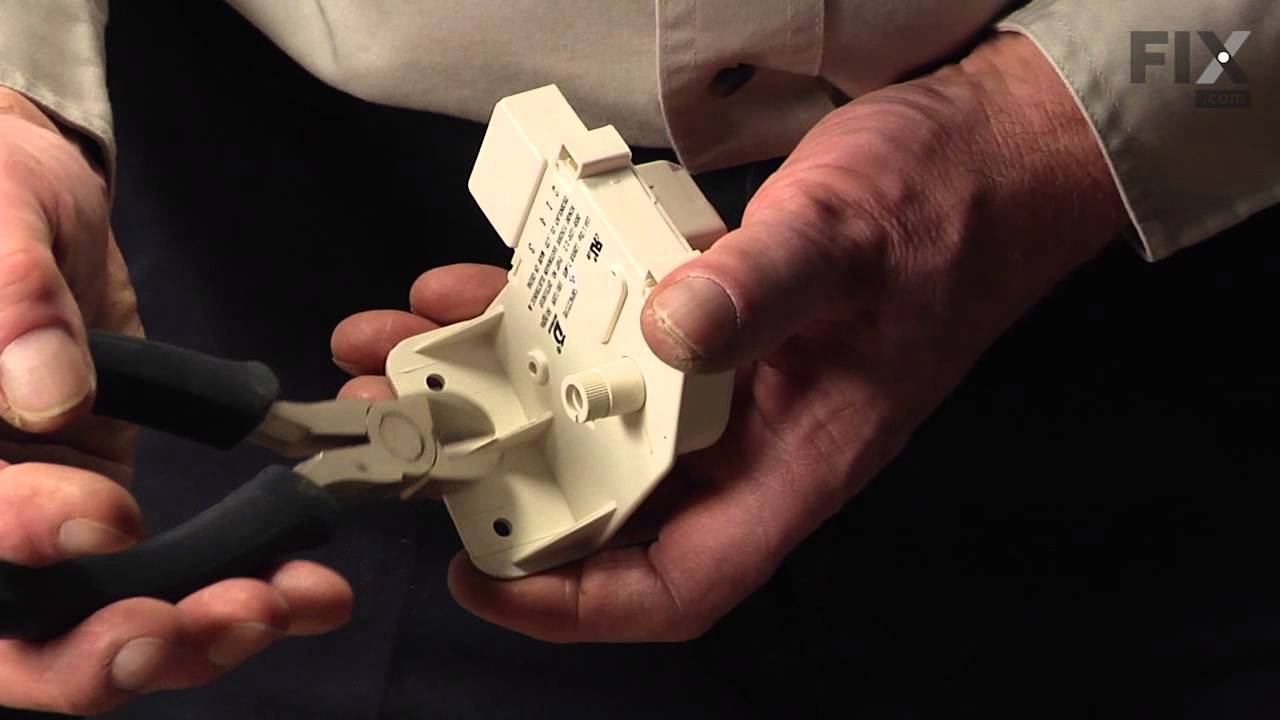
This is a 120 volt defrost timer manufactured for refrigerators. The defrost timer manages the automatic defrost systemin the unit. It acts like a clock by switching between activating the cooling cycle and the defrost heater to maintain the set thermostat temperature, preventing the unit from being too warm or cold. The defrost timer may...Read more need to be replaced if the fridge will not maintain its temperature or has frost buildup. Depending on the model, it could be located on the rear panel or ceiling of the fresh food compartment. Be sure to disconnect power to the refrigerator before replacing this part.
Read less

$52.75
In Stock
Run Capacitor - 120V
Part #297286803
If your refrigerator is not cooling, a failed compressor run capacitor may be the cause. This OEM capacitor helps the compressor start and supports its operation in refrigerators and freezers. It has a capacitance of 15 MFD, so check fit against your appliance model before ordering. A quarter-inch socket or nut driver is listed for replacement.

$68.10
In Stock
Temperature Control Thermostat
Part #5304513033
This part helps maintain a constant temperature within the appliance. The temperature control thermostat regulates the temperature inside the refrigerator. It turns on and shuts off the compressor as needed to maintain the set temperature.

$60.64
In Stock
Evaporator Fan Motor (115v)
Part #297309000
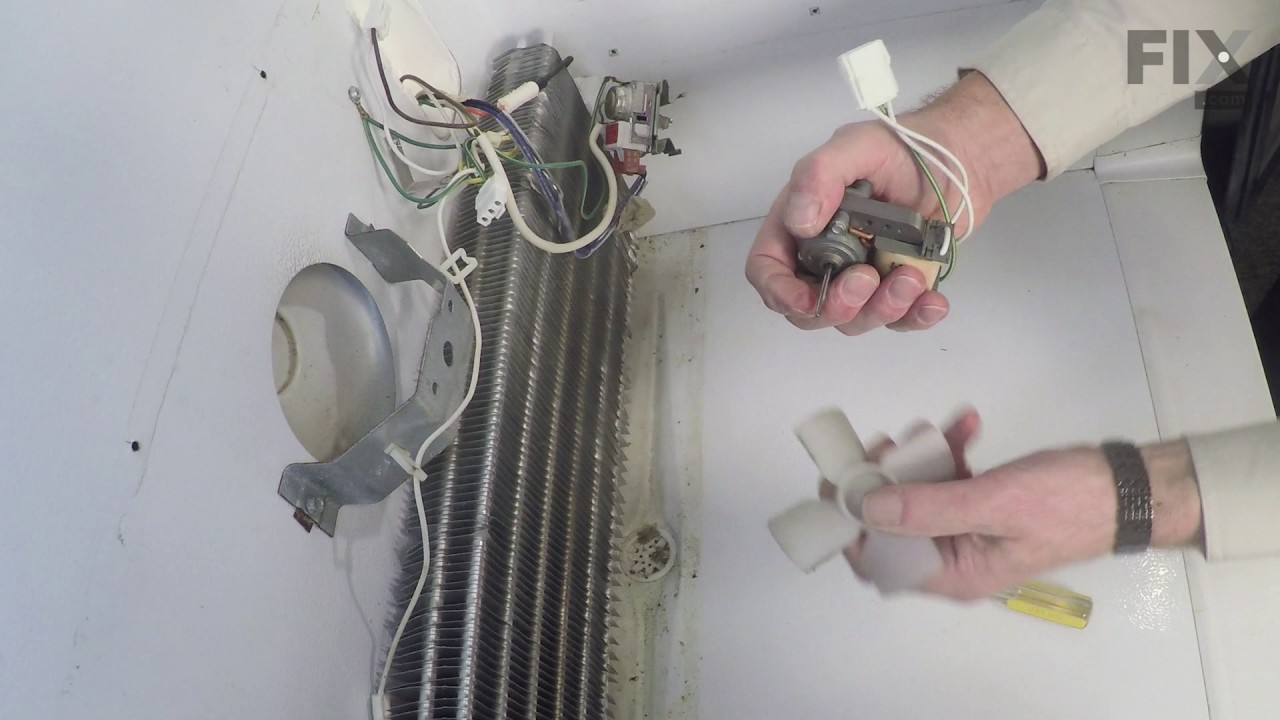
This evaporator fan motor is 115V. If you notice that your freezer is noisy or is too warm, you may need to replace the evaporator fan motor. This package comes with the evaporator fan motor itself, as well as a wire harness. The evaporator fan motor is in the back of the freezer, so you will need to remove your freezer shelves and the ba...Read moreck panel before you can access it. The function of the evaporator fan motor is to circulate air over the coils. The coils convert the heat into cool air, which is then circulated. Be sure to remove the power source from the freezer before you begin this repair.
Read less

$25.25
In Stock
Screw
Part #218755504
This metal shoulder screw secures a refrigerator or freezer door handle to the outer door panel. It is a number 10 AB handle mounting screw and is sold individually. A missing screw, damaged threads, or a worn screw head may leave the handle loose or prevent it from attaching securely. Check the handle and mounting point for damage before...Read more replacing the screw, since either can also cause movement. Confirm the correct fastening location in the appliance parts diagram before installation. This is an OEM part sourced directly from the manufacturer.
Read less

$39.94
In Stock
Adjustable Leveling Foot - Black
Part #216396900
This part could be found underneath a fridge, dryer, or freezer. The original foot may be cracked, broken, or perhaps missing altogether. If you notice the appliance is uneven to the floor or wobbling, it may indicate that the levelling foot needs to be replaced. You will need pliers and a block of wood to perform this task. There will be...Read more one adjustable foot found in the package. Lift the dryer and place the wood to keep it propped up. You may need to use the pliers to remove the old foot. Screw the new foot into place using your hand. Once the new leveling foot is in place, lift the appliance and remove the block. Test the machine out to ensure it is now sitting level.
Read less

$26.35
In Stock
Hinge Mounting Hexagonal Screw
Part #240578902
Secure hinge attachment helps keep a refrigerator or freezer door supported during opening and closing. This hinge mounting screw fastens the hinge bracket to the cabinet framework and features a hex washer head for tightening with a nut driver or socket. Its thread size is 1/4-20, with a length of 5/8 inch. Missing hardware, stripped thr...Read moreeads, or a damaged head may leave the hinge loose. Replacing a damaged screw helps restore a firm connection and stable door support when the cabinet threads remain intact. This is an OEM part sourced directly from the manufacturer.
Read less

$18.60
In Stock

$19.68
In Stock

$21.86
In Stock

$19.68
In Stock
Top Hinge Bearing
Part #216970802
This hinge bearing supports smooth door movement while maintaining proper alignment. Reduced friction helps prevent wear and ensures easy opening and closing. Replacing a worn bearing restores smooth and stable door operation.

$39.82
In Stock
Filter - Drier
Part #5303305677
This filter drier removes moisture and traps small particles in the refrigerator sealed refrigerant circuit. It helps keep dirt, metal fragments, and moisture from moving through the cooling system. The component measures approximately 11 inches long. A blocked or faulty filter drier may restrict refrigerant flow and contribute to poor co...Read moreoling even while the compressor runs. These symptoms can also come from other sealed system faults, so confirm the failed component before replacement. Match the filter and tubing connections to the appliance service requirements before selecting the replacement. This is an OEM part sourced directly from the manufacturer.
Read less
Manuals & Care Guides for FFFU14F1RW4
Click to downloadSpecs
Product Specifications Sheet
(0.07MB)
Care
Use and Care Manual
(0.07MB)
Wiring
Wiring Diagram
(0.07MB)
Common Symptoms of the FFFU14F1RW4
How this model fails, and the parts that fix it.
Too warm
Fixed by
these parts
these parts


Show All
Won’t start
Fixed by
these parts
these parts

Show All
Fridge too warm
Fixed by
these parts
these parts
Show All
Frost buildup
Fixed by
these parts
these parts


Show All
Noisy
Fixed by
these parts
these parts

Show All
Will Not Start
Fixed by
these parts
these parts
Show All
Doesn’t stop running
Fixed by
these parts
these parts
Show All
Fridge and Freezer are too warm
Fixed by
these parts
these parts
Show All
Freezer section too warm
Fixed by
these parts
these parts
Show All
Door won’t open or close
Fixed by
these parts
these parts


Show All
Clicking sound
Fixed by
these parts
these parts
Show All
Watch our pros, then fix it yourself.
See how others fixed this model. Time, tools, difficulty, and steps that lead to victory!
View More
Search repair tips from other customers using simple keywords like "replace", "fit", "remove", "inspect". DIY doesn't mean you have to do it alone!
Search filter:
Clear Filter
Your search term must have 3 or more characters.
After getting wiring diagram off internet it was diagnosed as freezer stuck in defrost mode, temp alarm on, but fan running.
82 of 99 people
found this instruction helpful.
Turned gray knob on defrost timer (located bottom left back of freezer) past defrost position to verify compressor would run...it would not, but fan would run. Tested run capacitor...found borderline defective (weak, wrong value ohm meter kick). Just to be sure, removed interior shelves and interior rear and gasket to check heater at 20
... Read more
ohms as OK and removed thermostat and verified contact closure after exposure in another freezer....re-installed, hooked heater back up and re-installed interior rear panel. Replaced defrost timer by unplugging 4-pin connector, then removed 2 screws that hold it to the bracket. Installed new one in reverse order. Then removed wire bail holding run capacitor to compressor plug assembly, removed run capacitor, plugged in new one. Turned on freezer......now making ice and holding cold temperature and cycling properly between freeze and defrost modes. Two problems made this repair a bit more difficult. This is the second time that defrost timer has failed...only got 3 years from last one.
Read less
Other Parts Used:


Was this helpful?
Thank you for voting!