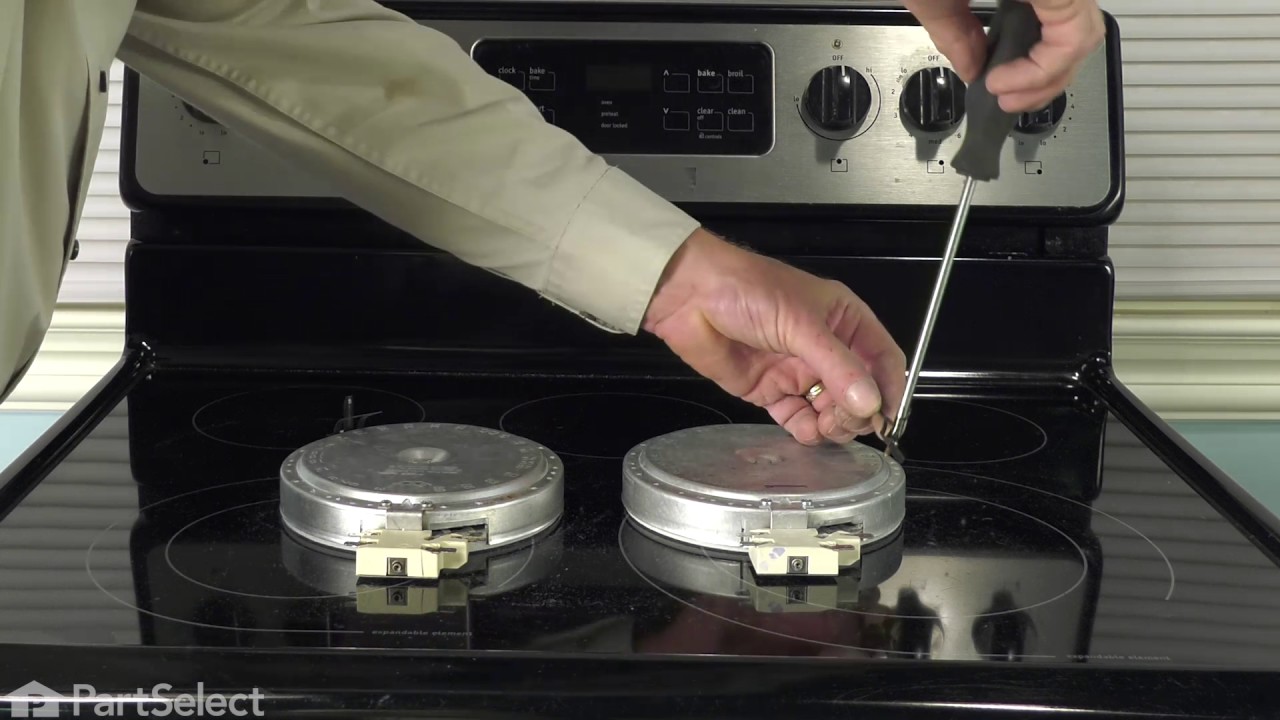
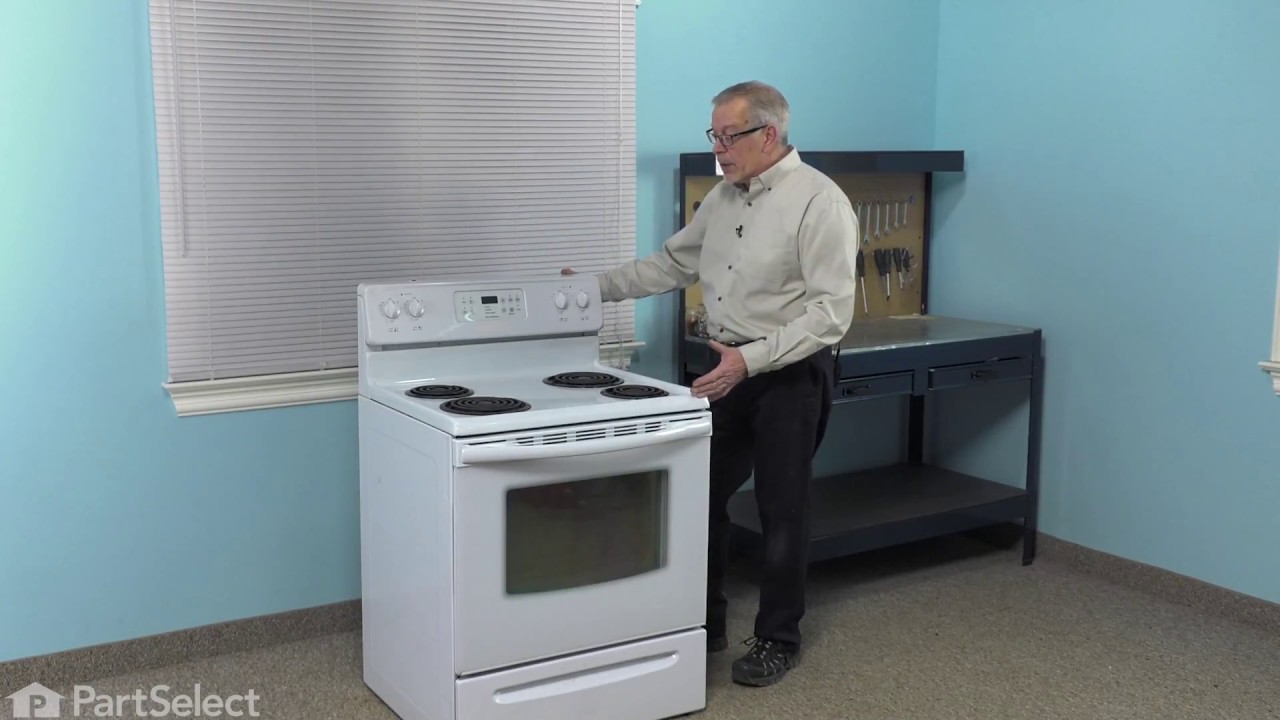
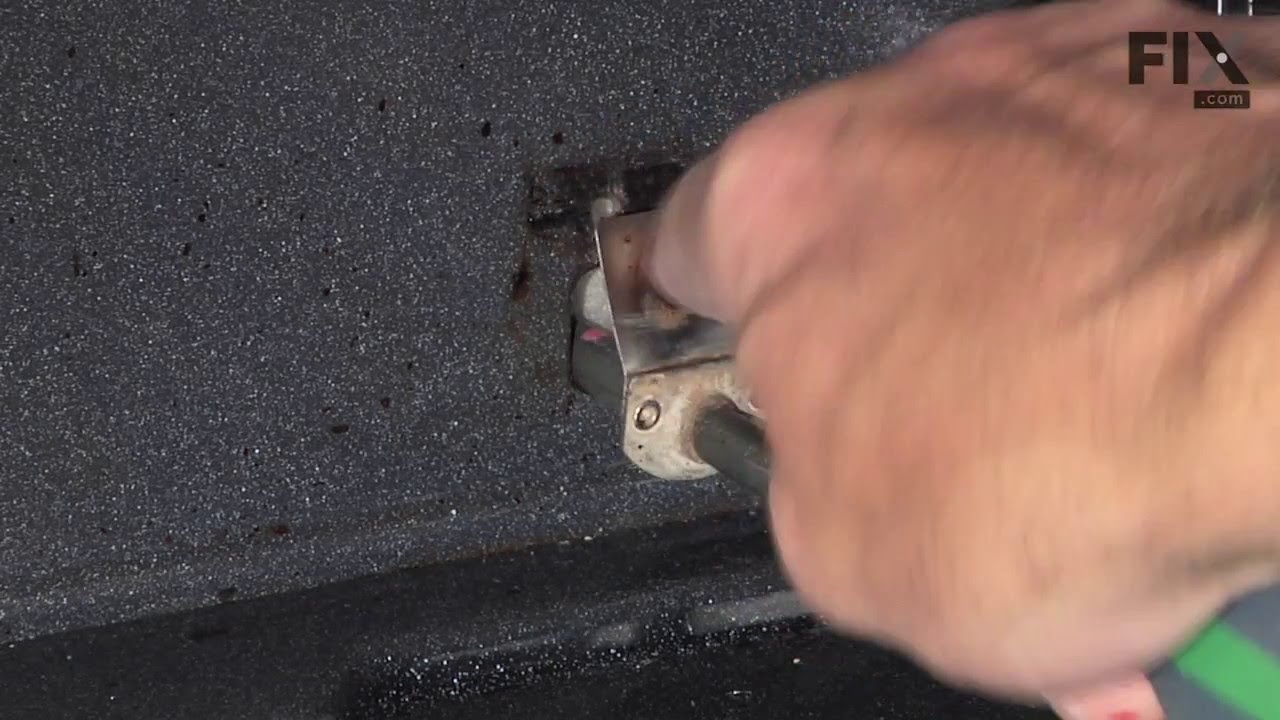
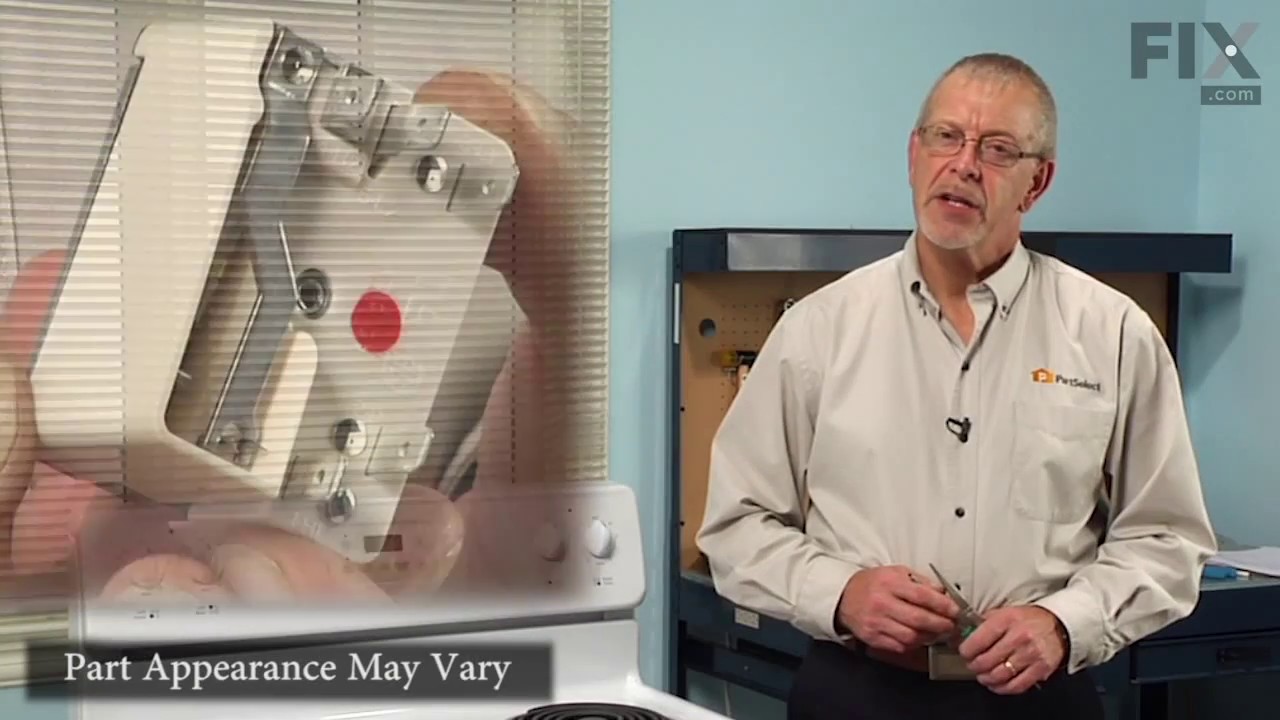
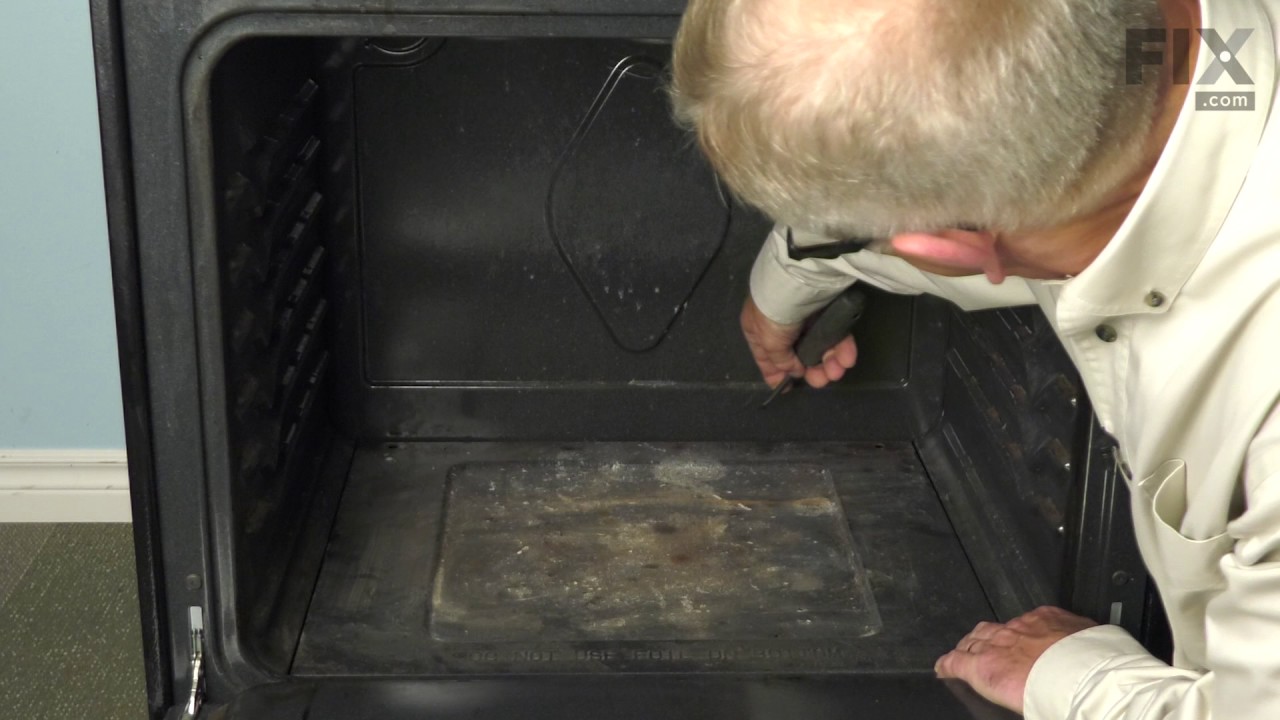
The Oven Bake Element is a black, metal part which supplies heat to the oven. This element is 19-1/2" wide x 18-1/2" long and has 3-1/2" inserts. It is rated as "Easy" to install by users, and attaches to the bottom of the oven. If you notice visible damage, or that your oven is not receiving heat properly then it may be a problem with th...Read moreis part. Check your model number and user manual to see if this is the right part for you. It is important for you to disconnect your appliance from the power source before performing this repair. After disconnecting your appliance, remove the two screws/nuts connecting the old element, pull it out, and discard if faulty. Simply connect the new element prongs where the old element fit, and screw it back in. You may need a flashlight when making this repair.
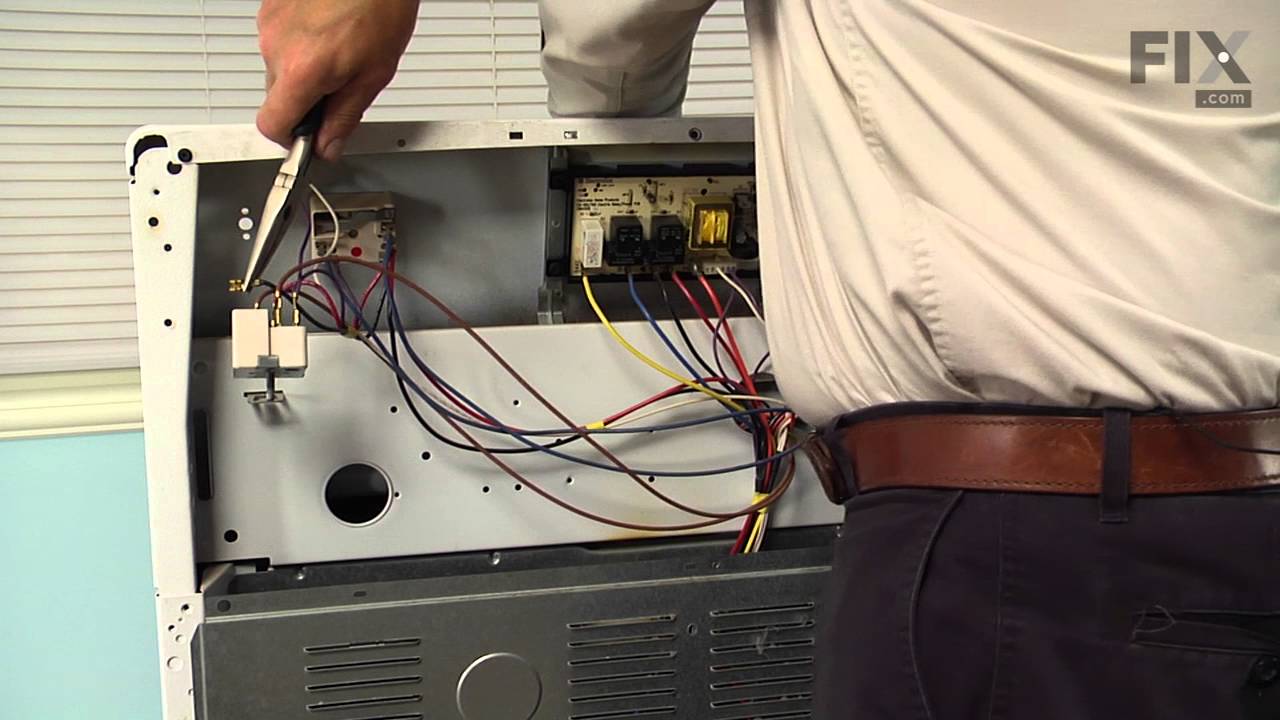
The infinite burner switch controls the stove top eight-inch surface burner, which is the large surface element. If your surface element is not warming up, the element can be tested to determine whether or not it is defective. If your element is not defective, then it is more than likely that the infinite burner switch is the issue. Befor...Read moree you install the infinite burner switch you will need to unplug your range from the power supply, or shut off the home circuit breaker. The tools you will need to do this repair include a number one square head screwdriver and a pair of needle nose pliers.
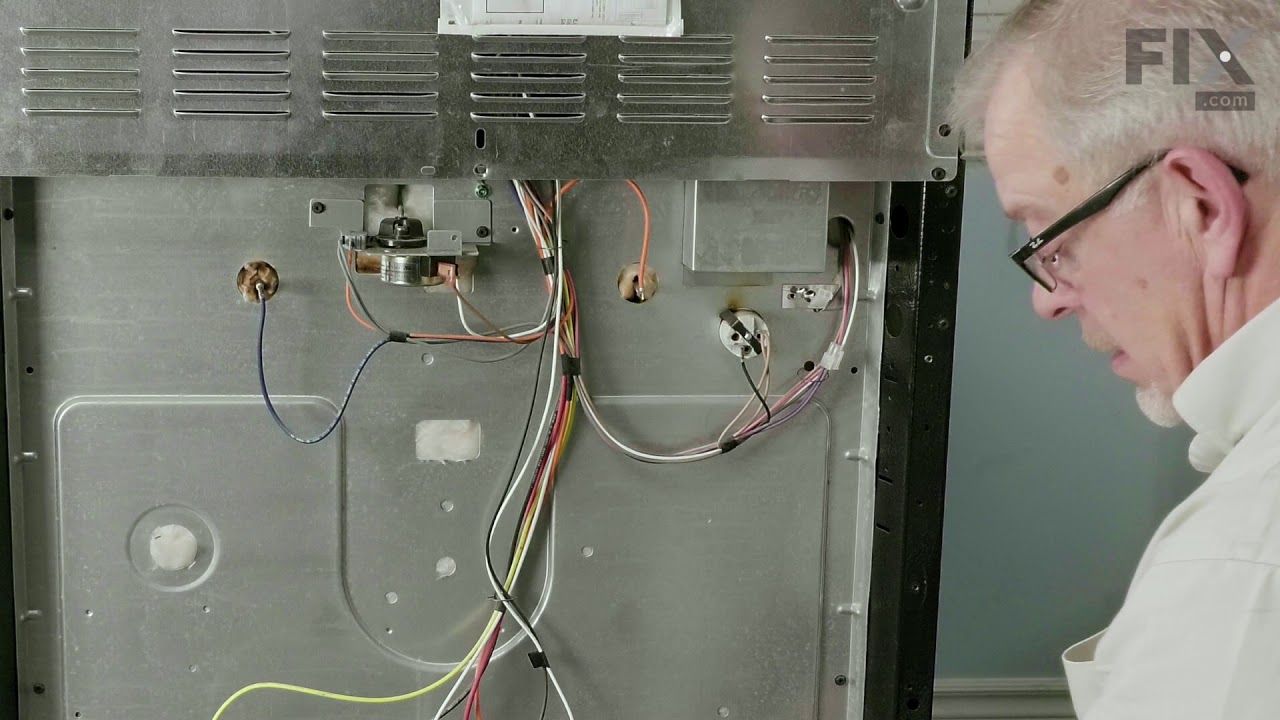
This genuine OEM oven probe is also known as an oven temperature sensor or range probe. This part is manufactured for a range, stove, or oven to detect the temperature within the oven cavity. The probe allows the oven to maintain the set temperature by sensing the temperature and sending the information to the ovens motherboard. You may n...Read moreeed to replace this part if oven is not heating or is heating unevenly. Be sure to disconnect power to oven before replacing, as it is an electrical part. Tools needed are 1/4 inch nut driver and needle nose pliers.
This OEM 40 watt appliance light bulb is used for some ranges, refrigerators, freezers, and microwaves. Simply locate the existing bulb, unscrew it from its socket, and replace with new light bulb. If the existing bulb is broken in the socket, disconnect the power to the refrigerator and use a pair of needle nose pliers to grip the intern...Read moreal fragments of the bulb to unscrew. Replace with the new bulb and reconnect the power to the refrigerator. These bulbs are sold individually and are a commonly replaced part; consider ordering a spare.
This is a part for your range. This switch controls the stovetop surface burner. If you notice that your stove top is not turning on or is not adjusting to the corresponding desired heat, it is mostly likely due to the burner switch needing to be replaced. You will need a #1 square-head screwdriver and needle-nose pliers. Disconnect the p...Read moreower from the range. You will need to move the range out from the wall to remove the upper back panel to access to this part. This is an OEM genuine part.
This part is found inside your oven. This oven rack comes in the color chrome and measures 24 inches in width and 16 inches in length. This is an extremely simple repair that requires no tools. The package you will receive will contain one rack. The rack may warp or become distressed over time and will need to be replaced. The rack is wha...Read moret holds your food inside the oven and allows you to adjust your food at different heights. Make sure your oven is unplugged before doing any maintenance. You will need to open the oven door and simply slide the new rack into place.
The Frigidaire light bulb lens covers the interior light bulb in an oven. No tools are necessary to replace this item. After unplugging the appliance, slide off the wire bracket to remove the existing light bulb lens. Be sure to remove all broken glass, if applicable, before installing the new lens. It is recommended to check the state of...Read more the light bulb while the lens is off. This part is made of glass. The lens is a genuine Frigidaire part, sourced directly from the manufacturer, and is sold individually.
This tempered glass is supplied by the original manufacturer and measures 20 inches by 13 inches. It is an inner door glass, designed for use in ranges/ovens and has several purposes which include providing heat insulation, acting as protective barrier, and providing an opening to monitor the cooking/heating process. Over time the glass c...Read morean break or break from impact, thermal shock, or improper installation. If the glass is defective, it needs to be replaced promptly to avoid leaking, loss of insulation and potential harm to the user. Remove any fasteners or clips that secure the glass and carefully dispose of it. Position the new glass in the same position and secure it appropriately.
This oven broil element is a high-performance heating component designed to deliver intense, direct heat from the top of the oven cavity. Measuring approximately 12 ½ inches by 18 ½ inches, it operates at 3000 watts and 240 volts, making it suitable for broiling and contributing to certain baking functions. Positioned at the top interior ...Read moreof the oven, it ensures even heat distribution for optimal cooking results. This element is commonly used as a replacement in electric ranges experiencing reduced or no heat during broil or bake cycles. Installation typically involves disconnecting power, removing the old element, and securing the new one using existing mounting brackets and electrical connectors. It is compatible with a variety of household ranges and is engineered for durability and consistent performance.
This rear drawer glide, also known as a storage drawer glide, is used in ranges. This helps hold the front side of the storage drawer and allows the drawer to easily slide in and out of the range. If your glide is damaged or missing, replacing it could solve any difficulty using the drawer. First, remove the storage drawer and locate the ...Read morerear glide on the side. Next, remove the glide by taking out the screws. Replace new glide by placing tabs into the cut-out. If you are replacing both rear drawer glides, then repeat the same on the other side. Refer to the diagram provided by the manufacturer for further installation instructions and guidance.
This front drawer glide supports the bottom storage or broil drawer, allowing it to slide smoothly in and out of the range. Designed to reduce friction and keep the drawer properly aligned, it helps ensure easy and stable operation. Replacing a worn or damaged glide can fix issues such as sticking, tilting, or uneven movement, restoring normal drawer function.
Ask our experts a question about this model and we'll get back to you as soon as possible!
We may have answered a similar question already! Search questions and answers left by others using simple keywords like "fit", "broken", "easy", or "quality" to find questions that match.
Search filter:
Clear Filter
Your search term must have 3 or more characters.
Sort by:
Prev
1
2
Next
Sorry, we couldn't find any existing answers that matched.Try using some different or simpler keywords, or submit your new question by using the "Ask a Question" button above!
Connie - For model number FFEF3048LSM
November 4, 2021
What year is this range and does the top raise so it can be cleaned under?
Hello Connie, Thank you for the question. Very sorry we do not list the year of the appliance, just the replacement parts. We do have a video on replacing the Elements and it will show how to remove the top. We hope this helps!
https://www.youtube.com/watch?v=Qm6AvfcKcPU&t=1s
3 peoplefound this instruction helpful.
Was this helpful?
Thank you for voting!
George - For model number FFEF3048LSM
July 14, 2023
THE POWER WENT OUT LAST NIGHT IN OUR BUILDING FOR 10 MINUTES OR SO ,WHEN THE POWER RETURNED I GOT A ALARM SOUND ON THE PANEL , I PRESSED THE CLEAR AND ALARM STOPED BUT I GOT AN F10 FLASH ON THE PANEL. I UNPUGED THE RANGE FOR 5 MINUTES , PLUGED IT BACK IN AND IT WOULD NOT CLEAR .
Hi George, thank you for your question! The F10 error code means the control has detected the oven is heating even though the oven is not in use. Check the wiring from the sensor to the main control board. Test the resistance of the oven temperature sensor. It should be roughly 1100 ohms at room temperature. If not, the sensor, part number PS1528542, is bad, replace it. We hope this information helps!
How do I clean the oven. I pressed clean but the door doesn’t lock
Hi Sandy, thank you for the great question. We have found some simple to follow directions to assist you with the self cleaning of your range.
Press clean. “---” appears in the display.
Press the or pad once. “3:00” will appear in
the display indicating that a 3 hour self-clean time is
set. To change to a 2 hour self-clean time press
once (2:00 appears in the display).
(Some models) For a 4 hour self-clean time press
until (4:00 appears in display).
“CLn” will appear in the display during the self-clean
cycle and the “LOCK” light will glow until the selfcleaning cycle is complete or cancelled and the oven
temperature has cooled.
We hope this helps.
Was this helpful?
Thank you for voting!
Carol - For model number FFEF3048LSM
January 22, 2020
I would like to change my black knobs on stove to stainless steel or nickel. Do you
Have a knob that would fit in that color?
Hello and thank you for writing.
The only knob available for your unit is this black one. We hope this helps. Please contact us anytime if you require further assistance.
Was this helpful?
Thank you for voting!
Dorothy - For model number FFEF3048LSM
June 26, 2023
Temp does not go up to 350 when it supposed to. I have to turn it up 15 degrees so I think I need a thermostat. Is it easy to install?
Hi Dorothy, thank you for contacting us. To fix the issue, we would recommend checking the temperature sensor, part number PS1528542. It allows the oven to maintain the set temperature by sensing the temperature and sending the information to the oven's motherboard. We have attached a relevant video to help you with the installation. We hope this helps, good luck with this repair!
See how others fixed this model. Time, tools, difficulty, and steps that lead to victory!View More
Search repair tips from other customers using simple keywords like "replace", "fit", "remove", "inspect". DIY doesn't mean you have to do it alone!
Search filter:
Clear Filter
Your search term must have 3 or more characters.
Oven woudn't heat
1298 of 1511 peoplefound this instruction helpful.
David from Shawnee, KS
Really Easy
Less than 15 mins
Screw drivers
1. Removed two screws, pulled out the element, voltage tested the element and determined it was an open circuit (bad element). 2. Ordered the part from partselect.com 3. Disconnected element, connected the new one, and screwed it back in.
Was this helpful?
Thank you for voting!
Element cracked in two pieces
821 of 928 peoplefound this instruction helpful.
Michael from Green Bay, WI
Really Easy
Less than 15 mins
Nutdriver
Shut off circuit breaker to stove and collected the tool from the basement. Turned on flashlight. Unscrewed the two hex nuts from the old element/back of the oven. Slid the old element prongs out of the back, exposing the connecting wires. Pulled the connecting wires off of the old element, carefully, so that the connections wouldn
... Read more't come off of the wires. Threw the old element pieces in the garbage. Connected the new element to the connecting wires and re-fastened the hex nuts. My husband had wanted to call the repair man, but it didn't look too difficult, so I decided to try it on my own. Boy was he surprised when I fixed it, and for a fraction of the cost of hiring a repairman! Ladies, we can do this ourselves!!! :) Thank you for being there for us to order our part from, Parts Select, we had our new part in less than 24 hours, so the shipping was blazing fast!!! Keep up the good work!!! :)
Read less
Was this helpful?
Thank you for voting!
oven did not heat
438 of 479 peoplefound this instruction helpful.
jack from chambersburg, PA
Really Easy
Less than 15 mins
Screw drivers
removed screws pulled element out. removed wire from old element replaced with new element.very easy



 My Orders