


 My Orders




FEP210VW4 Roper Range - Overview
Diagrams for FEP210VW4
See every part. Know exactly what you need.


Enter a part description. DIY Heroes keep it simple, eg. "belt" or "pump".
Search filter:
Clear Filter
Your search term must have 3 or more characters.

$15.00
In Stock
Drip Bowl - 6 Inch
Part #W10196406RW
If your element will not heat, there could be an issue with your drip bowl. This chrome drip bowl is 8 inches in diameter, and fits most electric ranges. Before you replace the drip bowl, make sure the element is turned off and cool to the touch. Installation is easy, just remove the element, replace the current drip bowl, and replace the...Read more element. Make sure the small hole on the bowl lines up with the element socket. The manufacturer has substituted this part, it now has a hole in the center, and no longer has a solid bottom. For a step by step guide, click the video below.
Read less

$16.07
In Stock
Drip Bowl - 8 Inch
Part #W10196405RW
This part is located beneath the element and catches any spills.

$16.07
In Stock
Range Surface Burner Plug-In Block Kit
Part #330031
The surface burner plug-in block kit features a newer-style terminal block. This kit is designed for use with ranges and cooktops. This terminal block is how the coil element on your stove connects to the inner wiring of your appliance. Without this connection your burner element would not get the electrical current it needs to heat up. W...Read morehen your element will not heat at all, or if it is not heating properly it is likely an issue with the terminal block. You need to remove the element to replace this part. While you have the element out, inspect the element and the terminal for any corrosion, arcing, or discoloration. If you notice any damage to the element or the terminals we recommend you replace this part as well. This kit includes two metal brackets, two pre-crimped high-temperature wire leads, two ceramic wire nuts, two heat-shrinking insulators, and a mounting screw. Before you begin this repair, make sure you have unplugged your appliance.
Read less

$7.47
In Stock

$47.40
In Stock
Surface Element Switch
Part #W10900107
A surface element switch, also known as a burner/infinite switch, is a device used to control and regulate the heat output of the burners on a stovetop or cooktop. This switch is controlled with a knob on the user interface of the cooktop or stovetop and is adjustable by the user. This burner switch is compatible with various ranges and c...Read moreooktops and is a genuine OEM part that is sold with all of the necessary hardware to secure it, such as the Philips-head and flat-head screws, brackets, bolts, washers, palnuts (also known as a push-on nut) and terminals. Over time, this switch can wear out or become faulty, leading to heating issues for your stovetop and cooktop, such as not heating, overheating, or staying at the same heat level. Depending on the orientation of your cooktop, you will need to install this switch with or without the bracket and palnut, so reference your user manual for that information when replacing this switch. You will need a screwdriver and set of pliers during the replacement and installation process, and simply need to follow the instruction manual included with this switch to correctly replace and rewire it.
Read less

$49.50
In Stock
2 Piece Broiler Pan
Part #4396923
This broiler pan and roasting rack set is designed to help reduce mess while cooking by allowing grease to drain away from food. Its durable porcelain-coated construction stands up to high temperatures and makes cleanup simple. With approximate dimensions of 16 3/4 inches long, 12 3/4 inches wide, and 1 3/4 inches high, it offers a convenient size for everyday broiling and roasting.

No Longer Available
Cooktop Cleaner
Part #W10355051
This bottle of non-abrasive cooktop cleaner breaks down and gets rid of the hardest baked-on stains and residue without causing any harm to your appliance. The bottle is 10 oz and does not require a large amount of product to do the job. This cleaner is perfectly safe to use on any glass, ceramic, stainless steel, chrome, or porcelain coo...Read morektop surface. The cleaner is creamy in texture and provides a protective coat of silicone on smooth surfaces. To apply, use a gentle scrub, sponge, or rag and gently press in a circular motion until the stains are removed.
Read less

$50.56
In Stock
Range Insulation
Part #WPW10208653
This insulation is also known as oven wrap insulation, and is used in conjunction with your range. Its purpose is to be installed in between the oven and the cabinets that surround it. This will help prevent the heat from escaping while cooking and essentially keep it locked inside the oven. The most common reason for needing to replace t...Read morehe insulation in your oven is that it becomes a comfy place for vermin to nest. Before making this installation, it would be best to disconnect the electrical power to your appliance, and to make sure that your range is cool to the touch.
Read less

$7.47
In Stock

$24.67
In Stock

$50.56
Special Order
CLIP
Part #98005642

No Longer Available
Common Symptoms of the FEP210VW4
How this model fails, and the parts that fix it.


Watch our pros, then fix it yourself.
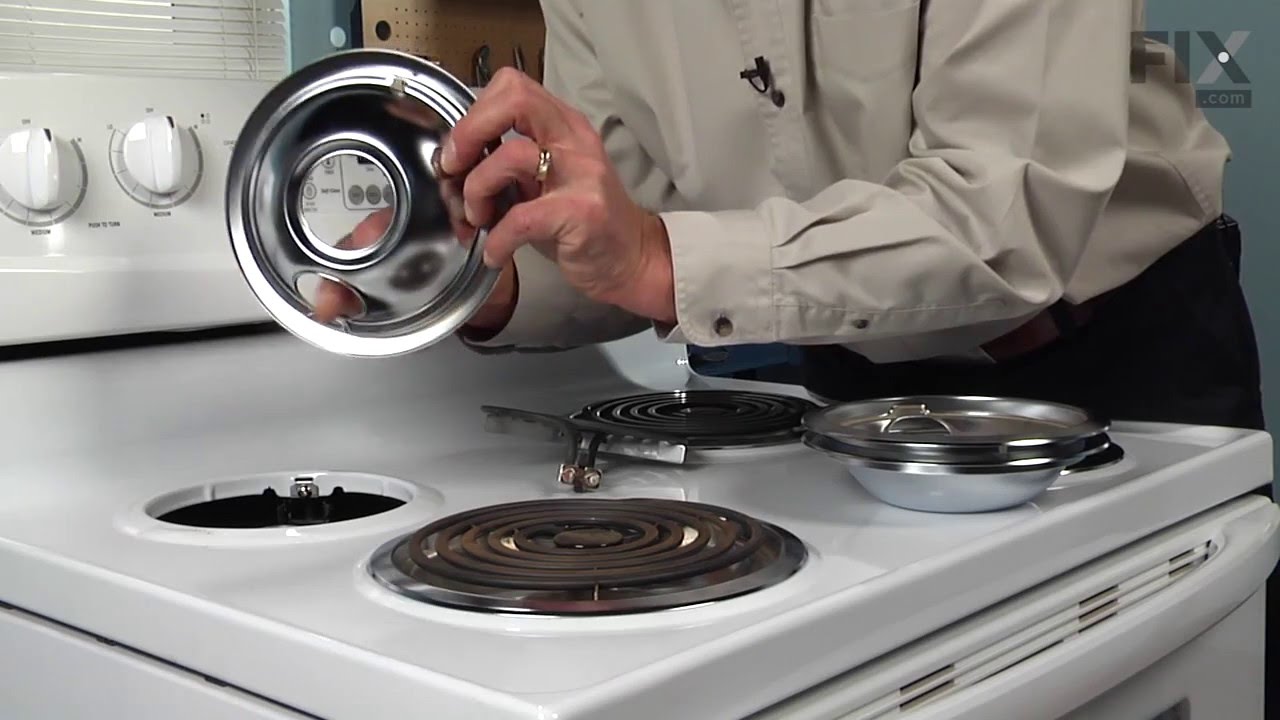
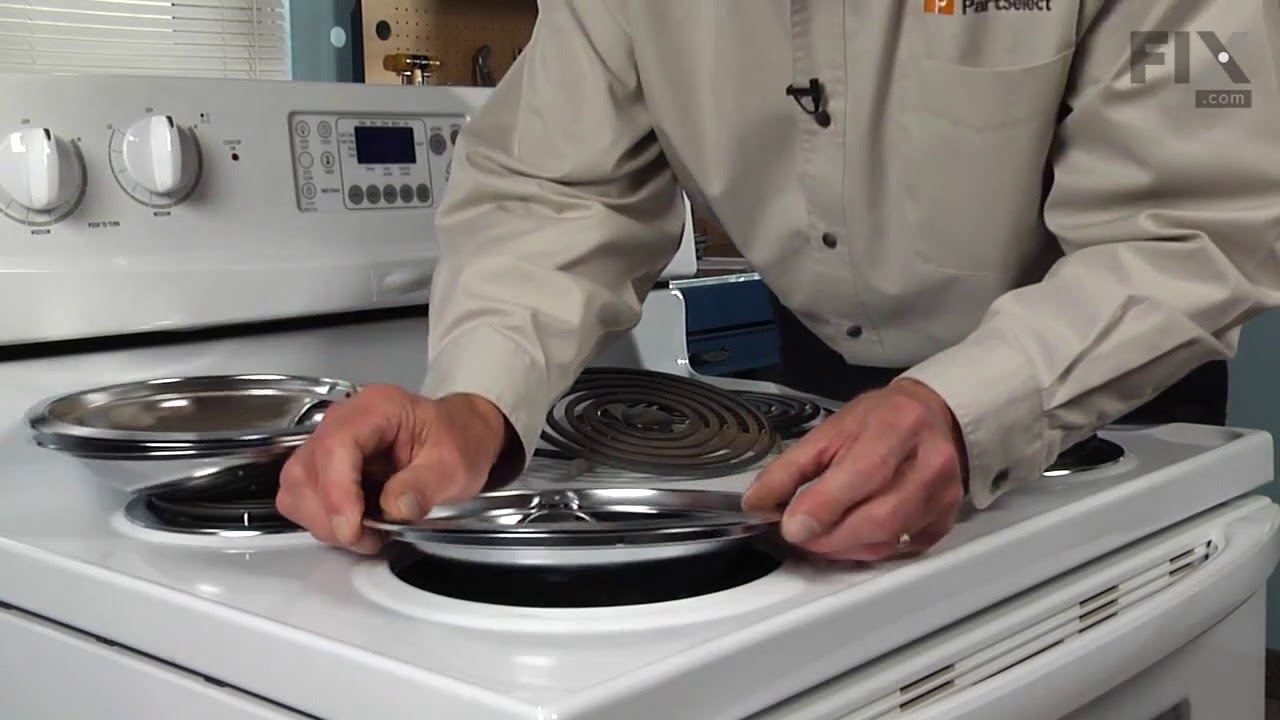



See how others fixed this model. Time, tools, difficulty, and steps that lead to victory!
View More
Search repair tips from other customers using simple keywords like "replace", "fit", "remove", "inspect". DIY doesn't mean you have to do it alone!
Search filter:
Clear Filter
Your search term must have 3 or more characters.
Drip bowls were rusty and rotting through
491 of 504 people
found this instruction helpful.
I simply removed the elements and replaced the drip bowls with new ones. Put the elements back in and my stove looks %1000 better!
Other Parts Used:
Was this helpful?
Thank you for voting!
Just Replaced Ole Drip Bowls.
379 of 395 people
found this instruction helpful.
Unplugged burners. . . . . Removed old bowls and replaced with new. . . . . . Plugged burners back in. However, I do want you to know that I could not believe the promptness of your service and the courteous customer service person that assisted me with my problem in selecting the correct drip bowls. You are definitely a unique compan
... Read more
y!!!!
Read less
Other Parts Used:
Was this helpful?
Thank you for voting!