


 My Orders




FEC3X7XATB Frigidaire Cooktop - Overview
Diagrams for FEC3X7XATB
See every part. Know exactly what you need.


Enter a part description. DIY Heroes keep it simple, eg. "belt" or "pump".
Search filter:
Clear Filter
Your search term must have 3 or more characters.

$96.75
In Stock
Radiant Element with Limiter - 1200W
Part #318178110
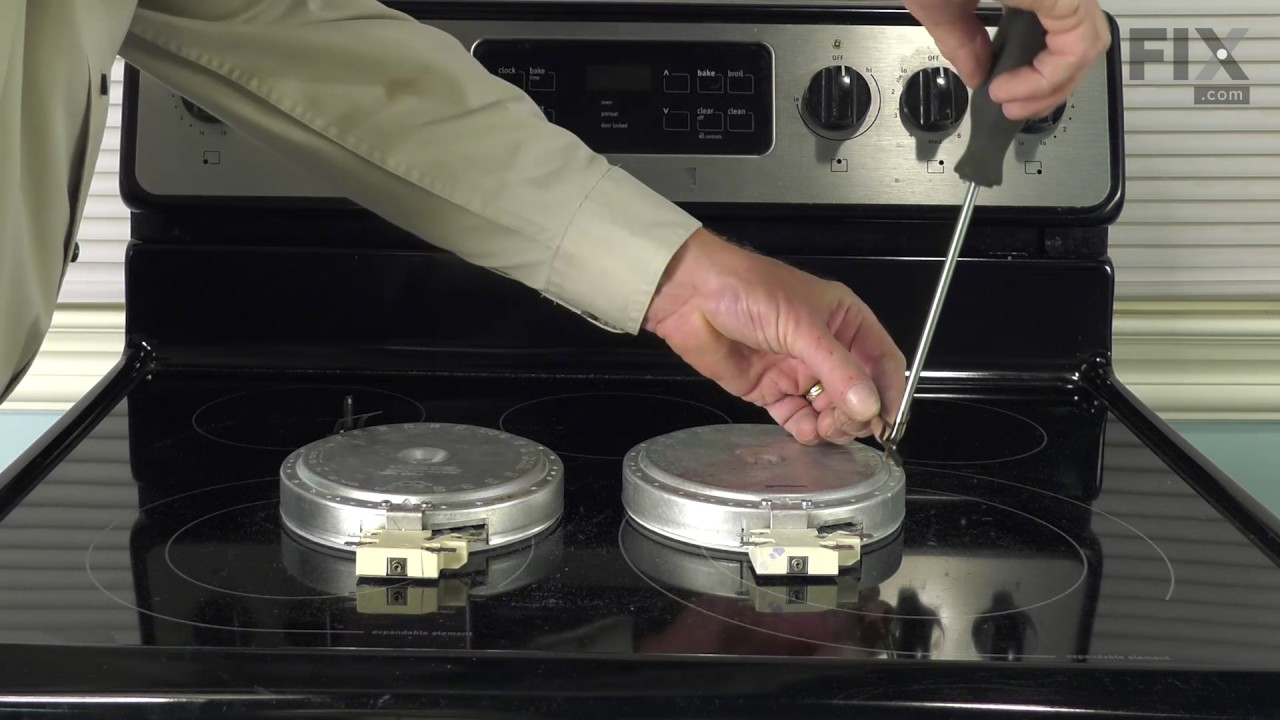
This is a six-inch radiant element with limiter. It works in conjunction with your stove top range. The purpose of this part is to heat up the cooking area that is located on top of the range, also known as your stove top. If you suspect that your surface element is not properly heating then you may want to test the element for continuity...Read more. This model is sold individually and is 1200 watts. The tools you will need for this installation include a Phillips screwdriver and a 14-inch nut driver.
Read less

$20.85
In Stock
SCREW
Part #5303323137

$147.35
In Stock
ELEMENT
Part #318198834
This 8-inch radiant surface element is designed to deliver consistent, even heating beneath the glass ceramic cooktop of select electric ranges. Rated at 2200 watts, it provides reliable performance for a variety of cooking tasks, from simmering to boiling. The element ensures uniform heat distribution and is engineered to fit securely in...Read moreto compatible range models. Replacement may be necessary if the burner fails to heat or heats unevenly. Installation should be performed with the appliance powered off to ensure safety. This OEM component supports efficient cooking and helps maintain the overall functionality of your range.
Read less

No Longer Available

No Longer Available
Bushing
Part #318148900

No Longer Available
DISCONTINUED
Part #5304407358

$25.25
Special Order
SCREW
Part #5303297477
No Longer Available
LAMP
Part #5303297484
No Longer Available
SPRING-ELEMENT Mounting
Part #5303297478
$63.64
Special Order
USE WCI 5304407358
Part #3204918
No Longer Available
SUPPORT-ELEMENT
Part #5303297479
$8.55
Special Order
PLATE-CONNECTION
Part #08014750
Common Symptoms of the FEC3X7XATB
How this model fails, and the parts that fix it.


Watch our pros, then fix it yourself.
See how others fixed this model. Time, tools, difficulty, and steps that lead to victory!
View More