


 My Orders




FEC36C4ACD Frigidaire Cooktop - Overview
Diagrams for FEC36C4ACD
See every part. Know exactly what you need.


Enter a part description. DIY Heroes keep it simple, eg. "belt" or "pump".
Search filter:
Clear Filter
Your search term must have 3 or more characters.

$14.25
In Stock
Drip Bowl - 8"
Part #316048413
This chrome drip bowl is designed for use with electric cooktops and ranges. This drip bowl is sold individually. At the widest point this part has a diameter of approximately 10 inches. It sits beneath the surface burner element. It catches any drips or spills coming from the cookware on your burner. Because the cooktop is a high-traffic...Read more area of the kitchen, these bowls often get damaged, or get so dirty they can no longer be adequately cleaned. When replacing this part you need to remove the burner element. While you have it out we recommend inspecting the terminals and the element for any corrosion, arcing, or discoloration. Any of those things could be a sign of a bigger problem, and it indicates that the element and terminal block should be replaced.
Read less

$13.15
In Stock
Chrome Drip Bowl - 6"
Part #316048414
The drip bowl catches grease and spills that come from cooking on your stove top. They are located under the heating elements. Drip bowls are often neglected and can become rusted and cracked. If your drip bowl is damaged, it could allow grease, food, or other spills to drip inside your range. This could become a fire hazard. This 6 inch ...Read morechrome drip bowl fits most electric ranges. Before you replace your damaged drip bowl, make sure the element is turned off and cool to the touch. To replace the drip bowl, remove the element, replace the current drip bowl, and reattach the element. This part is sold individually.
Read less

$15.20
In Stock
Terminal Block Kit
Part #5303935058
This part connects the wire harness to the surface element and is used for ranges. The kit includes interchangeable mounting brackets, ceramic wire nuts, heat shrink protective tubing, and wires. If your range/oven is having symptoms such as burner not heating, heating elements not working, burning smell, or if the oven is making a buzzin...Read moreg noise then this could be the solution. The tools needed to replace the kit are wire strippers, a heat gun or hair dryer, and #1 square heard screw driver. Refer to the installation/instructional video for further guidance to accurately replace the element.
Read less

No Longer Available

$80.25
In Stock
Surface Burner Switch
Part #318293827
This surface element infinite switch is designed to control the temperature of a large burner on electric ranges, cooktops, and wall ovens. It regulates the power supply to the heating element, allowing precise adjustment of heat levels for cooking. Built for reliability, this switch is intended for an 8-inch surface element and ensures c...Read moreonsistent performance. Installation typically involves disconnecting power, accessing the control panel, and securing the new switch in place. Replacing a faulty switch restores accurate temperature control and safe operation.
Read less

$20.85
In Stock
SCREW
Part #5303323137

$154.14
On Order
Surface Burner Coil Element - 8" - 2100W
Part #5308011964
Presenting a genuine Frigidaire (FRIGB) Coil Surface Element. Specially designed as a surface burner coil element, it measures at an 8" size and operates at a capacity of 2100W. This powerful element provides consistent and reliable heat to the cooking area on top of your range. Prior to installation, kindly ensure to disconnect power fro...Read morem your range for safety reasons. Although this part may have slight variations in size and shape compared to others, it is a perfect match for specific Frigidaire, Electrolux, White Westinghouse, and Tappan models. Trust this OEM part to deliver an optimal cooking experience.
Read less

No Longer Available
Red Indicator Light Lens
Part #318250801
This indicator light lens protects bulbs in ranges, ovens, stoves, and humidifiers. The lens keeps the bulb from getting cracked, scratched, and damaged. It is 1 inch long and 1 inch wide. If your lens is defective or broken, or the bulb is easily getting damaged, replacing the lens can be a solution. Refer to the installation instruction...Read mores provided by the manufacturer for further accurate guidance. Remember to unplug your appliance from the power source before starting this project and wear gloves to ensure your hands are protected.
Read less

$72.57
In Stock
Burner Infinite Switch - 240V
Part #318293818
This infinite control switch regulates power to a surface burner, allowing smooth and adjustable heat control. Reliable switching improves cooking accuracy and safety. Replacing a faulty switch helps restore consistent burner operation.

$145.15
In Stock
Surface Element - 6"
Part #316439802
Upgrade your range with the Frigidaire Surface Element. This 6-inch surface element is a genuine OEM part, making it an ideal choice for some models of Frigidaire, Electrolux, White Westinghouse, and Tappan ranges. Its function is to supply heat to a cooking area on top of the range, thereby ensuring optimal performance. Before installing...Read more this replacement part, ensure that the range is unplugged or that the house circuit breaker for the range is shut off to ensure safety. Remember to wear work gloves to prevent any harm to your hands. Please refer to the installation guide for an easy, step-by-step process.
Read less

$30.62
Special Order
BUSHING
Part #318146010

$55.23
Special Order
SUPPORT
Part #5303935029
Manuals & Care Guides for FEC36C4ACD
Click to downloadInstall
Installation Instructions
(0.39MB)
Install
Installation Instructions
(1.69MB)
Manual
Owner's Manuals
(0.68MB)
Manual
Owner's Manuals
(1.49MB)
Wiring
Wiring Diagram
(0.14MB)
Common Symptoms of the FEC36C4ACD
How this model fails, and the parts that fix it.
Element will not heat
Fixed by
these parts
these parts


Show All
Will Not Start
Fixed by
these parts
these parts
Show All
Oven not heating evenly
Fixed by
these parts
these parts
Show All
Watch our pros, then fix it yourself.
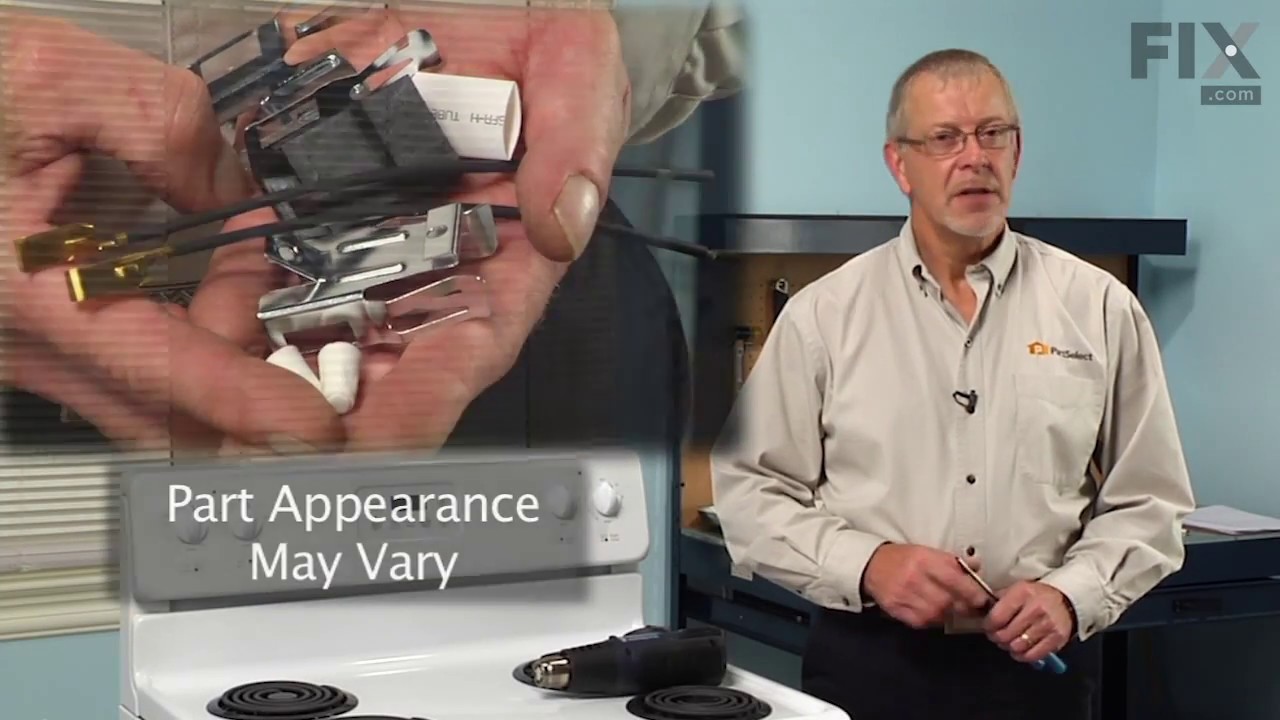
See how others fixed this model. Time, tools, difficulty, and steps that lead to victory!
View More
Search repair tips from other customers using simple keywords like "replace", "fit", "remove", "inspect". DIY doesn't mean you have to do it alone!
Search filter:
Clear Filter
Your search term must have 3 or more characters.
Old pans/bowls were corroded
48 of 55 people
found this instruction helpful.
Very easy---simply unplug the burners, remove the old pans and replace with the new ones
I was extremely pleased with the easy ordering and prompt delivery of parts that actually fit as they should!
I was extremely pleased with the easy ordering and prompt delivery of parts that actually fit as they should!
Other Parts Used:


Was this helpful?
Thank you for voting!