


 My Orders




FEC30S7ESB Frigidaire Cooktop - Overview
Diagrams for FEC30S7ESB
See every part. Know exactly what you need.


Enter a part description. DIY Heroes keep it simple, eg. "belt" or "pump".
Search filter:
Clear Filter
Your search term must have 3 or more characters.

$96.75
In Stock
Radiant Element with Limiter - 1200W
Part #318178110
This is a six-inch radiant element with limiter. It works in conjunction with your stove top range. The purpose of this part is to heat up the cooking area that is located on top of the range, also known as your stove top. If you suspect that your surface element is not properly heating then you may want to test the element for continuity...Read more. This model is sold individually and is 1200 watts. The tools you will need for this installation include a Phillips screwdriver and a 14-inch nut driver.
Read less

$92.35
In Stock
Dual Element with Limiter
Part #316555800
This dual radiant surface element is designed for electric ranges and cooktops, offering two heating zones—9 inches and 6 inches—to accommodate a variety of cookware sizes. It delivers consistent, even heat for efficient cooking and serves as a direct replacement for damaged or underperforming elements. Operating at 240 volts, the unit fe...Read moreatures a durable all-metal temperature control rod that enhances heat stability and longevity. Compatible with multiple models across several brands, this component is ideal for restoring optimal performance to your cooktop. Installation should be performed with the appliance disconnected from power and may require basic tools.
Read less

No Longer Available

$8.60
In Stock
Screw
Part #5303288565
This is an authentic mounting screw, which works with ranges, wall ovens, cooktops and warming drawers.

$79.28
In Stock

$82.45
In Stock
Infinite Switch Kit
Part #318191000
This replacement infinite switch is designed to regulate the heat output of a dual-element surface burner on your range or cooktop. It allows for precise temperature control, ensuring consistent and reliable performance during cooking. If a burner fails to heat or remains stuck on a single setting—such as high—this component may be the ca...Read moreuse. Compatible with a variety of models across several brands, this switch helps restore full functionality to your appliance.
Read less

No Longer Available

$49.56
Special Order
Retainer Bracket
Part #318121902

No Longer Available
Bushing
Part #318148900

No Longer Available
Range Switch
Part #318293817

$18.22
Special Order
SPACER
Part #318531702

$54.10
Special Order
LIGHT
Part #318044830
Manuals & Care Guides for FEC30S7ESB
Click to downloadInstall
Installation Instructions
(5.05MB)
Manual
Owner's Manuals
(2.01MB)
Wiring
Wiring Diagram
(0.19MB)
Common Symptoms of the FEC30S7ESB
How this model fails, and the parts that fix it.


Watch our pros, then fix it yourself.
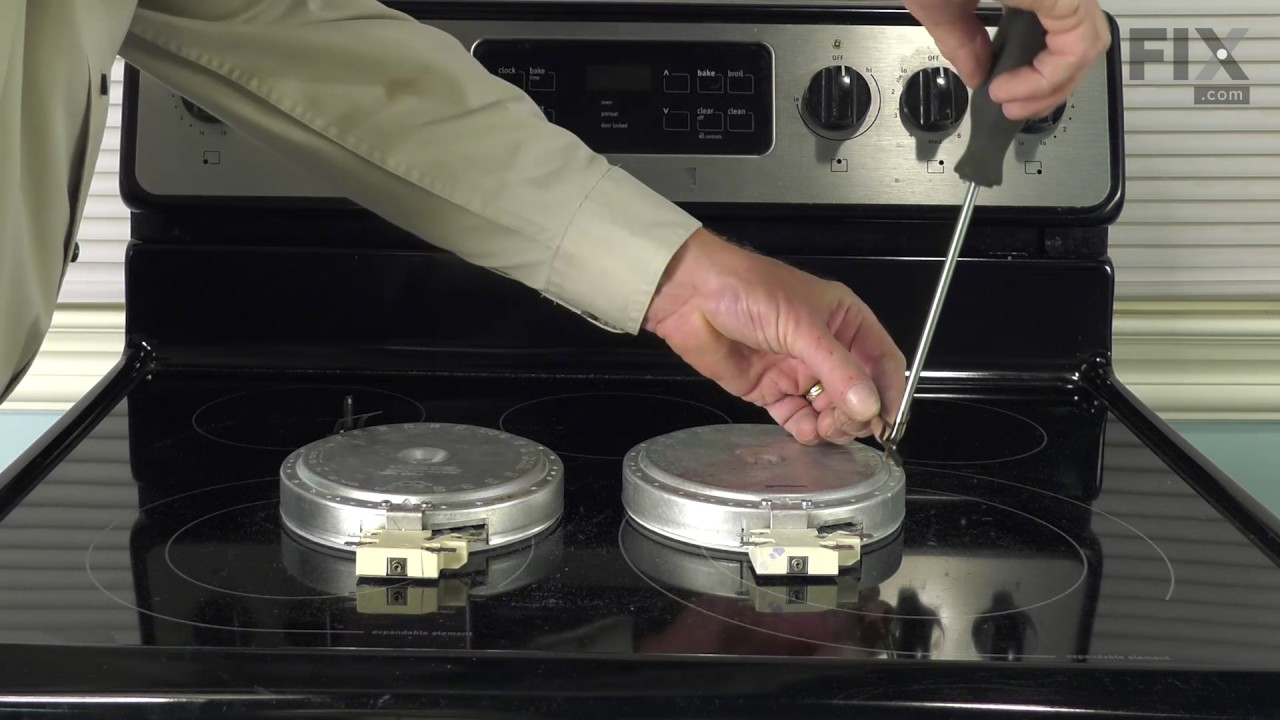
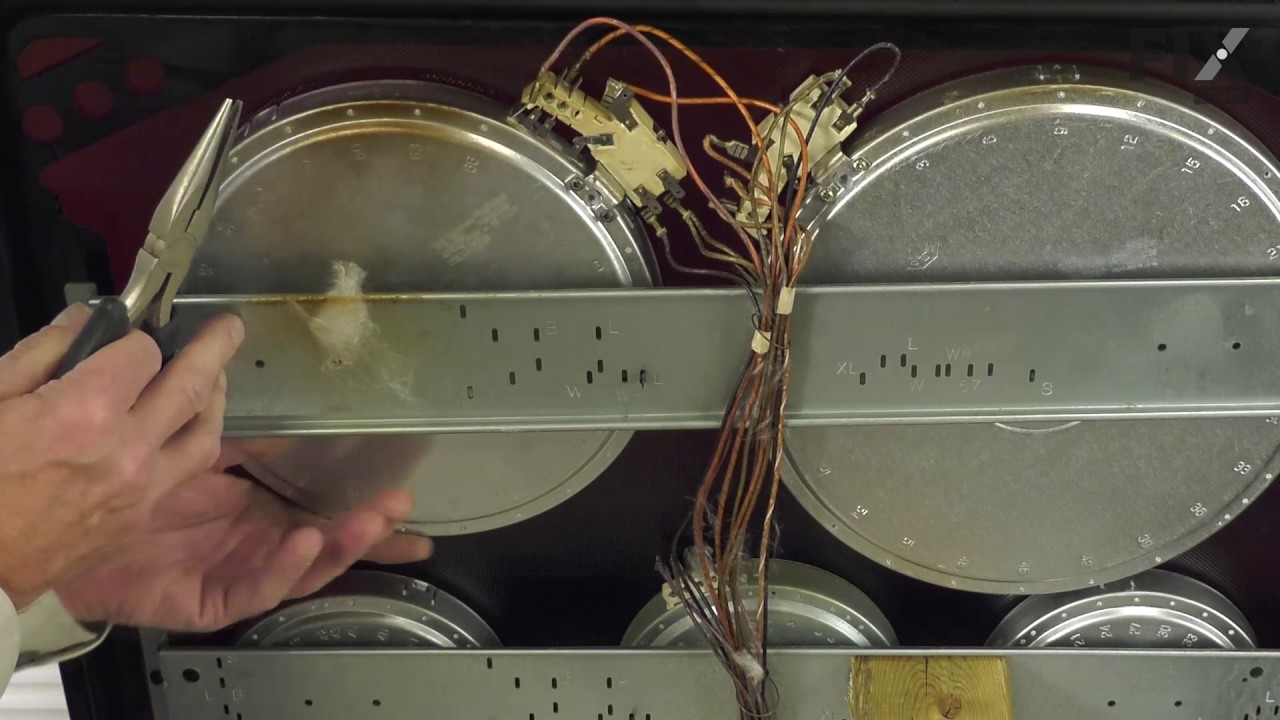
See how others fixed this model. Time, tools, difficulty, and steps that lead to victory!
View More