Your coupon for will be reflected when you check out!
✖
Your coupon for
✖
Hello!
You're visiting the PartSelect site in U.S.
Would you like to shop on the Canadian site?
Stay on this site
Go to Canadian site
✖
Model Number Locations
1Select Category Type
Select Category Type
2Select Product Type
Select Product Type
3Select {MODEL} Type
Select {MODEL} Type
Sample Model Number Tags
Model numbers can be made up of numbers (1005400, for example) or a combination of letters and numbers (LAT1000AAE). The model number will most likely appear on either a paper sticker or a metal plate. Your appliance's model number tag may look similar to the sample model number tags shown here (model number highlighted in yellow):
Model has been saved to My Models. If you're not signed in, your lists are available on this device and will expire within 30 days.
Model has been saved to My Models.
This part is the heatsource. This surface element is for ranges.
Surface element supplies the heat to a cooking area on top of the range.
Unplug the range or shut off the house circuit breaker ...
This is a six-inch radiant element with limiter. It works in conjunction with your stove top range. The purpose of this part is to heat up the cooking area that is located on top of the range, also kn...
This 8-inch radiant surface element is designed to deliver consistent, even heating beneath the glass ceramic cooktop of select electric ranges. Rated at 2200 watts, it provides reliable performance f...
Ask our experts a question about this model and we'll get back to you as soon as possible!
3 questions answered by our experts.
Sort by:
< Prev
1
Next >
Search filter:
Clear Filter
Your search term must have 3 or more characters.
Keep searches simple. Use keywords, e.g. "leaking", "pump", "broken" or "fit".
Sorry, we couldn't find any existing answers that matched.Try using some different or simpler keywords, or submit your new question by using the "Ask a Question" button above!
Derek
March 8, 2023
The right-front burner immediately assumes the highest setting and will not switch off when we turn the knob to "OFF."
For model number FEC30S6ABF
Hi Derek, thank you for contacting us. We would recommend checking the following parts, with a multimeter, to fix the issue: the surface burner switch, part number PS2342880, and the radiant element, part number PS1528719. We hope this helps, good luck with the repair!
The large burner in question is fully 9" in diameter. Do I assume that the switch for 8" burners is adequate?
For model number FEC30S6ABF
Hello Derek, Thank you for contacting us. According to the parts list we were sent by the manufacturer, part# PS2342881 would be the correct switch for the larger right front burner. We hope this helps you.
For the Frigidaire Cooktop (Cooktop not Range) FEC30S6ABF, How do I open the Cooktop to access the burners and limiters inside the sealed unit? I can easily remove the entire cooktop from the countertop but how do I open the cooktop?
For model number FEC30S6ABF
Hello Robert, thank you for contacting us. According to our research, we are providing you with instructions that will help you remove the cooktop.
1- Remove the bracket screws securing the cooktop under the cabinet.
2- After removing the bracket, pull the whole cooktop upward and remove it from the countertop.
3- After pulling it up, remove the screws that secure the cooktop to the body.
4- Now, you have access to the burners and limiters.
We hope this helps!
Did this question help you?
Thank you for voting!
< Prev
1
Next >
✖
Ask a Question
Ask our experts a question on this model and we'll respond as soon as we can.
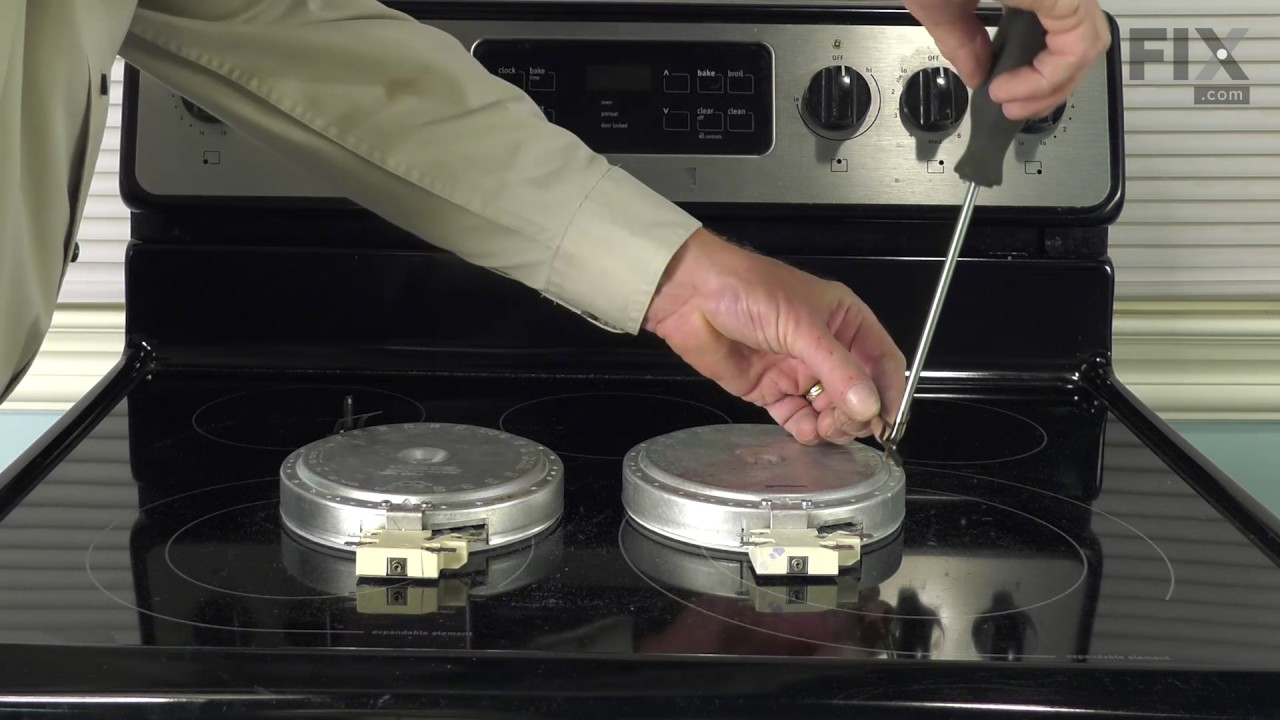
First we removed two screws under the rim of the range top to open the lid. Lifted the lid and removed the screws from the bracket that holds the elements, Be careful with the clips that hold the element in, if you break them or bend them there aren't any more! Also note which holes they were in, they are marked according to the differ
... Read moreent sizes of elements. Disconnected the wires, needed needlenose pliers to grip them...connected new element, popped it back in place, replaced bracket, closed top ...Easy peasy!!!
VERY IMPORTANT! kill the circuit breaker to the unit and/or unplugged it! 2 screws hold the ceramic glass top to the lip @ top of oven--remove them and the top can be lifted up to expose all the burner elements and wiring--remove the 2 end screws that hold the retainer bracket for the burners - then remove the 2 screws that hold the burne
... Read morer in question to the bracket-there's also a retainer pin that needs a bit of fussing with to completely free the burner--once totally free remove the wires from the bad unit to the good unit exactly as they are situated --install new unit onto bracket with screws and bracket back to its original location on the ceramic top-put top back down and replace both anchor screws--initiate power back to unit and yeeehahh--You just saved yourself lottsa money from repair bills!!!
FIRST I UNPLUGGED THE GLASS TOP RANGE. While locating the part on the PartSelect diagram I was also able to determine how to access the burned out element. It was very simply to remove three phillips head screws in the front top( above the oven)area of the range, slide the topof the range forwardand lift it up, remove one screw holding th
... Read moree metal bar under the element, replace the element by usinga a pair of pliers to remove the electrical wires and then reversed the process. I saved a tidy amount doing the job myself.