


 My Orders




FCWS2727AWE Frigidaire Range - Overview

Enter a part description. DIY Heroes keep it simple, eg. "belt" or "pump".
Search filter:
Clear Filter
Your search term must have 3 or more characters.

$40.60
In Stock
Main Terminal Block Kit
Part #5304409888
Terminal block kits are also known as terminal boards, or terminal strips, and they are found in a wide variety of household appliances. Most often in ranges, wall ovens, and dryers. This kit attaches the power cord to the inner wiring of your appliance. If the terminal block is faulty, your appliance will not get the power it needs to op...Read moreerate properly. When removing the old block pay close attention to the wire placement, this will make installing your new part much easier. If you notice any of the wires or wire terminals are corroded or damaged they will also need to be replaced.
Read less

$26.35
In Stock

$46.18
In Stock
PROBE
Part #5304525427
This OEM-manufactured metal temperature sensor, or oven probe, measures and regulates the temperature within the oven. If you find that your food is being overcooked, undercooked, or is not cooking evenly, the sensor may be faulty. You can verify this by testing it with a multimeter or looking out for an error code on the control board. I...Read moref you do not replace the broken sensor, your oven will run too hot or too cold. To replace the sensor, you first need to turn off the power to the oven and let it cool down. Access the probe inside the oven cavity, it is commonly attached to the rear wall. Using a screwdriver or pliers, remove any screws or clips that are securing the sensor in position. You may also need to unscrew or unclip the wire attached to the probe from the back of the oven. This sensor is sold as a single unit.
Read less

$31.47
In Stock
Door Spacer
Part #318165800

$33.90
In Stock
Fan Blade Retainer Nut
Part #316136600
This fan blade retainer nut in your oven secures the fan blade onto the motor shaft, preventing it from coming loose during operation. You can typically find it at the back of your oven behind a cover. If you notice that the fan blade becomes wobbly or does not rotate smoothly, or your oven starts to make rattling or scraping sounds, the ...Read morenut may be damaged. If the fan blade cannot spin properly, your food may cook unevenly. Your oven will also work harder and consume more energy to maintain the desired temperature. To access the nut, you will need to remove the back panel of your oven. Remove any screws or release any clips holding it using a screwdriver. To remove the nut itself, you will need either a wrench or a pair of pliers to loosen it from the motor shaft. The fan blade is sold separately from this genuine OEM nut.
Read less

$29.60
In Stock
Toe Panel Insulation
Part #318372017

$53.28
In Stock
SWITCH
Part #808136601

$26.35
In Stock
SCREW
Part #5304414648

$26.35
Special Order
SCREW
Part #316418900

$24.15
In Stock
THERMOSTAT,SAFETY,125C
Part #5304538823

$31.47
In Stock

$79.93
In Stock
GLASS
Part #139085803
This inner oven door glass panel is made from durable, heat-resistant tempered glass that forms a protective barrier inside the oven door, helping retain heat during cooking while keeping the outer surface cooler to the touch. Measuring approximately 16 1/2 inches by 12 7/8 inches, it provides clear visibility into the oven cavity and mai...Read morentains proper insulation for efficient baking and roasting. Over time, inner glass can crack, shatter, or become clouded from heat exposure, and replacing it restores both safety and performance. Installation should always be done once the appliance is fully cooled, and because the oven door can be heavy and the edges of shattered glass may be sharp, wearing work gloves and having a second person assist with lifting the door is recommended.
Read less
Common Symptoms of the FCWS2727AWE
How this model fails, and the parts that fix it.
Little to no heat when baking
Fixed by
these parts
these parts

Show All
Will Not Start
Fixed by
these parts
these parts
Show All
Element will not heat
Fixed by
these parts
these parts
Show All
Oven not heating evenly
Fixed by
these parts
these parts
Show All
Little to no heat when broiling
Fixed by
these parts
these parts
Show All
Watch our pros, then fix it yourself.
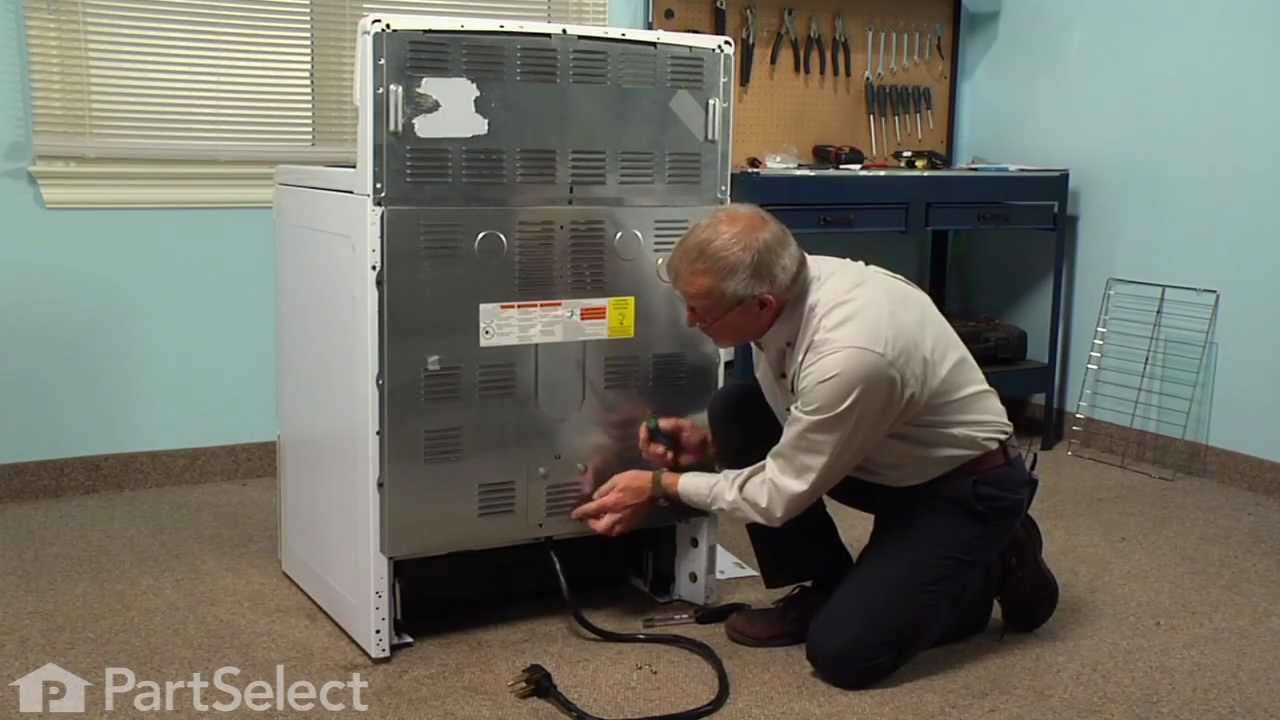
See how others fixed this model. Time, tools, difficulty, and steps that lead to victory!
View More