


 My Orders




FCRE3062ASC Frigidaire Range - Overview


Enter a part description. DIY Heroes keep it simple, eg. "belt" or "pump".
Search filter:
Clear Filter
Your search term must have 3 or more characters.

$96.75
In Stock
Radiant Element with Limiter - 1200W
Part #318178110
This is a six-inch radiant element with limiter. It works in conjunction with your stove top range. The purpose of this part is to heat up the cooking area that is located on top of the range, also known as your stove top. If you suspect that your surface element is not properly heating then you may want to test the element for continuity...Read more. This model is sold individually and is 1200 watts. The tools you will need for this installation include a Phillips screwdriver and a 14-inch nut driver.
Read less

$75.85
In Stock

$56.89
In Stock
Terminal Block Kit
Part #5303935271
This range terminal block kit provides a secure connection point between the household power cord and the appliance’s internal wiring. It helps distribute electrical power safely and reliably to the range’s heating and control components. A damaged or worn terminal block can prevent the oven or burners from operating correctly, cause buzz...Read moreing noises, or lead to power interruptions, and replacing it can help restore proper electrical function and safe operation.
Read less

$25.25
In Stock
Leveling Leg
Part #316272900
This part is sold individually. The leveling leg is black in color and measures approximately 2 inches in length. It is made of plastic. The leveling leg is found underneath your range and may crack or wear down over time. This will need to be replaced if it has broken or gone missing. If you notice your oven is wobbling or uneven it may ...Read morebe due to the leveling leg needing to be replaced. This part can be adjusted to accommodate different heights due to uneven flooring. This is a genuine OEM part sourced directly from the manufacturer.
Read less

$40.65
On Order
SWITCH - RADIANT DUAL
Part #140173679014
This dual radiant infinite switch is a genuine OEM replacement designed to regulate heat settings for large surface elements on electric stoves. It controls power flow to a dual 9-inch/12-inch burner, supporting smooth and precise temperature adjustments across a range of 1800 to 3000 watts. The switch helps maintain consistent cooking pe...Read morerformance and replaces older or malfunctioning units. Installation may require basic hand tools, and compatibility should be confirmed with your specific appliance model before purchase.
Read less

$47.95
In Stock

$54.95
In Stock
$42.95
In Stock
HEATING ELEMENT,MIDDLE,TURBO
Part #8583165300010
This radiant burner element delivers powerful, even heat for your cooktop, ensuring fast and efficient cooking. Measuring 9 inches and rated at 3200 watts, it is ideal for replacing a worn or malfunctioning element. Installation requires disconnecting power and connecting the new element to the existing wiring and mounting brackets.

$51.84
In Stock
KNOB
Part #5304514117
This control knob allows smooth, precise adjustment of appliance settings. Its ergonomic design improves comfort and control during use. Replacing a worn or missing knob restores full adjustability and convenience.

$26.35
In Stock
SCREW
Part #5304414648
$115.57
On Order
DOOR ASSEMBLY
Part #5304534354
$63.75
On Order
SWITCH
Part #140173680012
Common Symptoms of the FCRE3062ASC
How this model fails, and the parts that fix it.


Watch our pros, then fix it yourself.
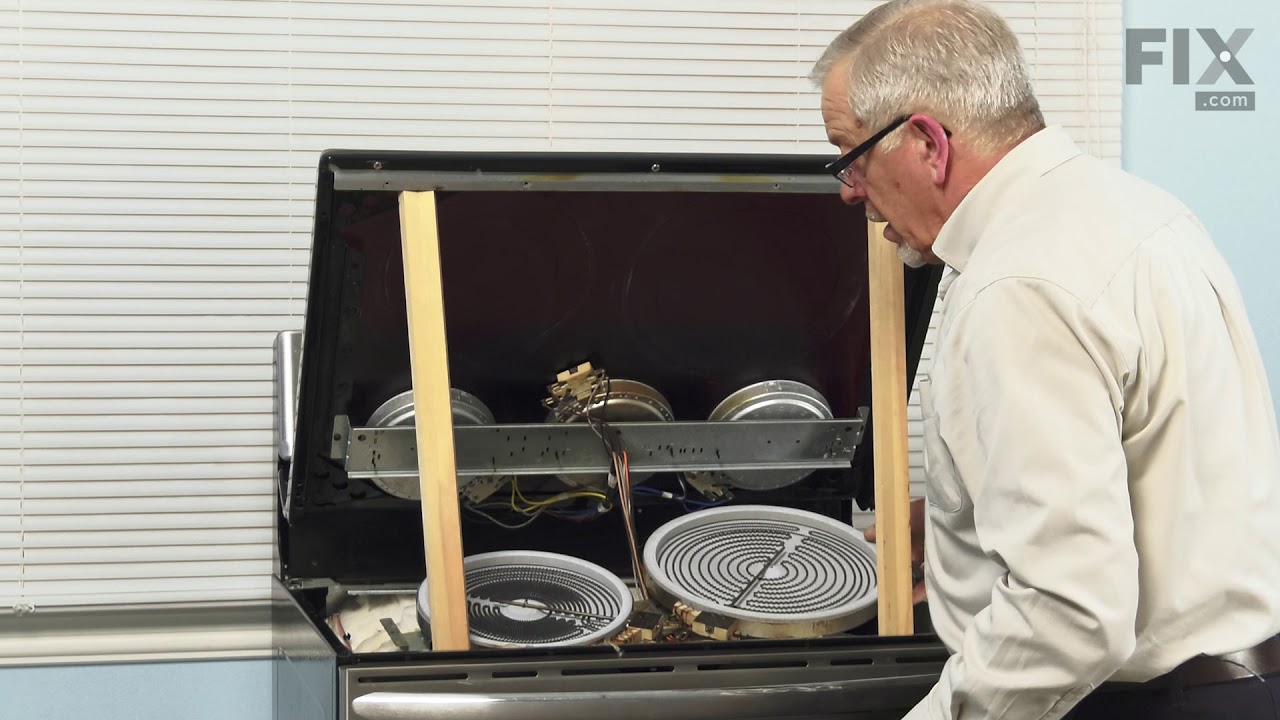
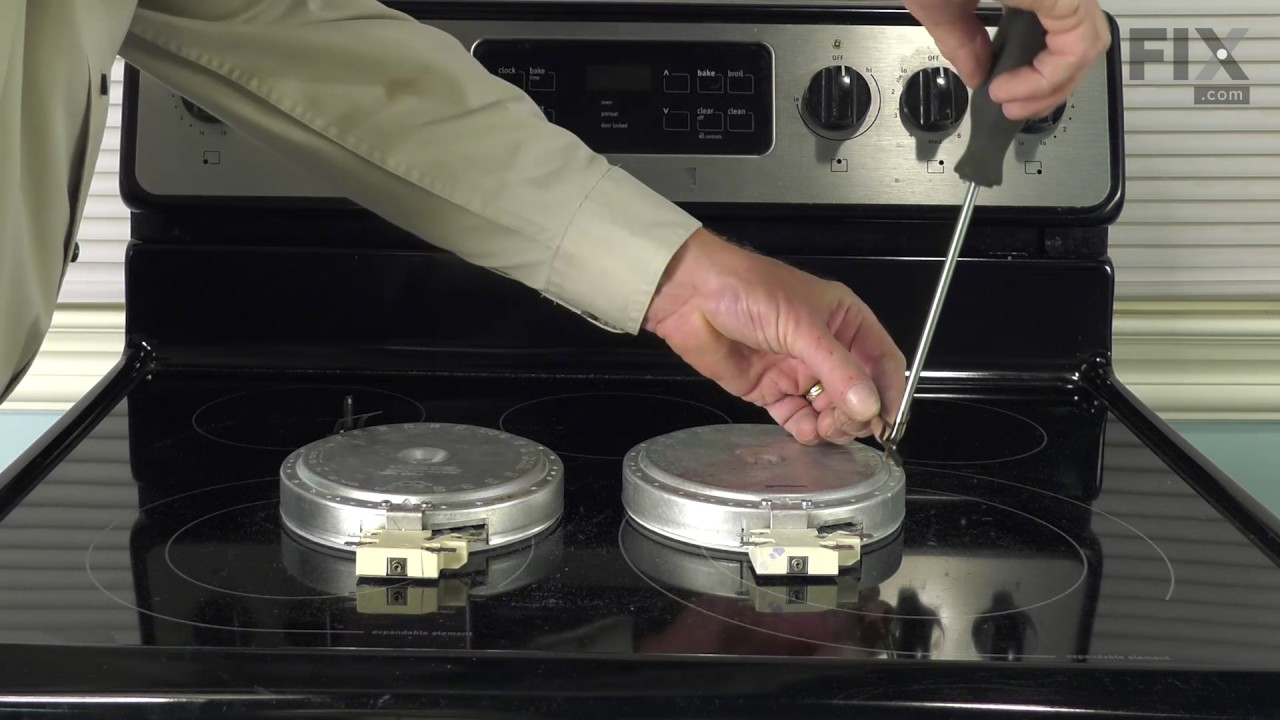
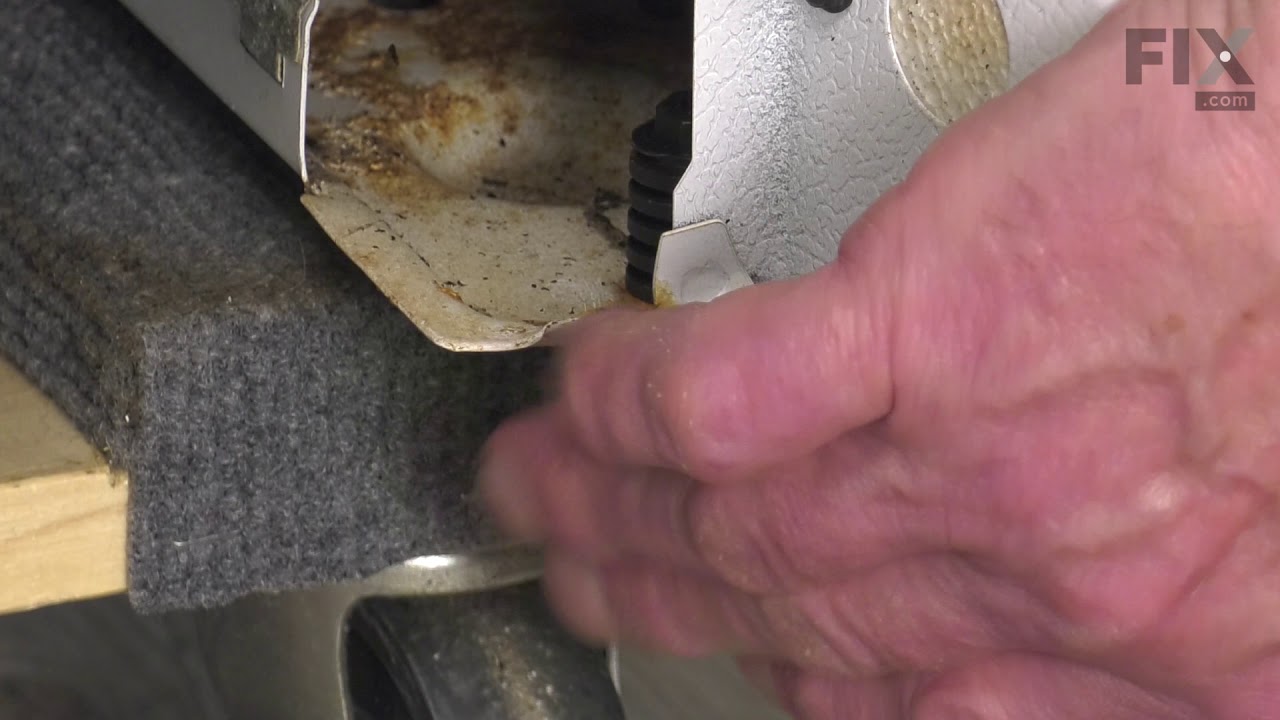
See how others fixed this model. Time, tools, difficulty, and steps that lead to victory!
View More