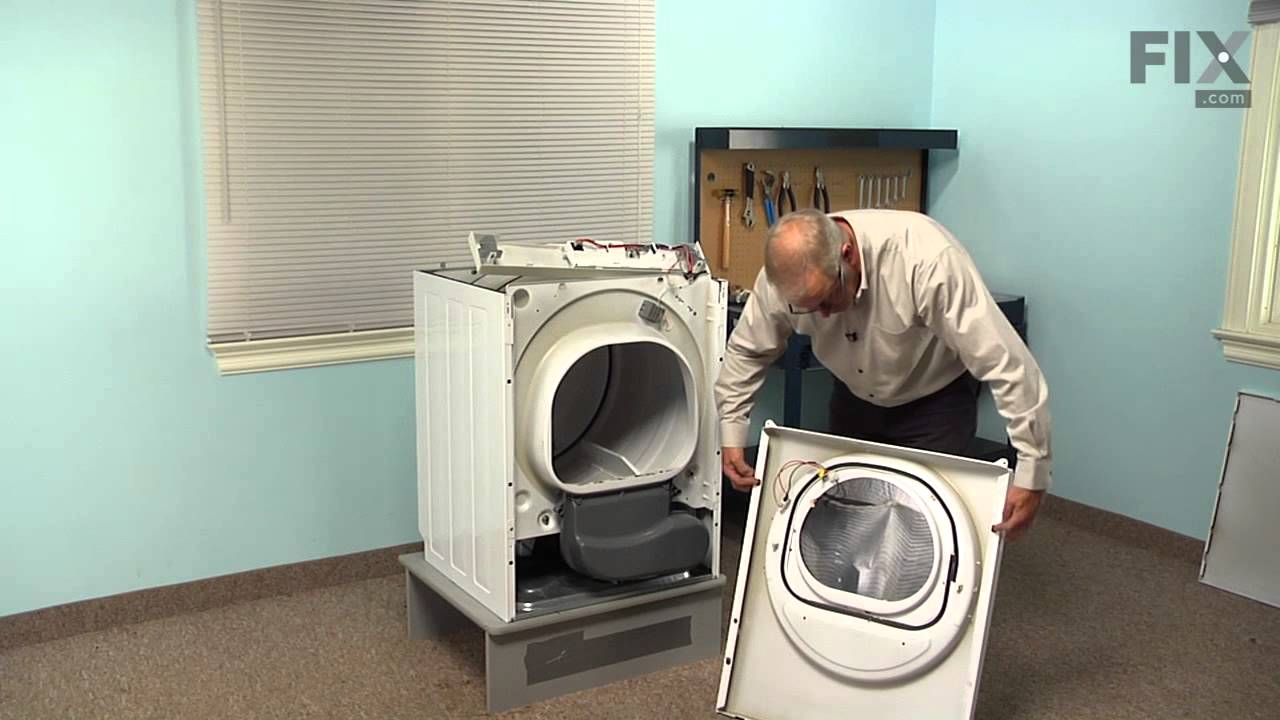
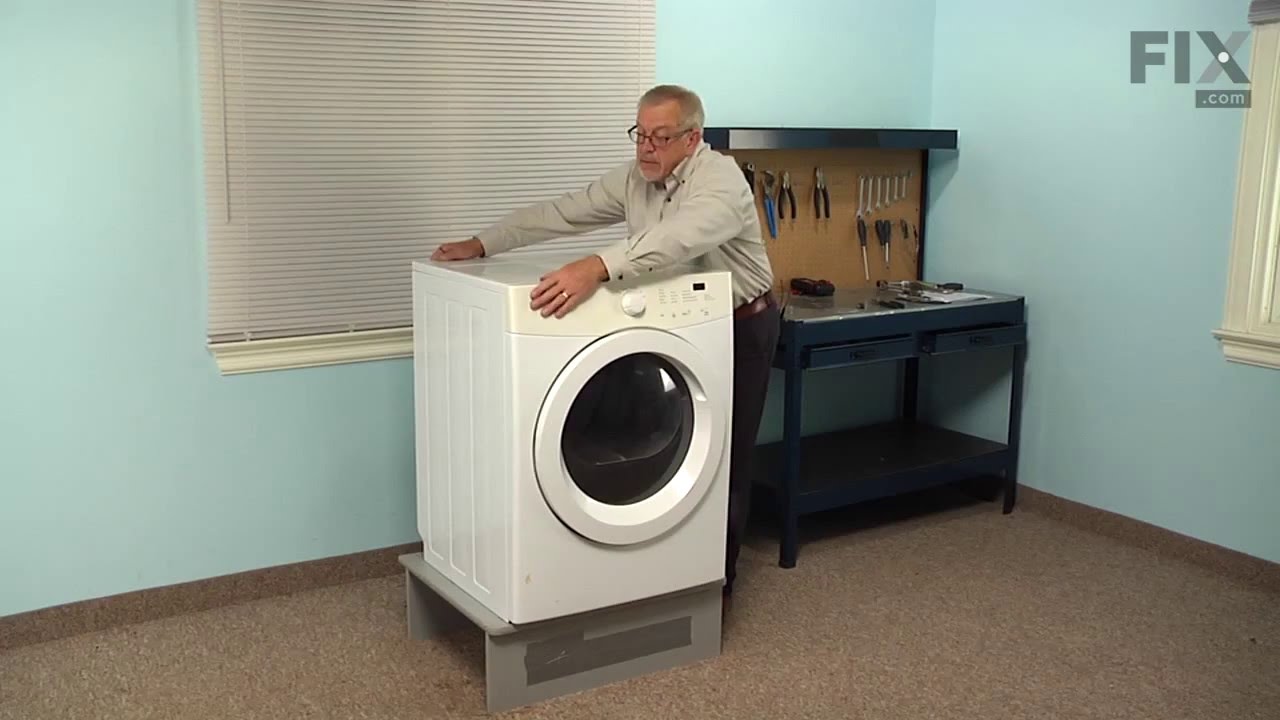
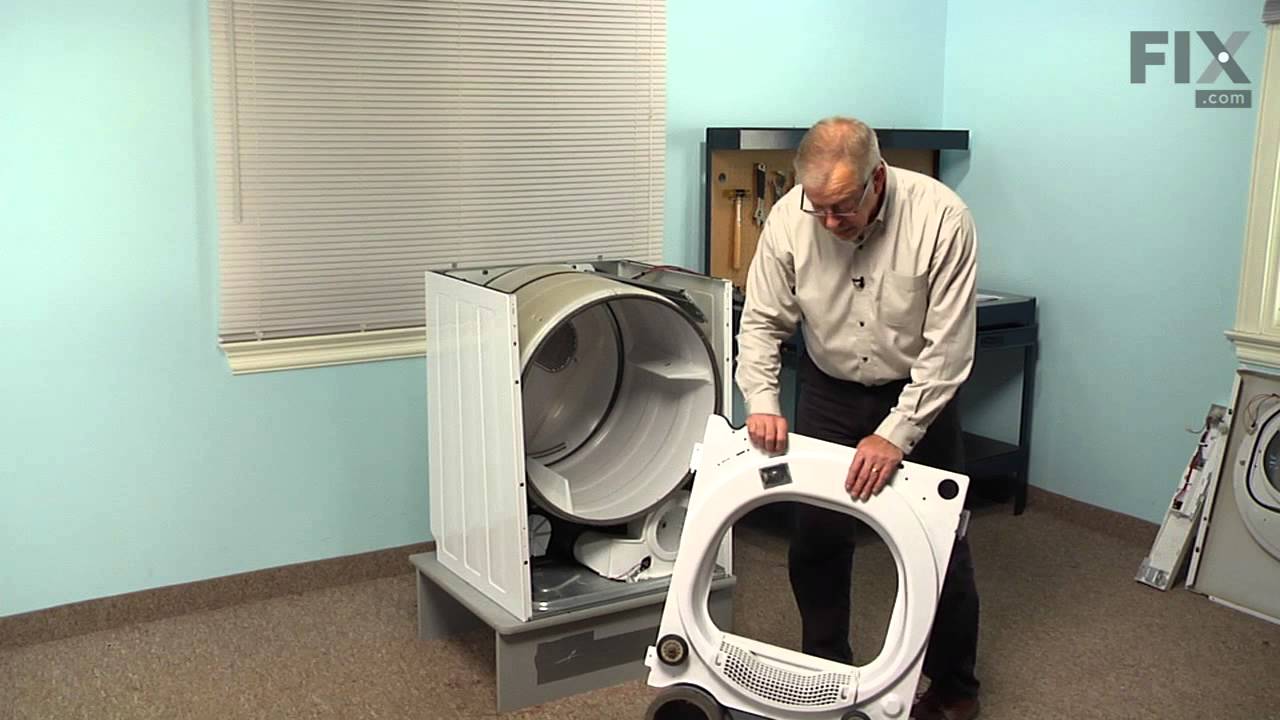
The door catch on your dryer is an important part as it keeps your dryer door closed, in order to ensure no air or clothes can escape. This part works by holding the door strike, which allows the door to stay secure. Before you begin this repair make sure to disconnect the power supply to the dryer. The tools you will need for this instal...Read morelation include a Phillips screwdriver and a small flat blade screwdriver. A pair of pliers may also come in handy. Users ranked this repair as easy, and say that it will take fifteen minutes or less to complete.
This high limit thermostat is used in a dryer and monitors the temperature to make sure it does not exceed 260 degrees Fahrenheit. When your dryer temperature reaches 260 it will cut it out and only comes back when it drops by at least 70 degrees Fahrenheit. If your dryer is overheating, taking too long to dry clothes, or is not producing...Read more enough heat, replacing the thermostat could be the solution to your problem. The tools needed for this part are a Phillips screwdriver, putty knife, and needle nose pliers. Refer to the manual provided by the manufacturer for installation instructions and guidance.
The door strike is attached to the door of your dryer and holds the door closed. If your dryer door is not closing, this might be due to the door strike needing to be replaced. This is a simple repair that should only take a few minutes to complete. The package contains one strike. Open the dryer door, and use a flat head screw driver to ...Read moresnap the old strike out if it has not fallen out already. Simply push the gasket out of the way, squeeze together the strike and place inside of the opening. Wiggle to ensure it is set in place properly.
This part could be found underneath a fridge, dryer, or freezer. The original foot may be cracked, broken, or perhaps missing altogether. If you notice the appliance is uneven to the floor or wobbling, it may indicate that the levelling foot needs to be replaced. You will need pliers and a block of wood to perform this task. There will be...Read more one adjustable foot found in the package. Lift the dryer and place the wood to keep it propped up. You may need to use the pliers to remove the old foot. Screw the new foot into place using your hand. Once the new leveling foot is in place, lift the appliance and remove the block. Test the machine out to ensure it is now sitting level.
This is a replacement screw for your washer or dryer. The screw is approximately half an inch in length and is a Phillips-head screw. It screws in from the outside of the drum, into the vane/baffle. The main reason you would replace this screw is if the old screw is missing or damaged. This part is sold individually and is an OEM part sourced directly from the manufacturer.
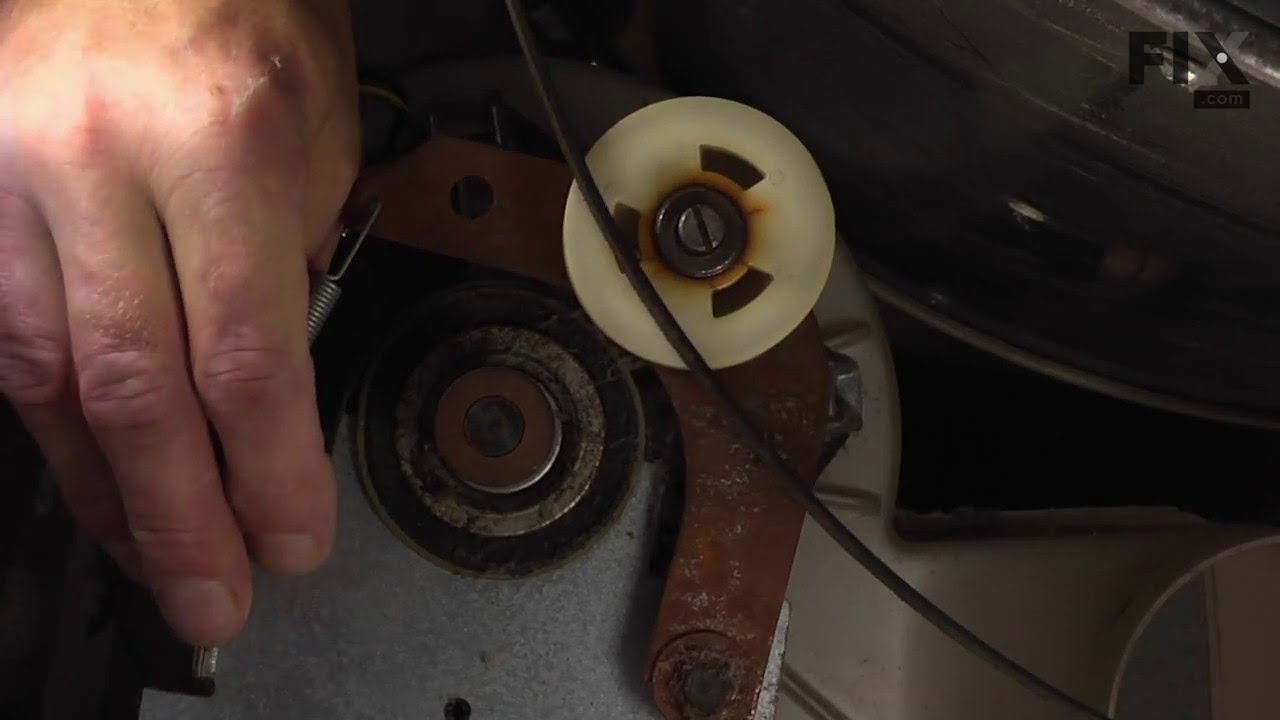
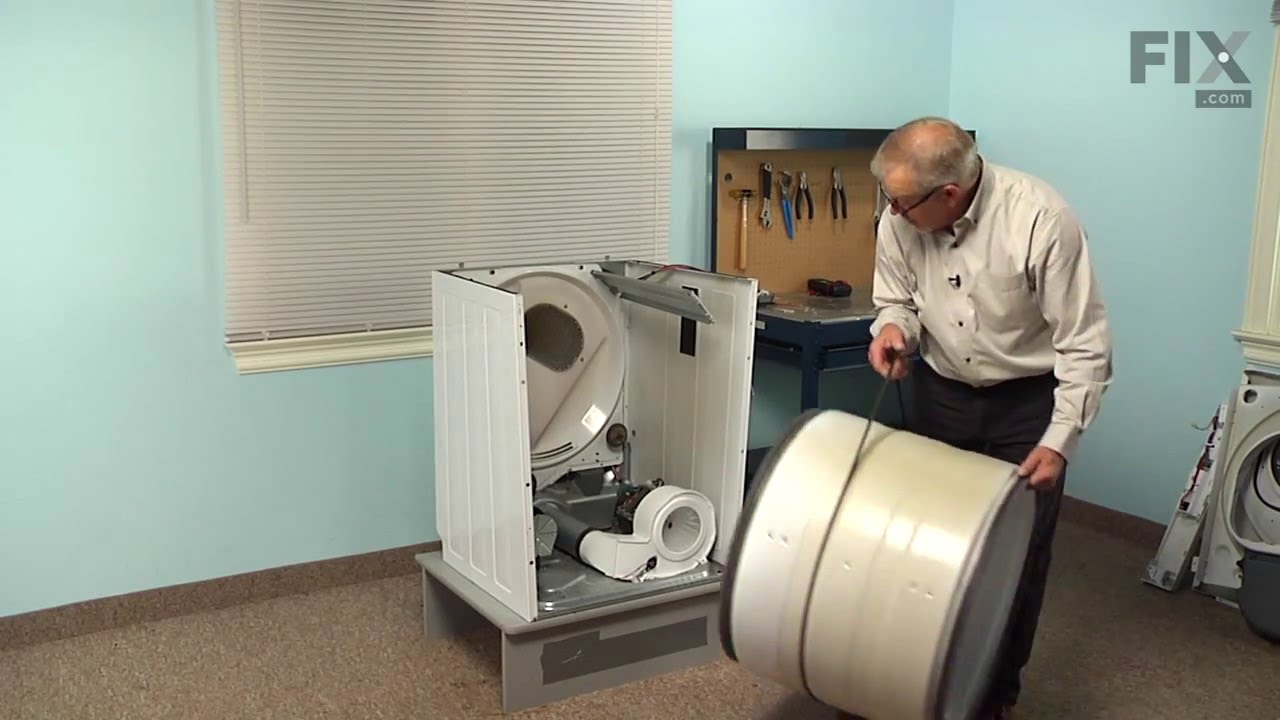
This dryer belt is one of the most important parts in a dryer and is what allows the dryer drum to spin/rotate. If the dryer belt is damaged or broken, the drum will not spin or will have difficulty in doing so, and your clothes will still be damp after a cycle as a result. This belt is made of durable material and can wear down over time...Read more and extended use of the dryer. Replacing a dryer belt will require some disassembly of your dryer, so a screwdriver and wrench will be needed to access and replace it. This belt is an individual OEM part.
This part controls the temperature of the inside of the dryer drum and prevents the dryer from overheating. This part is located in the blower housing.
This high temperature adhesive is used for installing felt and rubber seals on dryers. The tube contains 1 ounce of product. This adhesive is made to withstand extremely hot temperatures. Before applying the adhesive, ensure that the area is completely clean from any debris and is dry. You may wish to use small clamps to hold the material...Read more in place while it dries. If the felt has come loose or broken apart, this may cause your dryer to make loud noise, indicating that new felt or rubber needs to be glued into place. Use gloves to apply glue.
This is a gasket, but you may also know it as a door seal, for your dryer. This part prevents heat loss during a drying cycle by keeping the area around the door sealed. This gasket is all black, and is made of extremely flexible material. The surface of this part is roughly half an inch wide, and a quarter inch thick. One side of the mat...Read moreerial is smooth, while the other side has clips to make your installation easier.
Ask our experts a question about this model and we'll get back to you as soon as possible!
We may have answered a similar question already! Search questions and answers left by others using simple keywords like "fit", "broken", "easy", or "quality" to find questions that match.
Search filter:
Clear Filter
Your search term must have 3 or more characters.
Sort by:
Prev
1
Next
Sorry, we couldn't find any existing answers that matched.Try using some different or simpler keywords, or submit your new question by using the "Ask a Question" button above!
Donald - For model number FAQE7001LW0
December 9, 2019
Dryer finishes drying cycle but does not shut off. Control panel is blank because cycle has completed. Open door, shut door, dryer runs without setting dryer.
Hello Donald, Thank you for the question. This is normally an indication the cycle timer is defective. The timer for this model is built into the Control Board, PartSelect Number PS12724038. Hope this helps!
Our dryer requires several starts before it finally runs. Lights flash, sometimes beeps for no reason & will not shut off completely at end of cycle. Control board?
Hello Lee, thank you for your question. Yes, we would suggest the control board also. The part number is PS12724038. We hope to hear from you soon.
My dryer makes thump and spin sound. Will replacing belt fix problems
Hi Karen, thank you for reaching out. Yes, based on our research, the most likely cause of this issue is a worn-out or damaged belt, part number PS2349294, which may need to be replaced. Please submit a new question if you have any follow-ups!
Hi Knial, thank you for contacting us. Based on our understanding of the issue, we would recommend checking the belt, part number PS2349294, as it is most likely faulty and may need to be replaced. We hope this sorts out your problem!
Hi Carlos, thank you for your inquiry. Based on the description that you have provided, we would recommend replacing the control board, part number PS12724038, to fix the issue. We hope that helps!
See how others fixed this model. Time, tools, difficulty, and steps that lead to victory!View More
Search repair tips from other customers using simple keywords like "replace", "fit", "remove", "inspect". DIY doesn't mean you have to do it alone!
Search filter:
Clear Filter
Your search term must have 3 or more characters.
Noisy Dryer
57 of 69 peoplefound this instruction helpful.
Philip from Oakland, CA
A Bit Difficult
1- 2 hours
Pliers, Screw drivers, Wrench (Adjustable)
When I described the noise to a YouTube appliance diagnostician, I was directed to check the felt seals front and back of the rotating drum for wear, tears, or foreign objects. As it happens the felt seals looked find and there were foreign objects so, not wanting to disassemble and reassemble the dryer more than I had, I ended up replac
... Read moreing all the replaceable moving parts that I considered possible culprits: The idler tension spring, the idler tension bracket (which includes a nylon pulley wheel), the drum belt, the five rubber-tipped bearings that support the drum and keep it in place, and the foam seal on the blower housing which seemed a little brittle and old, as well as high-temperature adhesive for the latter. The instructional videos here and on YouTube were extremely helpful (I doubt that I would have attempted this job at all, had I not watched these ahead of time). The most time-consuming aspect was waiting for the arrival of the parts as I didn't order them all at the same time or all from the same place (I ordered from whomever could ship me a given part the fastest. Disassembly took less than an hour. Re-assembly with the new parts in place took about the same but was a little more awkward because this appliance sits in a very narrow closet and it's difficult to ensure that the 4" flexible duct stays in place when sliding the appliance back into the closet. No regrets. Now I know the basics if this dryer needs attention in future and I also know all the parts that I can eliminate as suspects in any future maintenance (the parts that I replaced)



 My Orders