EasyApplianceParts is now PartSelect! We've merged our sites to provide a better shopping experience for you.   Full Details

Find Parts

Parts Departments

Top Model Types

Top Brands

Repair Help

Expert Repair Videos

Keep typing for more specific results...

F9857*0 Roper Range - Overview

Enter a part description. DIY Heroes keep it simple, eg. "belt" or "pump".

Search filter:
Clear Filter
Your search term must have 3 or more characters.
Range Surface Burner Plug-In Block Kit – Part Number: 330031
$16.07
In Stock
Range Surface Burner Plug-In Block Kit
★★★★★
★★★★★
(22)
Part #330031
The surface burner plug-in block kit features a newer-style terminal block. This kit is designed for use with ranges and cooktops. This terminal block is how the coil element on your stove connects to the inner wiring of your appliance. Without this connection your burner element would not get the electrical current it needs to heat up. When your element will not heat at all, or if it is not heating properly it is likely an issue with the terminal block. You need to remove the element to replace this part. While you have the element out, inspect the element and the terminal for any corrosion, arcing, or discoloration. If you notice any damage to the element or the terminals we recommend you replace this part as well. This kit includes two metal brackets, two pre-crimped high-temperature wire leads, two ceramic wire nuts, two heat-shrinking insulators, and a mounting screw. Before you begin this repair, make sure you have unplugged your appliance.
Dryer Blower wheel – Part Number: WP694089
$34.74
In Stock
Dryer Blower wheel
★★★★★
★★★★★
(22)
Part #WP694089
The blower wheel is a squirrel cage type wheel whose purpose is to move the air through the room or appliance. The blower wheel spins on the motor shaft to blow air through the dryer drum and out through the exhaust.
SWTCH-LITE – Part Number: WP8189867
No Longer Available
SWTCH-LITE
Part #WP8189867
DISCONTINUED – Part Number: 832952
No Longer Available
DISCONTINUED
Part #832952
Spacer PC – Part Number: 334955
No Longer Available
Spacer PC
Part #334955
Switch Lever – Part Number: 335929
No Longer Available
Switch Lever
Part #335929
Front Frame – Part Number: 333321
No Longer Available
Front Frame
Part #333321
Storage Drawer-All 2424 Models – Part Number: 296150
No Longer Available
Latch Asm. – Part Number: 333781
No Longer Available
Latch Asm.
Part #333781
Surface – Part Number: 331716
No Longer Available
Surface
Part #331716
USE WPL 3177565 – Part Number: 325506
No Longer Available
USE WPL 3177565
Part #325506
Vent Tube – Part Number: 333802
No Longer Available
Vent Tube
Part #333802

Common Symptoms of the F9857*0

How this model fails, and the parts that fix it.

Watch our pros, then fix it yourself.

See how others fixed this model. Time, tools, difficulty, and steps that lead to victory! View More

Search repair tips from other customers using simple keywords like "replace", "fit", "remove", "inspect". DIY doesn't mean you have to do it alone!

Search filter:
Clear Filter
Your search term must have 3 or more characters.
Bought motor, then bought blower wheel also
95 of 111 people found this instruction helpful.
  • Daniel from Coatesville, PA
  • Easy
  • More than 2 hours
  • Nutdriver, Screw drivers, Wrench (Adjustable)
couldn't get blower wheel off of the motor. really tight. rounded off the wheel's square hub while trying to hold it still as I turned the motor shaft out. No, I wasn't turning it the wrong way :) I ended up going to the back of the dryer and using the multimax to quickly cut the wheel away from the hub. I love that oscillating saw! Just for fun, I put the motor in a bench vise and got the wheel hub off (in pieces). VERY tight! Ordered new wheel, and the job was smooth sailing from there on. I am guessing that experienced repair people automatically order the motor and blower wheel at the same time(?) BTW both parts were perfect matches for the originals. Not surprised; this has always been my experience with partselect.com!
Was this helpful?
Thank you for voting!
One burner didn't work all the time the other would go red hot
15 of 16 people found this instruction helpful.
  • Phillip from Pekin, IL
  • Really Easy
  • 15 - 30 mins
  • Screw drivers
I unplugged the stove from the outlet, then removed the two burners I was going to be working on and the drip pans. Then I raised the top part of the stove and removed the screws holding the plug-in blocks to the stove. Then I cut the two wires going to the old plug-in block and stripped the wires back to match the new wire parts. Then I placed the sleeves over the new wires, then I placed the new wire beside the wire I stripped on the stove and screw on the wire cap making sure it was tight. I repeated this three more times, once I had all four wires connected I then placed the sleeves over the connections and heated them up until they were formed around the connection. Once I had all the connections done I placed one wire at a time into the plug-in block until it locked into place ( I looked at my old plug-in blocks first to make sure I placed the new wires in the correct way ).I then used the metal mounting bracket that matched my old ones and snapped the correct one onto each plug-in block. Before mounting them onto the stove I compared them to my old ones to make sure they were correct. Then I used the new screws to mount them to the stove. I took a second look at everything I had done before closing the top cover of my stove. After lowering the cover back into place I put both the drip covers in place and then installed the burners.I then plugged the stove back into the outlet and tried the burners. This was very simple and the video on the web site shows this very well which made my job very simple.
Was this helpful?
Thank you for voting!
Dead motor
17 of 24 people found this instruction helpful.
  • Robert from Glencoe, IL
  • A Bit Difficult
  • 1- 2 hours
  • Screw drivers, Socket set
1. Shut off gas and disconnected dryer.
2. Opened cabinet. Easy sheet metal screws and fairly obvious how everything goes together. NB: You'll need a block (or a helper to hold things while you run to look for one) to hold the drum while removing the front.
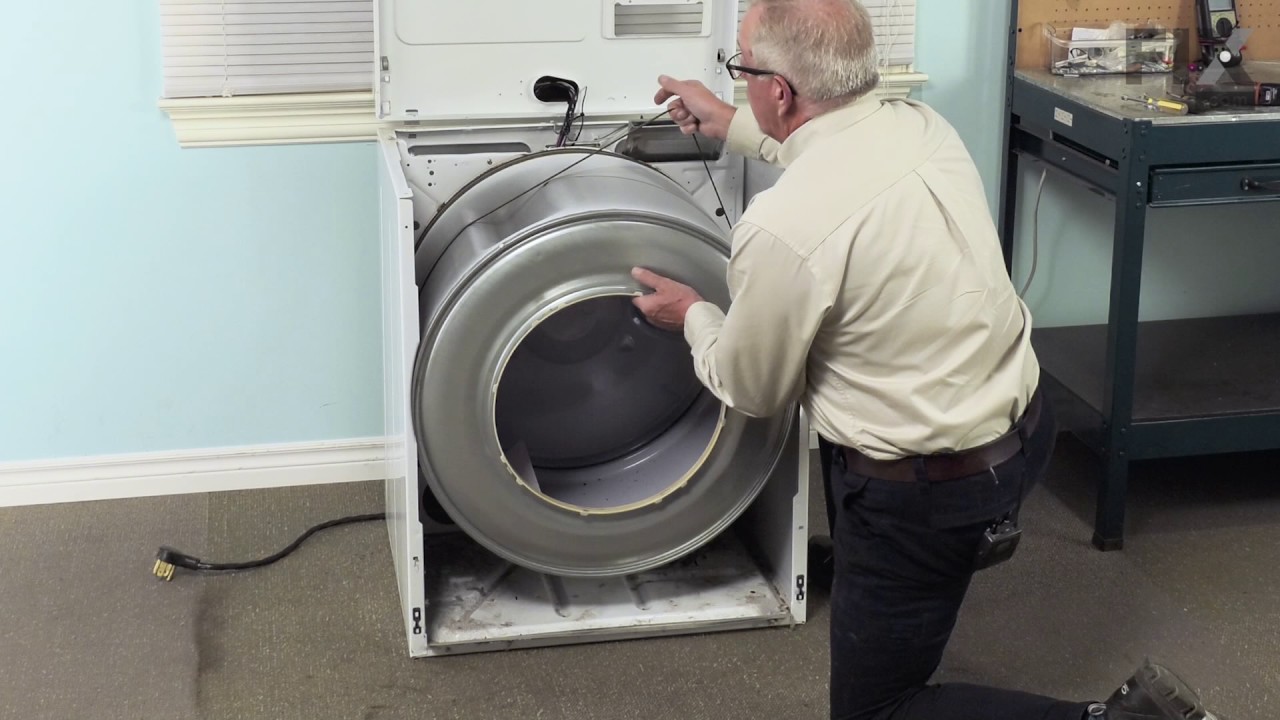
3. The motor is connected with a single harness, so wiring is a snap .
4. Removing the blower wheel from the back was hard. I braced the motor shaft and turned with all the leverage I could muster, but it was stuck. Plan B: Recip saw to cut the shaft. Motor comes out one side and the fan comes out the other.
5. The fan, of course, was unusable because there was still a piece of motor shaft stuck in the thread. This is why I had to spring for a new wheel.
6. Put everything back together and receive wife's adoring praise...
Was this helpful?
Thank you for voting!