


 My Orders




F22CW9 Frigidaire Freezer - Overview


Enter a part description. DIY Heroes keep it simple, eg. "belt" or "pump".
Search filter:
Clear Filter
Your search term must have 3 or more characters.

$32.24
In Stock
Defrost Thermostat
Part #297216600
This refrigerator defrost thermostat is a genuine OEM part and is sourced directly from the manufacturer. Located on the back wall of the freezer section in the refrigerator, the defrost thermostat is used to regulate the appliances temperature to keep the refrigerator cold and constant. The part is made of plastic, and has a 4 inch termi...Read morenal on the white lead and a 6 inch terminal on the red lead. A refrigerator defrost thermostat may need to be replaced if the appliance is experiencing temperature related issues such as: too cold, too warm, frost buildup, not running, or running too long.
Read less

$56.05
In Stock
Run Capacitor
Part #5304464438
Steady compressor operation relies on the electrical support provided by this refrigerator run capacitor. It creates a phase shift in the motor circuit to help the compressor run as designed while circulating refrigerant through the cooling system. A failed capacitor may contribute to unusual humming, difficulty starting, or reduced cooli...Read moreng performance. Replacing a faulty capacitor helps restore proper electrical conditions for compressor operation. The component stores electrical energy and can retain a charge after power is disconnected, requiring care during handling and replacement. This is an OEM part sourced directly from the manufacturer.
Read less

$48.93
In Stock
DEFROST TIMER
Part #5304518034
This is a 120 volt defrost timer manufactured for refrigerators. The defrost timer manages the automatic defrost systemin the unit. It acts like a clock by switching between activating the cooling cycle and the defrost heater to maintain the set thermostat temperature, preventing the unit from being too warm or cold. The defrost timer may...Read more need to be replaced if the fridge will not maintain its temperature or has frost buildup. Depending on the model, it could be located on the rear panel or ceiling of the fresh food compartment. Be sure to disconnect power to the refrigerator before replacing this part.
Read less

$53.85
In Stock
Evaporator Fan Blade
Part #5308000010
This evaporator fan blade moves cooled air through the refrigerator or freezer compartments when driven by the fan motor. A cracked, warped, or loose blade may vibrate, strike nearby parts, or fail to move enough air. Unusual ticking or humming noises and warmer compartment temperatures may be reasons to inspect the fan assembly. Check fo...Read morer ice buildup and motor or mounting problems as well, since these can cause similar symptoms. Disconnect power before accessing the blade and follow the appliance instructions for fitting it securely on the motor shaft. This is an OEM part sourced directly from the manufacturer.
Read less

$63.72
In Stock
Refrigerator Light Bulb
Part #5304517886
This is an LED light for a variety of refrigerator models. This 3.8W LED light is used to shine and adequately light the contents of your refrigerator when you open its door. If your current light is significantly dimmer than normal, or simply not working anymore, it will need to be replaced. To replace this bulb, unplug your fridge momen...Read moretarily, and then simply unthread the old one and screw in the new one. This bulb is sold individually and does not come with any other parts.
Read less

$25.25
In Stock

$20.68
In Stock

$30.08
In Stock
Door Light Switch
Part #297243800
This is a switch for your refrigerator, but you may also know it as a door switch or a plunger light switch. This part turns your appliance light on and off as the door is opened and closed. If your current light does not turn on, it will need to be replaced. To make this repair you will need a Phillips head screwdriver, a putty knife, and a flat head screwdriver.

$19.68
In Stock

No Longer Available
Compressor Start Relay
Part #216008900

$158.49
In Stock
Door Gasket - Gray
Part #5304506125
This gray door gasket creates a secure seal around your refrigerator door, helping maintain proper temperature and energy efficiency. Built for durability and flexibility, it prevents leaks and ensures smooth door closure. Installation involves removing the old gasket and pressing the new one into the door frame grooves.

$39.82
In Stock
Filter - Drier
Part #5303305677
This filter drier removes moisture and traps small particles in the refrigerator sealed refrigerant circuit. It helps keep dirt, metal fragments, and moisture from moving through the cooling system. The component measures approximately 11 inches long. A blocked or faulty filter drier may restrict refrigerant flow and contribute to poor co...Read moreoling even while the compressor runs. These symptoms can also come from other sealed system faults, so confirm the failed component before replacement. Match the filter and tubing connections to the appliance service requirements before selecting the replacement. This is an OEM part sourced directly from the manufacturer.
Read less
Common Symptoms of the F22CW9
How this model fails, and the parts that fix it.
Too warm
Fixed by
these parts
these parts


Show All
Fridge too warm
Fixed by
these parts
these parts
Show All
Frost buildup
Fixed by
these parts
these parts

Show All
Will Not Start
Fixed by
these parts
these parts

Show All
Won’t start
Fixed by
these parts
these parts
Show All
Doesn’t stop running
Fixed by
these parts
these parts
Show All
Noisy
Fixed by
these parts
these parts

Show All
Freezer section too warm
Fixed by
these parts
these parts
Show All
Fridge and Freezer are too warm
Fixed by
these parts
these parts
Show All
Freezer not defrosting
Fixed by
these parts
these parts
Show All
Fridge runs too long
Fixed by
these parts
these parts
Show All
Freezer too cold
Fixed by
these parts
these parts
Show All
Clicking sound
Fixed by
these parts
these parts
Show All
Leaking
Fixed by
these parts
these parts

Show All
Too cold
Fixed by
these parts
these parts
Show All
Watch our pros, then fix it yourself.
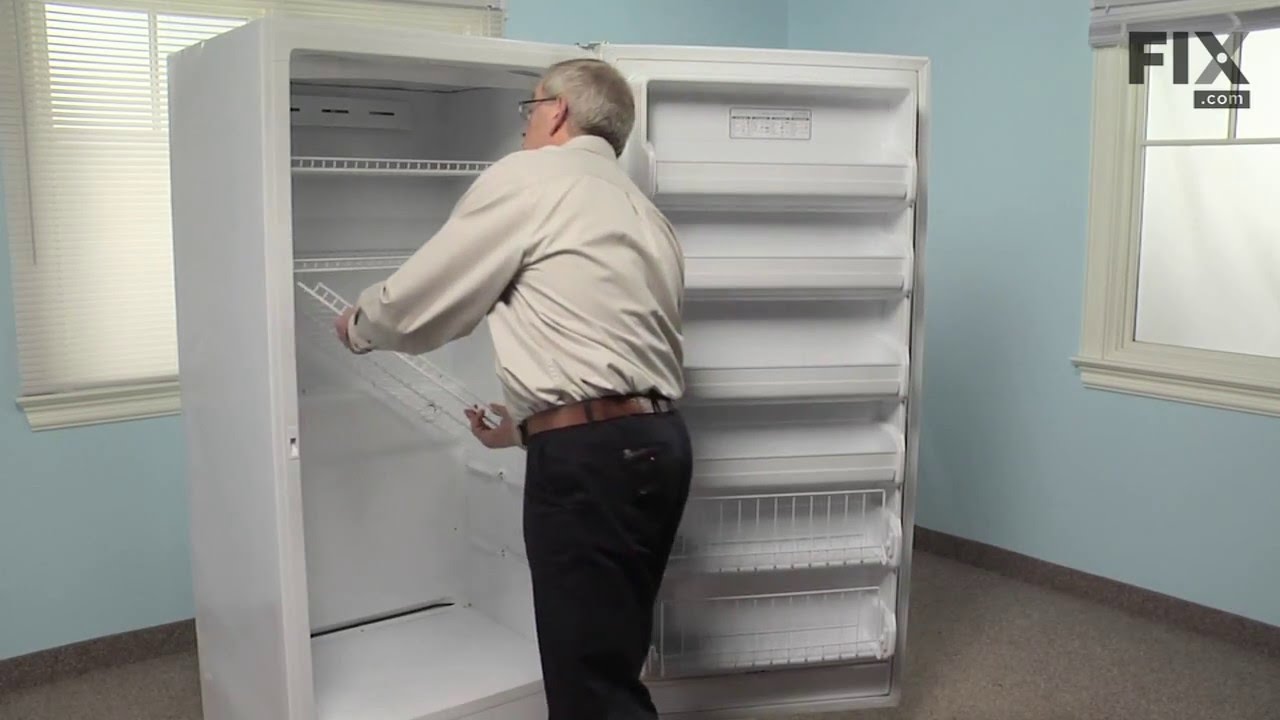
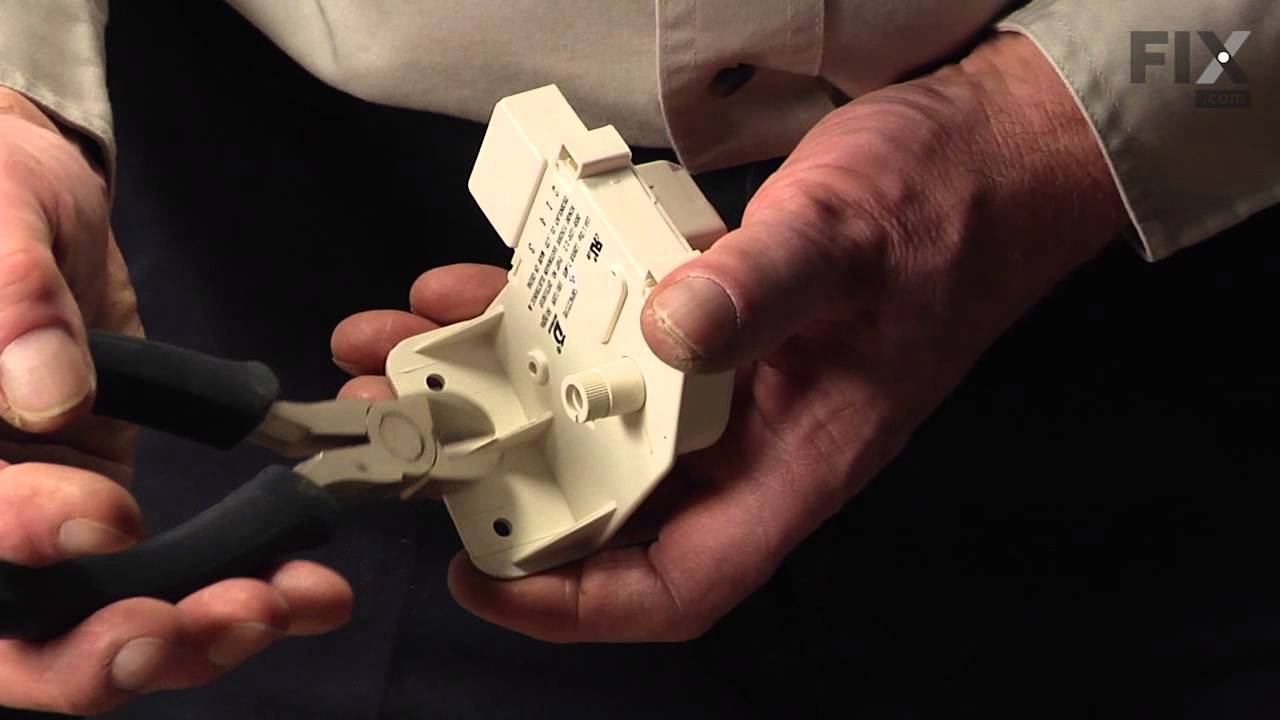
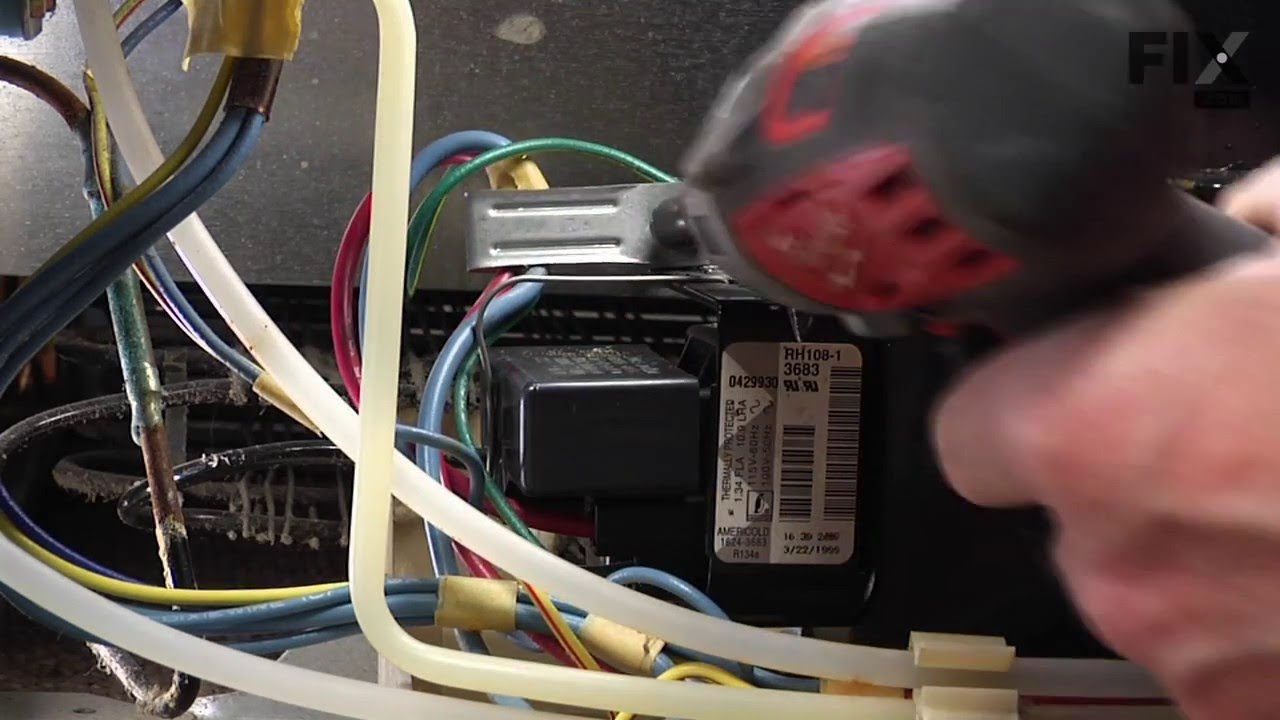
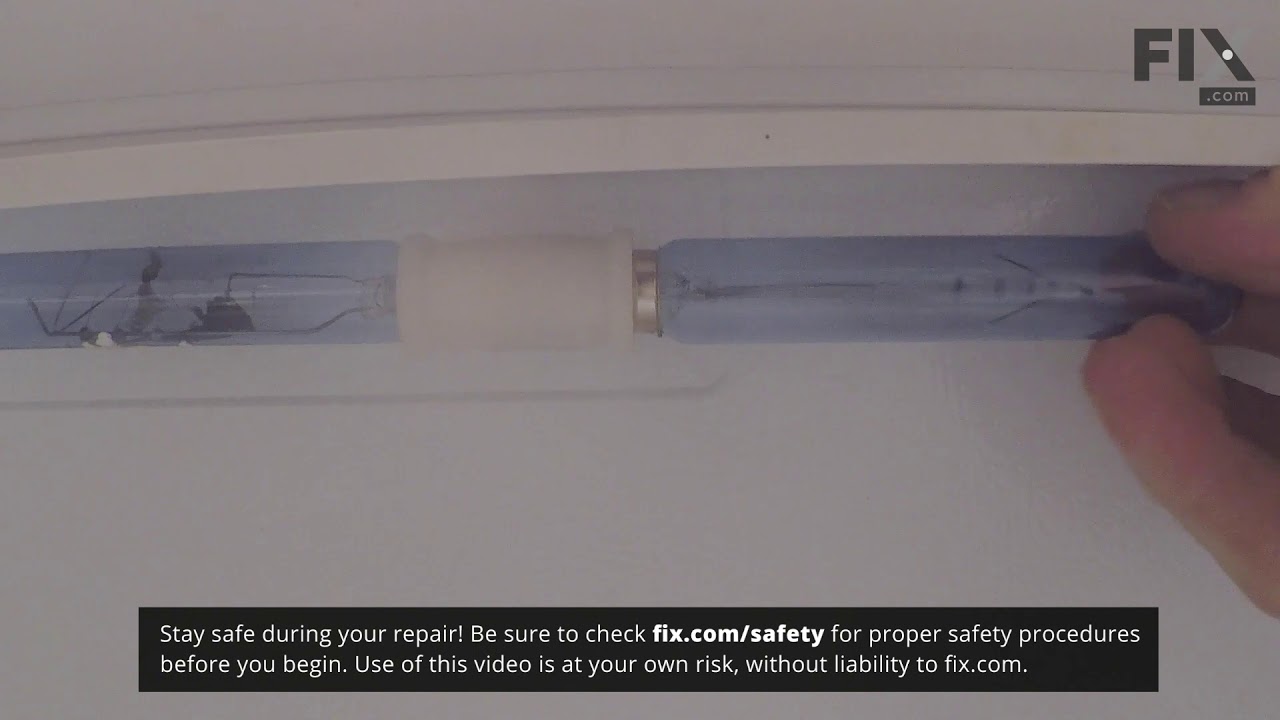
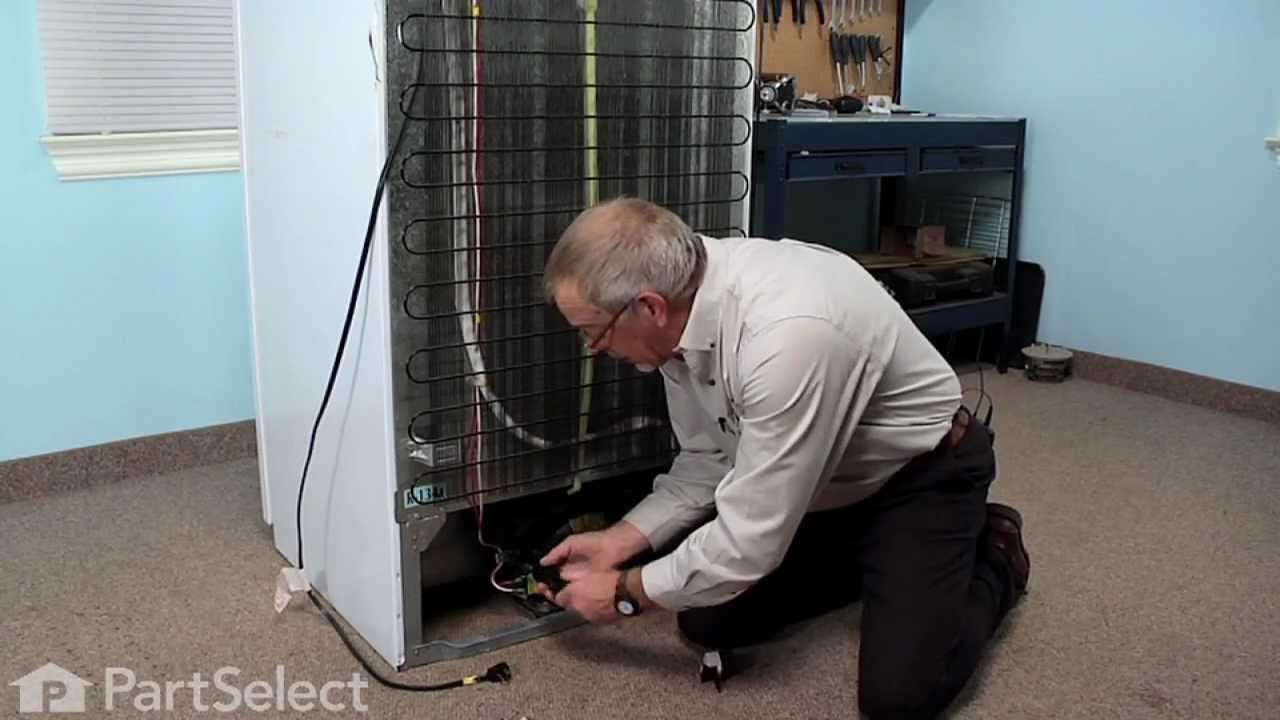
See how others fixed this model. Time, tools, difficulty, and steps that lead to victory!
View More
Search repair tips from other customers using simple keywords like "replace", "fit", "remove", "inspect". DIY doesn't mean you have to do it alone!
Search filter:
Clear Filter
Your search term must have 3 or more characters.
buttom of refrigerator not cold
23 of 29 people
found this instruction helpful.
unplug it, pulled compressor start relay,which i thing it was the problem, but i replace bolt, very easy.
Other Parts Used:


Was this helpful?
Thank you for voting!