


 My Orders




F22CW11 Frigidaire Freezer - Overview


Enter a part description. DIY Heroes keep it simple, eg. "belt" or "pump".
Search filter:
Clear Filter
Your search term must have 3 or more characters.

$32.24
In Stock
Defrost Thermostat
Part #297216600
This refrigerator defrost thermostat is a genuine OEM part and is sourced directly from the manufacturer. Located on the back wall of the freezer section in the refrigerator, the defrost thermostat is used to regulate the appliances temperature to keep the refrigerator cold and constant. The part is made of plastic, and has a 4 inch termi...Read morenal on the white lead and a 6 inch terminal on the red lead. A refrigerator defrost thermostat may need to be replaced if the appliance is experiencing temperature related issues such as: too cold, too warm, frost buildup, not running, or running too long.
Read less

$56.05
In Stock
Run Capacitor
Part #5304464438
The run capacitor helps the compressor kick on and off while maintaining a constant temperature in your fridge and freezer. You may need to replace your run capacitor if your refrigerator or freezer section will not start, if they are too warm, or if your refrigerator has become too noisy. Replacing the run capacitor is a relatively easy ...Read moreproject. For this repair you will only need a 1/4 inch nut driver and needle nose pliers. Remember to disconnect the power and water supply line to the unit before you begin this repair. For full step by step instructions, simply click on the video below.
Read less

$48.93
In Stock
DEFROST TIMER
Part #5304518034
This is a 120 volt defrost timer manufactured for refrigerators. The defrost timer manages the automatic defrost systemin the unit. It acts like a clock by switching between activating the cooling cycle and the defrost heater to maintain the set thermostat temperature, preventing the unit from being too warm or cold. The defrost timer may...Read more need to be replaced if the fridge will not maintain its temperature or has frost buildup. Depending on the model, it could be located on the rear panel or ceiling of the fresh food compartment. Be sure to disconnect power to the refrigerator before replacing this part.
Read less

$53.85
In Stock
Evaporator Fan Blade
Part #5308000010
This evaporator fan blade is a genuine OEM part that is sourced directly from the manufacturer. The evaporator fan blade circulates air through the refrigerator to control the amount of cold air goes that goes to internal compartments of the unit. It may need to be replaced if the fridge is noisy or not cold enough. This part is made of p...Read morelastic and is sold individually. It will be necessary to disconnect power to the refrigerator and empty the freezer compartment of the refrigerator. The tools needed to complete this repair are a 1/4 inch nut driver and a pair of needle nose pliers.
Read less

$63.72
In Stock
Refrigerator Light Bulb
Part #5304517886
This is an LED light for a variety of refrigerator models. This 3.8W LED light is used to shine and adequately light the contents of your refrigerator when you open its door. If your current light is significantly dimmer than normal, or simply not working anymore, it will need to be replaced. To replace this bulb, unplug your fridge momen...Read moretarily, and then simply unthread the old one and screw in the new one. This bulb is sold individually and does not come with any other parts.
Read less

$25.25
In Stock

$20.68
In Stock

$69.59
In Stock

$24.67
Special Order
White Touch up Paint
Part #5303321319
This is white touch up paint for refrigerators, microwaves, ranges, dryers, and freezers. It is used to cover, or touch up, nicks and scratches on the appliance from wear and tear. It is an 18ml bottle that contains paint and a small brush for easy application. It is a little over 2 inches tall. This is an OEM part that is sourced directl...Read morey from the genuine manufacturer, and is meant to be an exact match to the color of the appliance. If the appliance is not white, please see other colors such as almond or black.
Read less

$19.68
In Stock

$138.55
In Stock
Fan Motor
Part #5304436055
Fan blade NOT included. This evaporator fan motor is located in the back of the freezer, and circulates air over the refrigerator coils. These coils will convert the heat into cool air, which is then circulated.
NOTE: This is an updated part from the original. Comes with only one screw.

$158.49
Special Order
Door Gasket - Gray
Part #5304506125
This gray door gasket creates a secure seal around your refrigerator door, helping maintain proper temperature and energy efficiency. Built for durability and flexibility, it prevents leaks and ensures smooth door closure. Installation involves removing the old gasket and pressing the new one into the door frame grooves.
Common Symptoms of the F22CW11
How this model fails, and the parts that fix it.
Too warm
Fixed by
these parts
these parts


Show All
Fridge too warm
Fixed by
these parts
these parts
Show All
Frost buildup
Fixed by
these parts
these parts

Show All
Will Not Start
Fixed by
these parts
these parts
Show All
Won’t start
Fixed by
these parts
these parts
Show All
Noisy
Fixed by
these parts
these parts


Show All
Doesn’t stop running
Fixed by
these parts
these parts
Show All
Freezer section too warm
Fixed by
these parts
these parts
Show All
Light not working
Fixed by
these parts
these parts

Show All
Fridge and Freezer are too warm
Fixed by
these parts
these parts
Show All
Freezer not defrosting
Fixed by
these parts
these parts
Show All
Fridge runs too long
Fixed by
these parts
these parts
Show All
Freezer too cold
Fixed by
these parts
these parts
Show All
Clicking sound
Fixed by
these parts
these parts
Show All
Leaking
Fixed by
these parts
these parts

Show All
Too cold
Fixed by
these parts
these parts
Show All
Watch our pros, then fix it yourself.
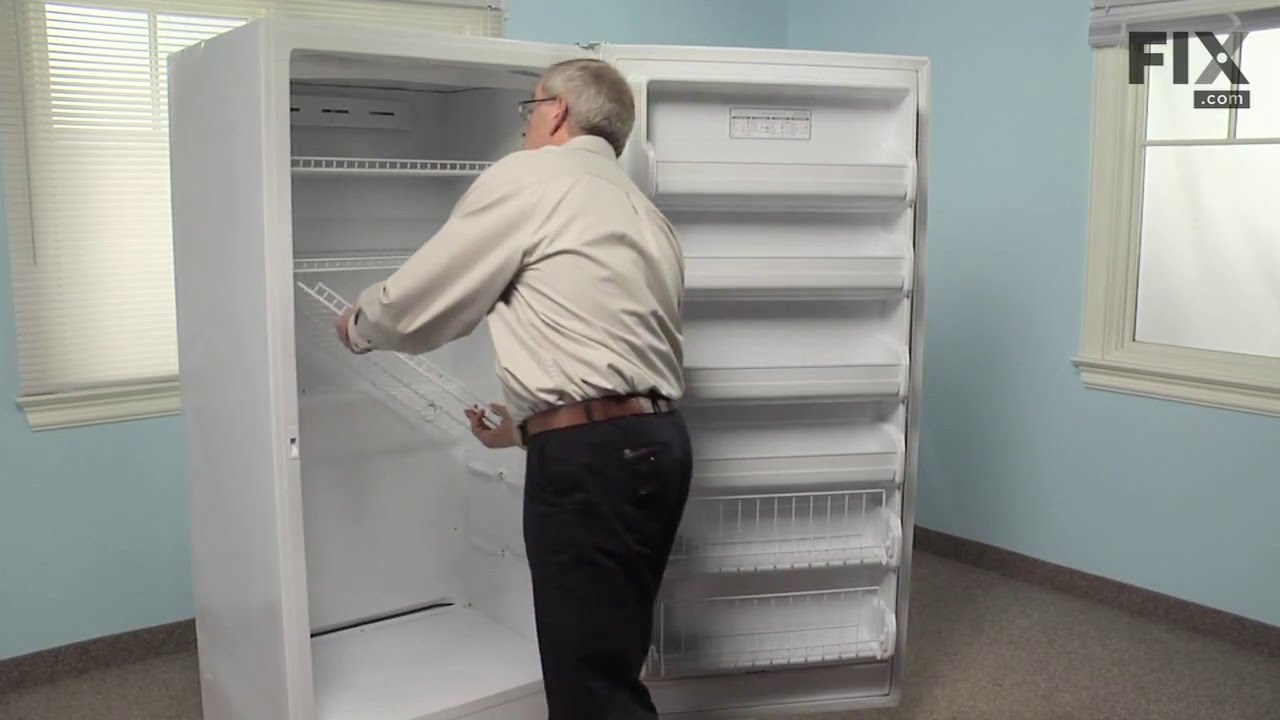
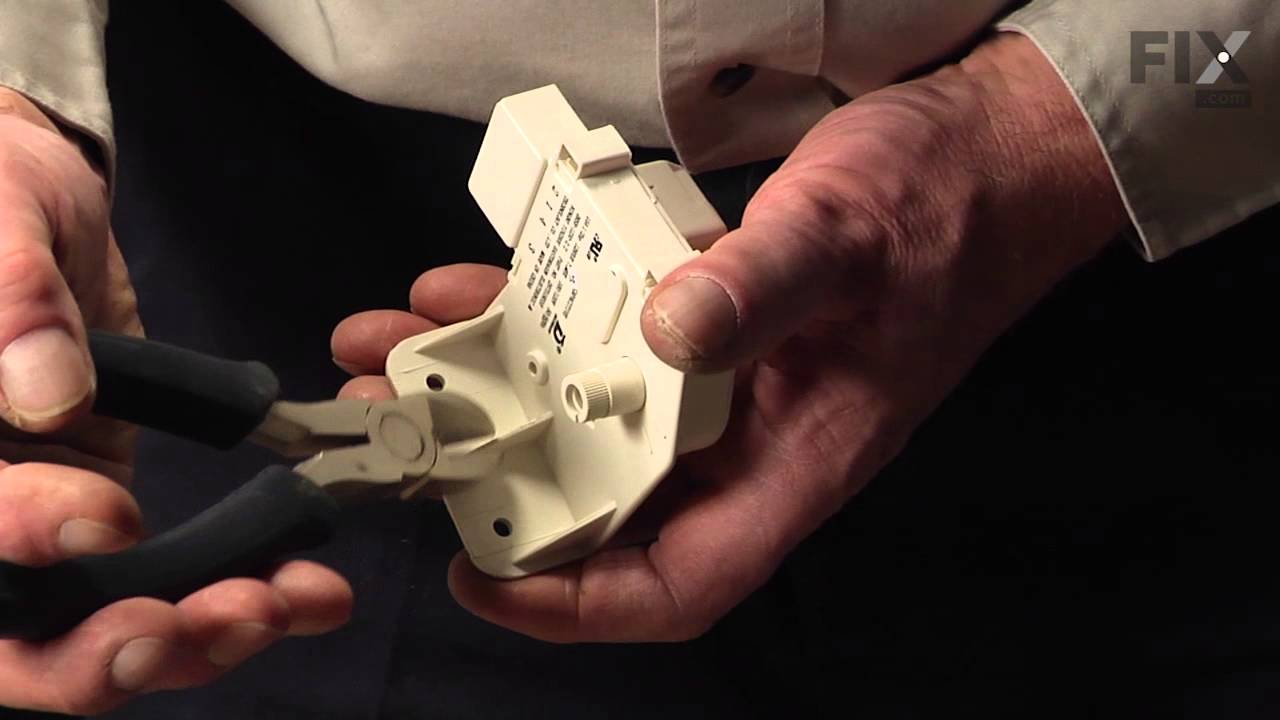
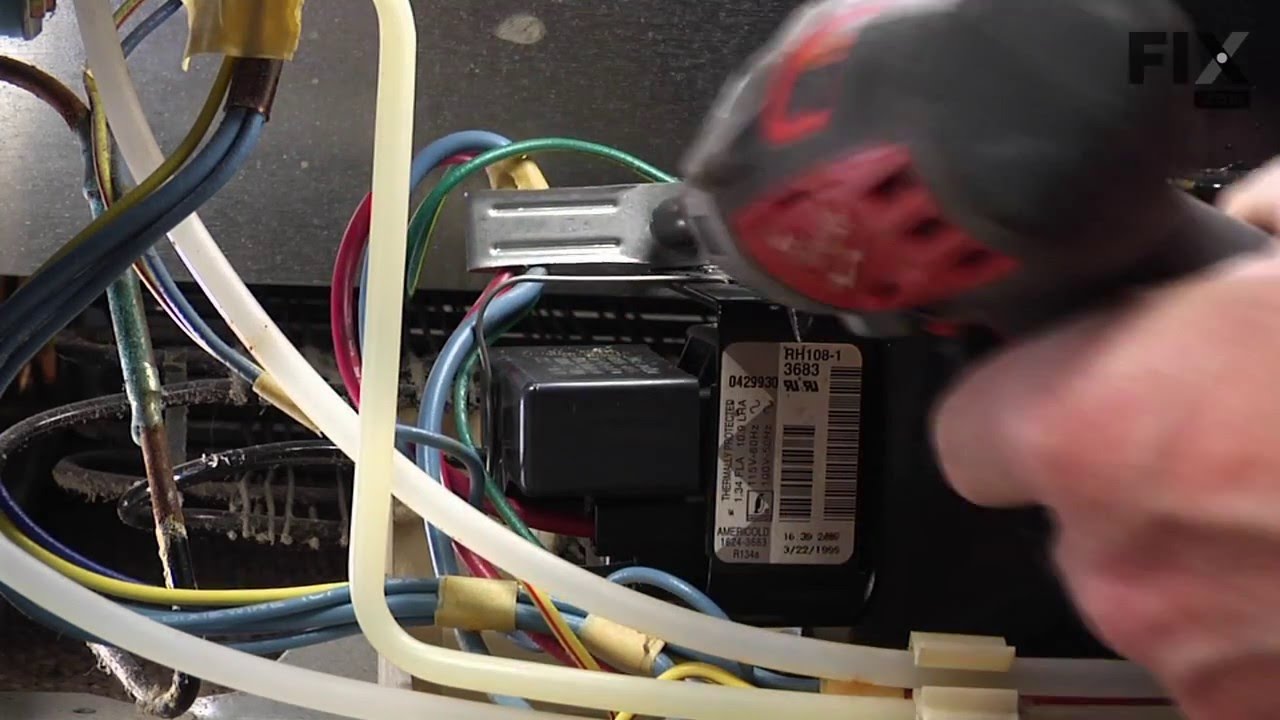

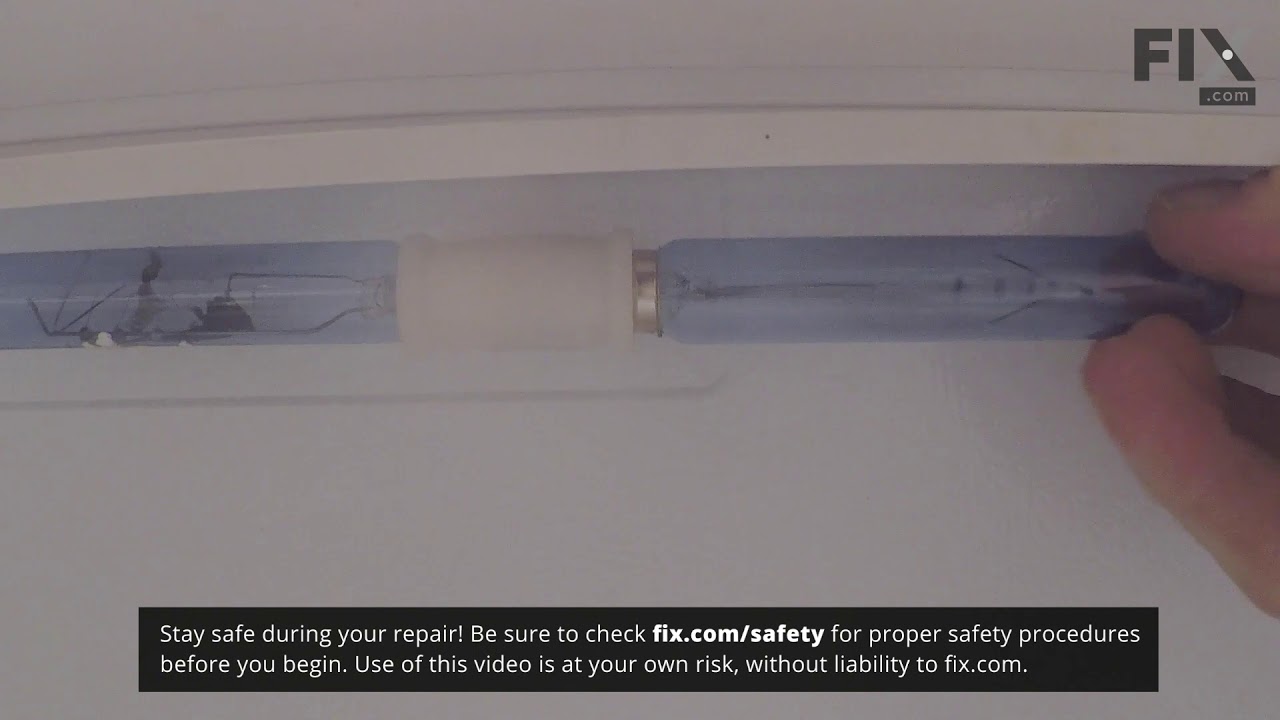
See how others fixed this model. Time, tools, difficulty, and steps that lead to victory!
View More
Search repair tips from other customers using simple keywords like "replace", "fit", "remove", "inspect". DIY doesn't mean you have to do it alone!
Search filter:
Clear Filter
Your search term must have 3 or more characters.
The controller (current relay) burned up
164 of 206 people
found this instruction helpful.
1. Unhooked a retaining wire that secures the controller to the compressor terminal box. 2. removed destroyed part. 3. Got the model and serial numbers and got online. 4. Ordered part 5. Waited a couple of weeks to get part 6. Found that the manufacturer had daisy chained a bunch of components together with some funny deep socket plugs t
... Read more
hat by themselves are not routinely found so rather than buy a laundry list of unnecessary parts to get the aforementioned plus and make my customer wait a couple of more weeks I chose to connect the wires to a couple of high temperature female stainless steel quick connectors and feed the wires directly into the controller. Fortunately the controller had the polarity marked on the housing. (L for Line was the hot lead and C was for common the neutral lead) Failure to follow proper polarity will damage the part and could kill the compressors's start wimding.
Read less
Other Parts Used:

Was this helpful?
Thank you for voting!