


 My Orders




F10C7FD4 LG Washer - Overview

Enter a part description. DIY Heroes keep it simple, eg. "belt" or "pump".
Search filter:
Clear Filter
Your search term must have 3 or more characters.

$35.80
In Stock
Water Inlet Valve - Hot
Part #5220FR2006H
The hot water inlet valve on your washing machine controls the water flow into the washer. This inlet valve has a standard hose fitting inlet and one water outlet. The water inlet valve opens to allow water to enter the washing machine. If the water inlet valve is defective, the washer may leak, fill slowly, or not fill at all. To test yo...Read moreur valve, unplug the washer when the symptom occurs. If the washer continues to fill, then your inlet valve is defective. This part is approximately 3 inches long x 3 inches wide.
Read less

$42.12
In Stock

$55.29
In Stock
SENSOR ASSEMBLY
Part #6501KW2002B
This is a replacement sensor assembly for your washer. It may also be known as a motor rotor position sensor. The sensor assembly monitors the direction and speed of the spinning rotor and communicates this information to the electronic control board. If your washer pumps but will not spin or agitate, you may have a damaged sensor assembl...Read morey. This part is sold individually, and is an OEM part sourced directly from the manufacturer. Be sure to shut off the power to your washer before you begin this repair.
Read less

$42.12
In Stock
Washer Hose with Bellows
Part #4738ER1004B
This washer hose with bellows, also known as a dispenser hose, is a genuine OEM replacement part for your washer. Replacing this part can be helpful if your washer is leaking. The dispenser hose connects the dispenser assembly to the tub. Before beginning the repair, unplug the washer and turn off the water supply. You will need a Phillip...Read mores head screwdriver to complete this repair; a clamp tool can also be helpful. Remove the screws holding the lid of the washer in place, and take off the lid. Locate the dispenser hose and remove its clamps. Place the clamps on the new hose, using the arrows for a guide in positioning the clamps. Install the new hose and reassemble all other parts.
Read less

$56.33
Special Order
Washer Tub Bearing
Part #MAP61913708
Tub bearing. This part is very difficult to install. The manufacturer recommends replacing the complete rear tub and bearing assembly.

$21.45
Special Order
Locking Pin
Part #4774FR3118B
This is a locking pin, and it works in conjunction with your washer. The part measures to be roughly 3 inches long, and less than an inch wide. The pin is cylindrical, off-white in color, and made entirely of plastic. This part is used to hold the shock absorber on the washing machine. There is a pin used at the bottom and top of the shoc...Read morek absorber. This model is sold individually. If your washing machine is experiencing an above-average amount of shaking and moving this part may be the reason.
Read less

$19.30
On Order
BOLT ASSEMBLY
Part #FAA31690703
This shipping bolt is an OEM part that holds the tub and basket of your washer steady during transport, stopping them from moving around and getting damaged. You will usually find these bolts at the back of the washer, screwed into the frame. This is sold individually, but keep in mind that most washers need two of these bolts.

$47.40
In Stock

$72.00
In Stock

$195.72
In Stock

$125.62
Special Order
Heater Assembly
Part #AEG33121501
This heating element assembly warms water during wash cycles to improve cleaning performance. It's designed to deliver steady, consistent heat so your laundry comes out fresh and thoroughly cleaned.
Common Symptoms of the F10C7FD4
How this model fails, and the parts that fix it.
Leaking
Fixed by
these parts
these parts


Show All
Water Filling Issues
Fixed by
these parts
these parts

Show All
Spinning Issues
Fixed by
these parts
these parts


Show All
Will not agitate
Fixed by
these parts
these parts
Show All
Shaking and Moving
Fixed by
these parts
these parts
Show All
Will Not Start
Fixed by
these parts
these parts
Show All
No hot or cold water
Fixed by
these parts
these parts
Show All
Will not drain
Fixed by
these parts
these parts
Show All
Spins slowly
Fixed by
these parts
these parts
Show All
Watch our pros, then fix it yourself.
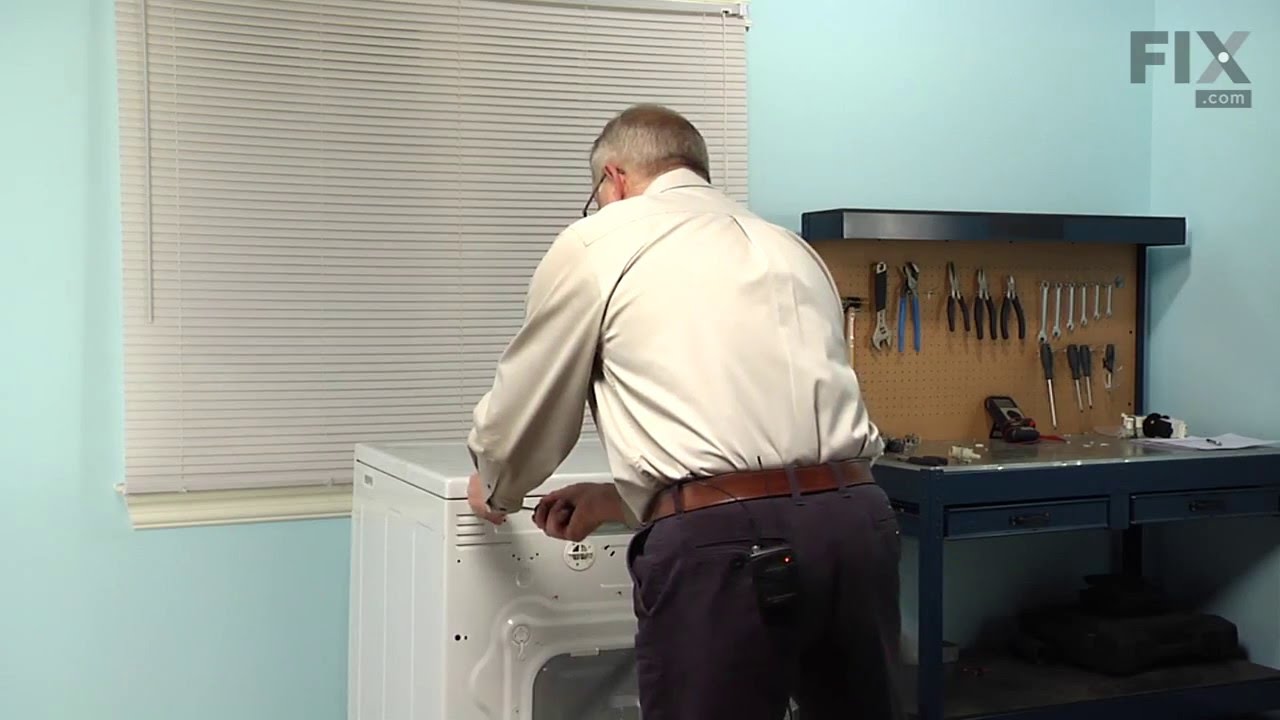
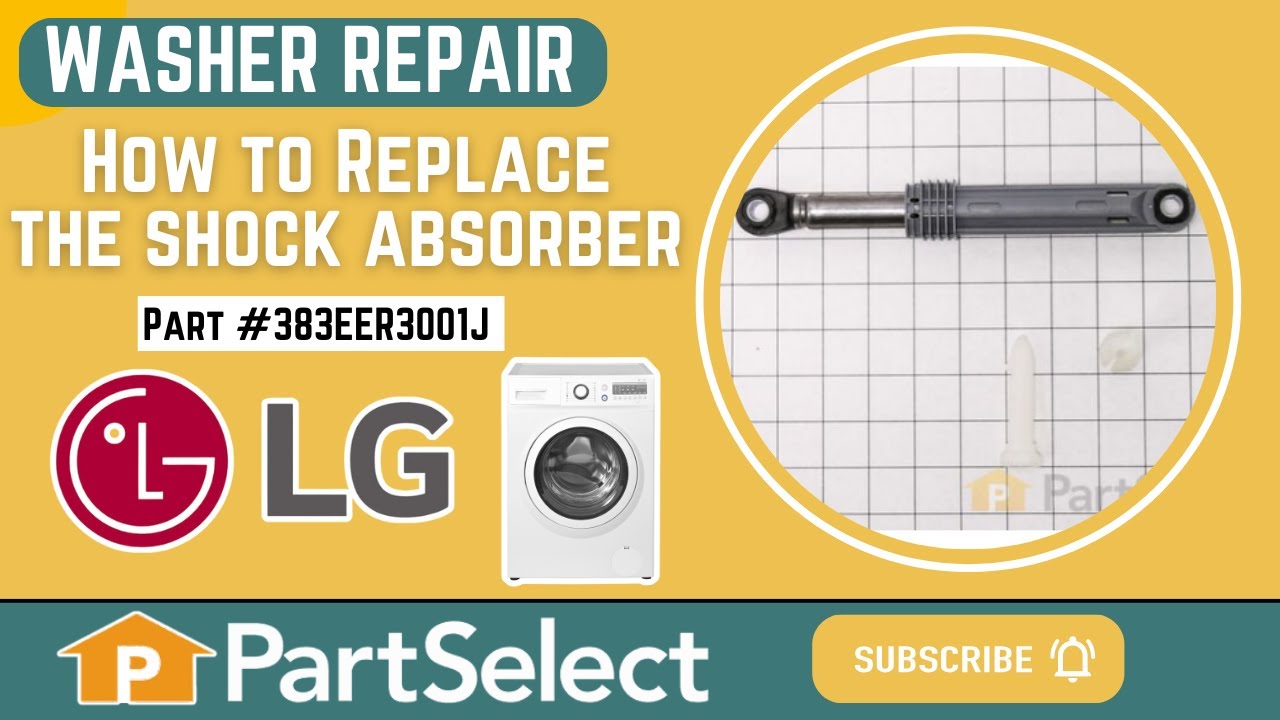
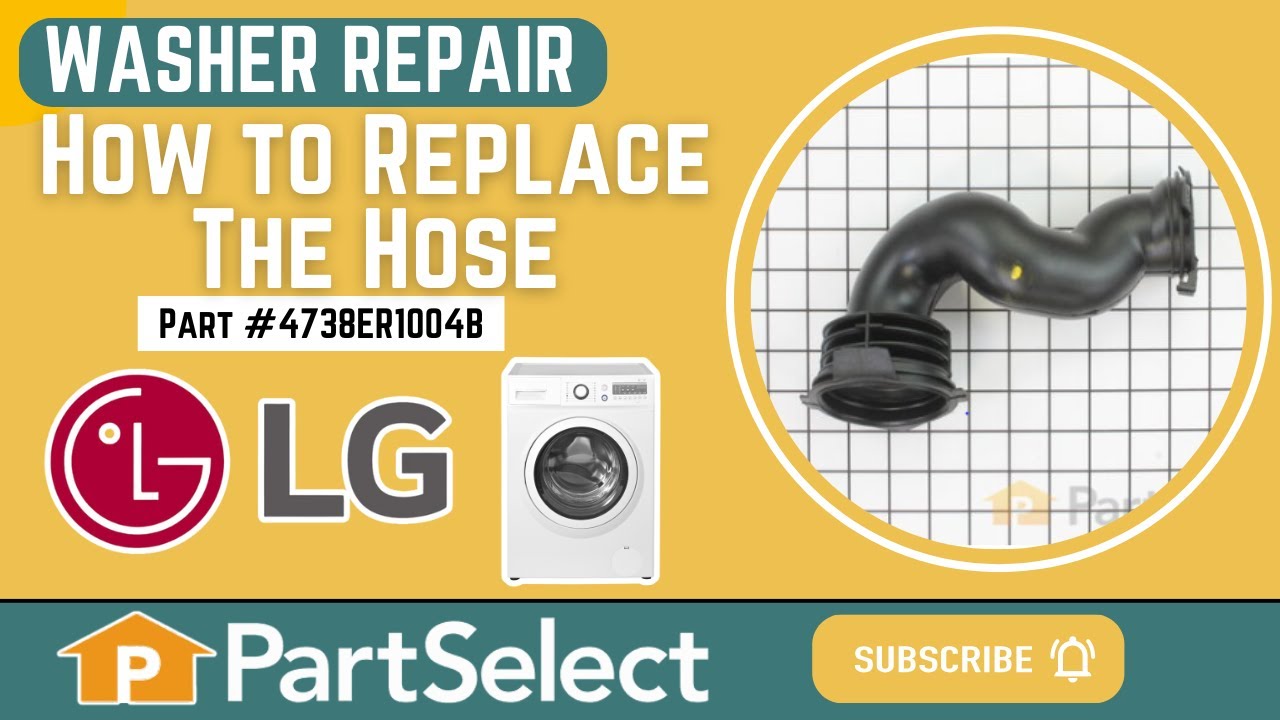
See how others fixed this model. Time, tools, difficulty, and steps that lead to victory!
View More