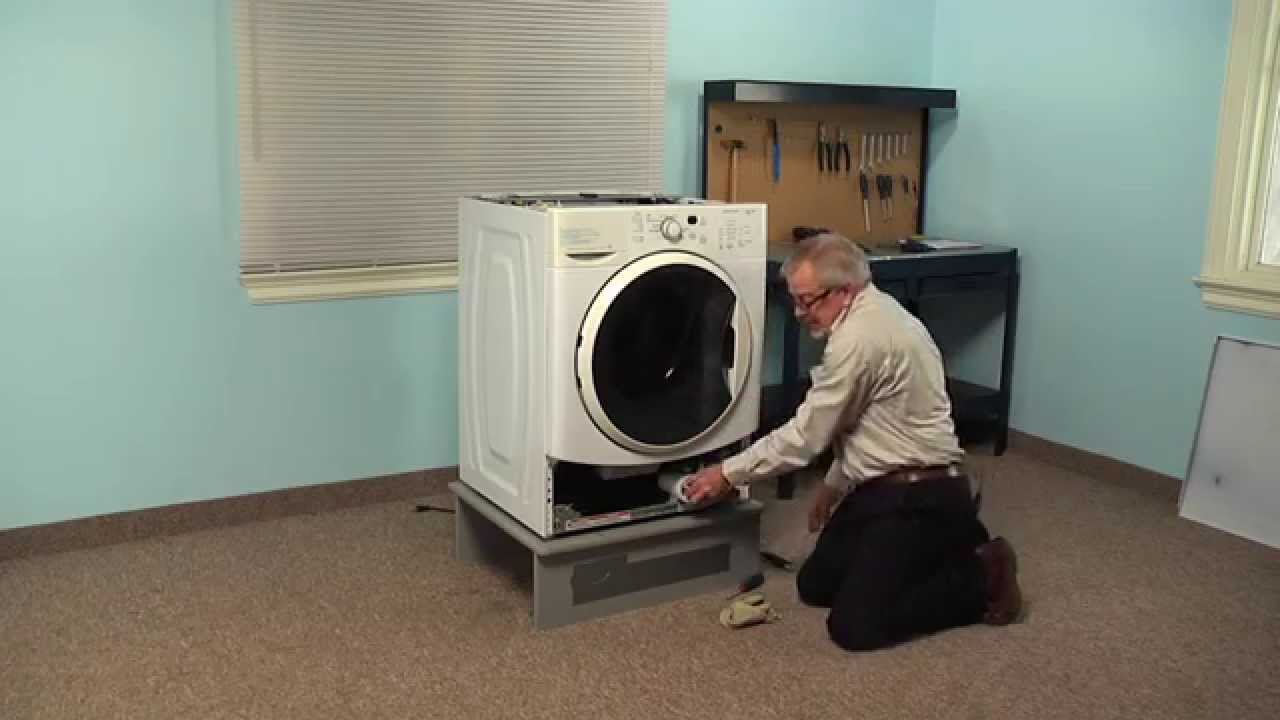
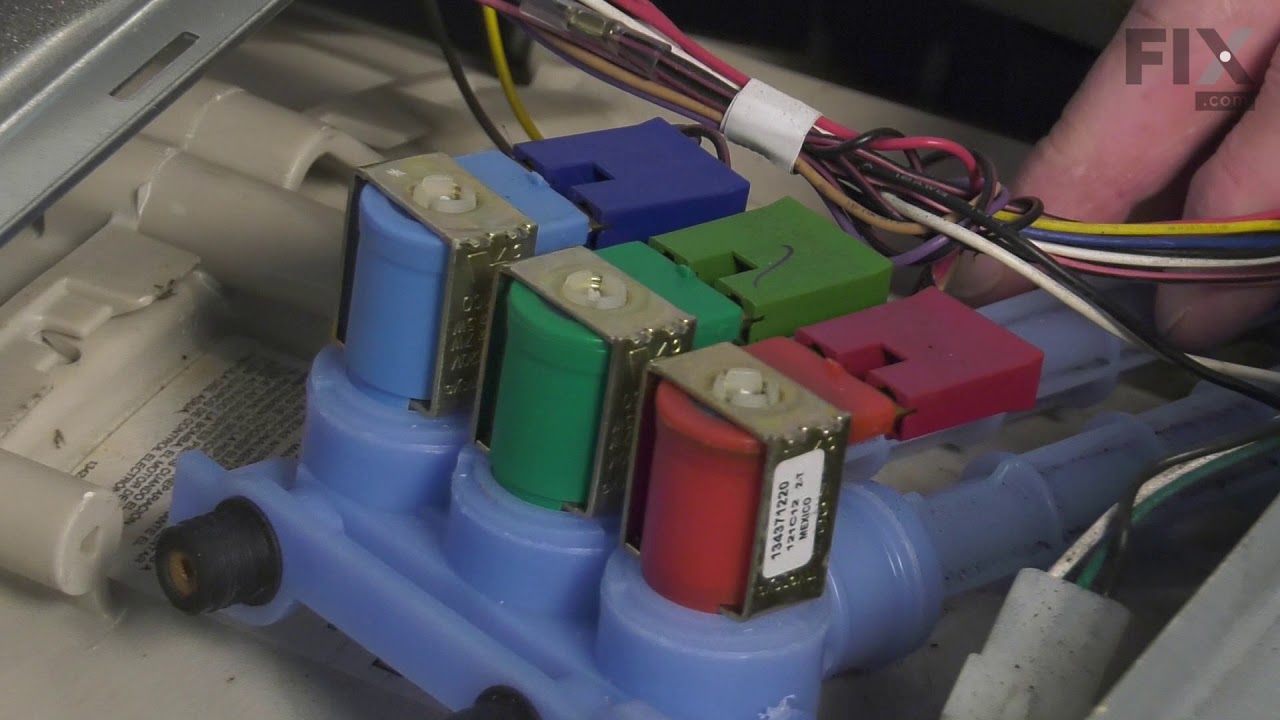
The door strike is used in washers and is attached to the door to activate the switch when the door is closed. This ensures that the washer door remains locked and closed. If your door does not stay open, or it gets stuck, replacing this part can solve the problem. This part comes in a gray color and is made from metal. This door strike i...Read mores a genuine replacement part. As a safety precaution remember to unplug your washer from the power source and wear work gloves before installing this part. Refer to the diagram provided by the manufacturer for more installation instructions and guidance.
This is a replacement screw for your washer or dryer. The screw is approximately half an inch in length and is a Phillips-head screw. It screws in from the outside of the drum, into the vane/baffle. The main reason you would replace this screw is if the old screw is missing or damaged. This part is sold individually and is an OEM part sourced directly from the manufacturer.
This is a bellow, though it may also be known as a door boot seal, and it is a part for your washing machine. The function of the bellow is to prevent leaks by forming a seal in between the wash tub and the door of the washing machine. The boot gasket measures to be almost 21 inches by 21 inches and is gray in color. Take caution, as this...Read more part is prone to tearing if the washer is frequently overloaded. To complete this repair, you will need a Phillips screwdriver, a number two square bit, and a pair of needle-nose pliers.
This washer shock absorber mounting pin is a small but essential fastener that secures the shock absorber to the outer tub of a front-load washing machine. By holding the shock absorber firmly in place, it helps stabilize the tub during wash and spin cycles, reducing excessive vibration, shaking, and movement. Made from durable materials ...Read moreand designed for a precise fit, the pin supports smooth operation and protects other components from stress caused by unbalanced motion. Replacing a worn, broken, or missing mounting pin can help restore proper vibration control, improve washer stability, and prevent noise or damage during operation.
This is a shoulder screw and is used in conjunction with multiple appliances within your home. This specific model is size 10, and it has 16 threads to an inch. This part is made entirely of metal and is chrome-colored. The shoulder screw measures to be less than an inch long, and has a flat bottom and top. In general screws are typically...Read more made of metal, and the purpose of them is to be used as a fastener when attaching one piece/part to another. This model is sold individually.
This part is the replacement screw for your washer. The head is approximately inch in diameter and the screw is approximately 3/4 inch in length. It is made of metal and is sold individually. This is an authentic OEM part sourced directly from the manufacturer.
This washer tub-to-pump hose, often called a coin trap or bellows hose, carries water from the outer tub to the drain pump during drain and spin cycles. Designed with an integrated trap, it captures coins, buttons, and other small debris to prevent damage to the pump. Made from durable black rubber or flexible plastic, it withstands high ...Read morewater pressure and constant vibration. Common signs of failure include leaks from underneath the washer, unusual noises, or drainage issues such as slow draining or error codes.
This door lock and switch assembly is a genuine OEM replacement for front-loading washing machines, designed to keep the door securely locked during operation and prevent leaks. It sends an electrical signal to the control board to confirm the door is closed, allowing the wash cycle to start and run safely. Built from durable plastic and ...Read moremetal components, the assembly measures approximately 6" x 4" x 1.75". Replace this part if the door won’t lock, the machine won’t start, or error codes related to door issues appear. Installation involves disconnecting power, removing the door boot seal spring, and unthreading mounting screws to swap the old assembly for the new one.
This outer door window, or outer lens, is found in your front-loading washer or dryer. Mounted to the door, it provides visibility and allows you to monitor the washing or drying process. It also acts as a barrier so that water or lint does not escape from the drum while the appliance is running. Signs of a broken outer door window includ...Read moree shattered areas, fogginess, or steam and water leakage from the door. To remove the window, refer to your user guide for instructions. Typically, you will need to open the dryer door, remove the hinge screws and lift the door upward to slide the "T" post on the hinge out of its slot. Then, unthread the screws on the inner door and near the metal strike and hinge center. You can then separate the inner door assembly from the outer door and lift out the inner door glass. Before making your purchase, bear in mind that this genuine OEM replacement part is sold separately from the rest of the door assembly.
This genuine OEM drain pump is an essential component for removing water from the washer tub during the drain cycle. Built from durable materials, including impact-resistant plastic and stainless steel components, it ensures reliable performance and prevents leaks. Operating at 120V 60Hz, this pump helps maintain proper drainage and smoot...Read moreh cycle transitions. Common signs of failure include the washer not draining, unusual noises during operation, water leaking from the base, or error codes related to drainage. Installation is straightforward—disconnect power, remove the old pump, and secure the new one in place for optimal functionality.
Ask our experts a question about this model and we'll get back to you as soon as possible!
We may have answered a similar question already! Search questions and answers left by others using simple keywords like "fit", "broken", "easy", or "quality" to find questions that match.
Search filter:
Clear Filter
Your search term must have 3 or more characters.
Sort by:
Prev
1
Next
Sorry, we couldn't find any existing answers that matched.Try using some different or simpler keywords, or submit your new question by using the "Ask a Question" button above!
Janine - For model number EWFLS65IRR0
February 28, 2025
How do i find the coin/lint trap of this washer?
Hi Janine, Thank you for reaching out. The Filter/Coin Trap is located in the Tub to Pump Hose at the bottom of the machine. Let us know if you have further questions!
How do i access the coin/lint trap? Do i need to clean it? And every how so often?
Hi Jannie,
Thank you for your question. The filter, part number PS2345089, and the filter cover, part number PS2345090, are found in the tub to pump hose. Here is a link to one of our YouTube videos that you may reference for information on how to access the tub to pump hose. The washer in the video may not be the same as yours, but it will give you a general idea on how to access the part. We hope this helps!
See how others fixed this model. Time, tools, difficulty, and steps that lead to victory!View More
Search repair tips from other customers using simple keywords like "replace", "fit", "remove", "inspect". DIY doesn't mean you have to do it alone!
Search filter:
Clear Filter
Your search term must have 3 or more characters.
Original bellow had 2 largish holes in the upper left quadrant; random leaking.
19 of 24 peoplefound this instruction helpful.
Michelle from Loves Park, IL
Very Difficult
1- 2 hours
Pliers, Screw drivers
Bought new part. #1 Lesson learned: Always inspect the actual part number of the ordered/received part. Verify with number marked on the item somewhere. We did not do this and turned out we reinstalled a slightly smaller bellow (wrong part number received in shipment). We were able to fully install it but it was minutely not laying perfec
... Read moretly around the diameter. So minor we did not notice. We did have great difficulty installing though. Anyway, after 1st test run, bellow already had developed a small hole in bottom right quadrant from rubbing on the drum. Left a bunch of gray powdery debris on the drum too. We did not realize error until that point. Took bellow off again to verify part number on it. It was wrong. That explained why the door was so very tight to close and difficult to open. Other than all that, use the video to do the install. It was free to view and easy to follow.
Read less
Was this helpful?
Thank you for voting!
Broken door latch
6 of 6 peoplefound this instruction helpful.
Paul from DAYTON, OH
Really Easy
More than 2 hours
Screw drivers
First, I went to the PartSelect website and easily found the part at a reasonable price. I ordered it early on a Wednesday afternoon, and gladly spent the extra $25 to ship it overnight. That evening, PartSelect sent me an email stating that the part had shipped that very day, and - mistakenly - I took that literally. FedEx tracking predi
... Read morected that the part would arrive on Friday, July 5, which made sense because the 4th was a holiday. But I found out that the part had actually shipped on the 3rd, as the email had informed me. It didn't actually ship until the 4th - up until then, a "shipping label" had been created but it had not shipped. FedEx then revised their arrival date to Monday, 8 July. That clearly wasn't satisfactory. So I went to my local parts distributor, Dayton Appliance Parts, a fifteen-minute drive from my house, and got the same part for $3 cheaper, plus without the $25 shipping fee that PartSelect had charged me for overnight-shipping-that-isn't-actually-overnight-shipping. Once I had the part in hand, installation was a breeze. Two screws removed, pulled the striker, replaced the new part and the screws. Less than two minutes. But no thanks to PartSelect.
Read less
Was this helpful?
Thank you for voting!
Electrolux Upright Washer Door Wouldn't Open
6 of 9 peoplefound this instruction helpful.
Fritz from HOUSTON, TX
Really Easy
15 - 30 mins
Pliers, Screw drivers
Parts took twice as long to arrive shipped from Utah to Houston, Texas. Once arrived parts were straight forward to install. 1) Open the door by tripping the door strike using yard trimmer line. 2) Turned Power off (unplugged unit) 3) Used needle noses pliers to remove door rubber boot retainer 4) Folded right-side
... Read moreof rubber in to removed switch assembly 5) Used Phillips screwdriver to remove switch assembly screws, navigated damaged switch part forward then disconnected line. 6) Connected new switch to line, navigate part back into washer and screwed back in. 7) Repositioned door rubber boot and reattached door boot retainer wire with hands and needle noose pliers. 8) Replaced door strike using Phillips screw driver. 9) Re-plugged washer power to outlet, closed door and ran a test cycle. All good!



 My Orders