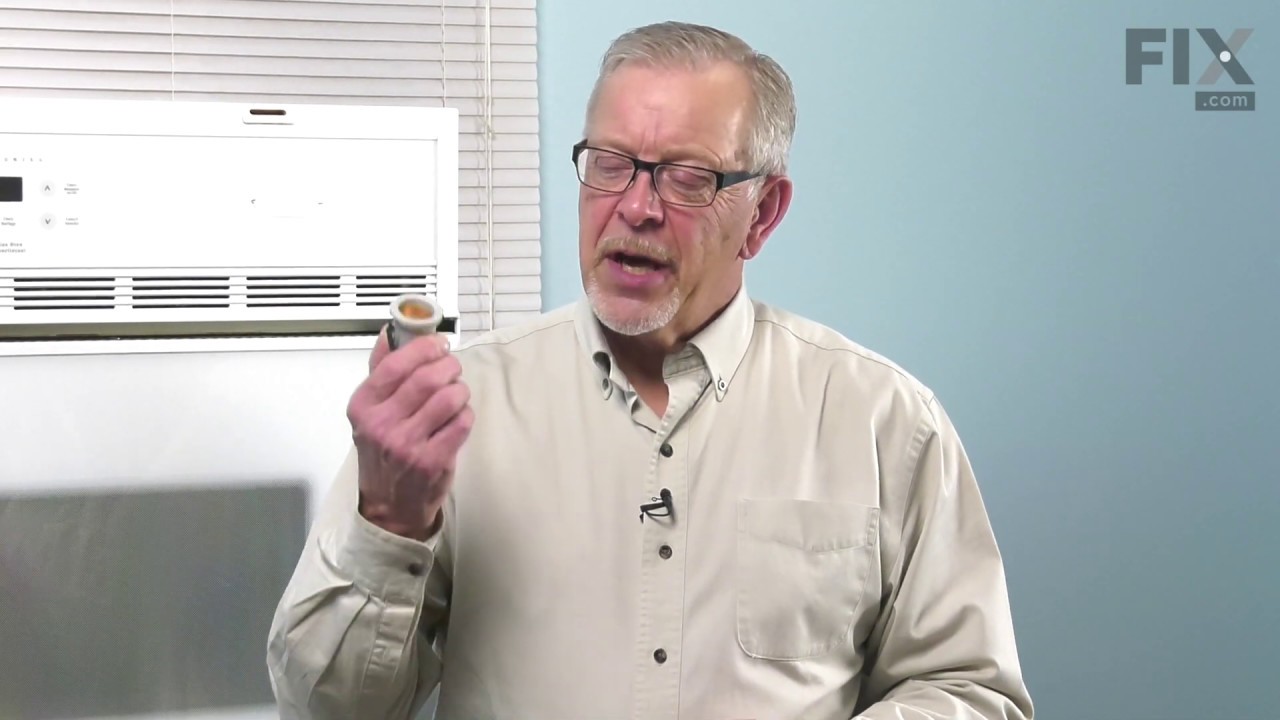
This OEM 40 watt appliance light bulb is used for some ranges, refrigerators, freezers, and microwaves. Simply locate the existing bulb, unscrew it from its socket, and replace with new light bulb. If the existing bulb is broken in the socket, disconnect the power to the refrigerator and use a pair of needle nose pliers to grip the intern...Read moreal fragments of the bulb to unscrew. Replace with the new bulb and reconnect the power to the refrigerator. These bulbs are sold individually and are a commonly replaced part; consider ordering a spare.
Terminal block kits are also known as terminal boards, or terminal strips, and they are found in a wide variety of household appliances. Most often in ranges, wall ovens, and dryers. This kit attaches the power cord to the inner wiring of your appliance. If the terminal block is faulty, your appliance will not get the power it needs to op...Read moreerate properly. When removing the old block pay close attention to the wire placement, this will make installing your new part much easier. If you notice any of the wires or wire terminals are corroded or damaged they will also need to be replaced.
The Frigidaire light bulb lens covers the interior light bulb in an oven. No tools are necessary to replace this item. After unplugging the appliance, slide off the wire bracket to remove the existing light bulb lens. Be sure to remove all broken glass, if applicable, before installing the new lens. It is recommended to check the state of...Read more the light bulb while the lens is off. This part is made of glass. The lens is a genuine Frigidaire part, sourced directly from the manufacturer, and is sold individually.
This tempered glass is supplied by the original manufacturer and measures 20 inches by 13 inches. It is an inner door glass, designed for use in ranges/ovens and has several purposes which include providing heat insulation, acting as protective barrier, and providing an opening to monitor the cooking/heating process. Over time the glass c...Read morean break or break from impact, thermal shock, or improper installation. If the glass is defective, it needs to be replaced promptly to avoid leaking, loss of insulation and potential harm to the user. Remove any fasteners or clips that secure the glass and carefully dispose of it. Position the new glass in the same position and secure it appropriately.
The temperature sensor, also known as an oven probe, helps measure the temperature within the oven cavity. If your oven is too hot, not heating evenly, has little to no heat when baking, or flashing F3/F4 error messages on your control board, you may need to replace this part. This part measures 6" long and is made of metal. Please make s...Read moreure to disconnect the power to your oven range before starting this repair. This temperature sensor is a genuine OEM part.
The oven light socket allows you to screw in a light bulb so that you can see the inside of your oven. The light socket is located in the back of your oven, so you will need to remove the back panel to access the socket for the repair. You will also need to remove the current light bulb and the light lens cover so that the old socket can ...Read morebe removed. As you will be working around electrical circuits for this repair, be sure to disconnect the power source from the oven before you begin work on the oven.
This authentic OEM high-limit thermostat, also known as a limit switch or cooling fan thermostat, serves as a safety feature to prevent the oven from overheating. It monitors the temperature inside the oven and activates the cooling fan when the temperature exceeds a certain limit. The cooling fan helps dissipate heat and maintain a safe ...Read moretemperature. The high-limit thermostat is usually situated inside the top panel. If the high-limit thermostat is broken or faulty, the cooling fan may fail to turn on, leading to excessive heat buildup inside the oven. You might also notice that your food cooks unevenly since the oven struggles to maintain the desired temperature. In some cases, if the high-limit thermostat is completely non-functional, the oven may not heat up at all. You can test the sensor at room temperature by measuring the resistance between the two prongs at the end of the sensor connector. The resistance should read approximately 1080 - 1090 ohms at room temperature. To access the thermostat, refer to your user guide for detailed instructions. Generally, you need to ensure the power is disconnected at the breaker, lift the top panel on its hinges, remove the screws on the plate under the burners, take out the burners and plate, disconnect the wires from the old thermostat, and remove the mounting screws to release it. Please note that the replacement part is sold separately from the cooling fan.
This meat probe sensor is an authentic manufacturer replacement part for cooking appliances that have a built-in meat probe feature. It is plugged into the receptacle assembly for use inside the appliance. The sensor measures the internal temperature of meat during the cooking process and sends the readings to the control panel where they...Read more can be viewed in real time. This ensures that the food is cooked to your desired level of doneness. Over time the internal sensor components may become faulty or the probe can fail due to mechanical damage resulting in inaccurate temperature readings, and failure to communicate with the control panel. Follow the sensor cable to the insertion point in the oven cavity and disconnect the faulty sensor. Install the new sensor into the insertion point and reattach the connectors to complete the repair.
This convection fan blade is designed for use with various makes and models of range and oven and is sold as an individual part. Made of metal and measuring approximately 4.75-inches in diameter, this genuine OEM fan blade works with the convection motor to circulate and distribute heat evenly throughout the oven. If your oven is not gett...Read moreing hot enough or the heat is not circulating properly, or if the fan blade in your oven has become warped, damaged, or chipped, it needs to be replaced immediately. To replace the fan blade, disconnect your range from the power and locate the fan assembly. With the appropriate screwdriver and wrench, remove any assembly covers and the securing nut from the blade. Once the nut is removed, install the new blade and secure it and re-install the cover.
This part is a levelling leg and it is used in conjunction with your range. The function of this part is to supply stability and support to your appliance. This part is adjustable to allow you to tailor each leg to meet your levelled cooking needs. A range typically uses four of these parts, and this model is sold individually. This part ...Read moremeasures to be just over a square inch wide, and almost two inches high. The body of this part resembles a screw and is made of metal. The bottom of the leg is black, flat, and made of plastic.
Ask our experts a question about this model and we'll get back to you as soon as possible!
We may have answered a similar question already! Search questions and answers left by others using simple keywords like "fit", "broken", "easy", or "quality" to find questions that match.
Search filter:
Clear Filter
Your search term must have 3 or more characters.
Sort by:
Prev
1
Next
Sorry, we couldn't find any existing answers that matched.Try using some different or simpler keywords, or submit your new question by using the "Ask a Question" button above!
Marie-Odile - For model number EW30IS6CJSC
February 9, 2020
Stove top gives error codes e21 and e39 and none od the elements are workingmodel ew30is6cjsc thnks for your help
Hello Marie-Odile, thank you for your question. The "E39" stands for incorrect configuration. To configure your cooktop you would need to press and hold the "Warm" key, then press right front "Power" key until it beeps. Then press left front key and the configuration should start. The E21 error code is in relation to the range control board. I hope this helps.
2 peoplefound this instruction helpful.
Was this helpful?
Thank you for voting!
Nathalie - For model number Ew30is6cjsc
23 days ago
Error code e35 after hearing a spark
Hello Nathalie, thank you for reaching out. Hearing a spark or pop followed by an E35 error code indicates a control board fault. To troubleshoot, unplug the appliance and check the power supply wiring. If this is not the issue, you may need to replace the main control board, part number 316576610. We hope this helps!
Le four autonettoyant refuse de se mettre en marche. Il dit :" enlever les grilles" mais celles ci sont enlevées et la porte est bien fermée
Bonjour Edgard, merci d'avoir écrit. Nous recommandons le kit de bornier principal PartSelect Number PS471605. Nous avons joint une vidéo pour que vous puissiez la regarder. Bonne chance avec votre réparation.
Hello Tim, thank you for your inquiry. The E15 error code indicates that there is an issue with the control assembly or the main control board. We would recommend resetting your unit by unplugging it for 5 minutes and turn it on back. If this does not solve the issue, you may need to replace the control assembly, part number PS2582101, to fix the issue. Good luck with your repair!
Our warming drawer element overheated somehow and warped, heating so much it made the floor below hot, but no damage. There is no error message, main oven works correctly as do induction elements.
Is there a temperature probe for this? Will replacing the element generally resolve or are other parts required?
Hi Terri, thank you for the question. Yes, there is a temperature sensor, part number PS1150172, in your warming drawer. Replacing the warped element is absolutely necessary for safety reasons, but you may need to check the sensor as well. The warming drawer element for your model is part number PS3651597. We hope this solves your problem!
See how others fixed this model. Time, tools, difficulty, and steps that lead to victory!View More
Search repair tips from other customers using simple keywords like "replace", "fit", "remove", "inspect". DIY doesn't mean you have to do it alone!
Search filter:
Clear Filter
Your search term must have 3 or more characters.
Cord was not tightened enough by delivery crew.
109 of 174 peoplefound this instruction helpful.
Timothy from Spring Valley, AL
Really Easy
15 - 30 mins
Screw drivers, Socket set
PF alarm appeared on display. Noticed clicking when cord was moved. Had arced for some time and melted original block. New part slightly different. Only has 3 lugs, old one had six. Stack using washers provided. Take note of colors before disassembly. Use caution while working through access opening. The edges are sharp. Only tools neede
... Read mored are phillips screwdriver, deep socket for lug nuts. Nut driver optional. Hope this is helpful.
Read less
Was this helpful?
Thank you for voting!
Cracked oven door inner glass
76 of 135 peoplefound this instruction helpful.
Mitch from Fernandina Beach, FL
Easy
15 - 30 mins
Screw drivers
Repair was quite easy, as long as you have the instructions for removing the door. The screws that hold the bottom of the door to the fixed hinge are placed into the side of the hinge assembly after removal; this holds the door at a 45 degree angle for easy removal. After that, just place the door on a flat surface and dismantle the door
... Read morefrom the inside. The inner glass is contained in a metal frame with another piece of glass; this frame comes apart easily using the clips in each side. The door assembles easily after the glass is replaced; just take your time and give yourself enough room to lay out the parts as you go. Good luck!
Read less
Was this helpful?
Thank you for voting!
Oven light receptacle broken - bulb base broke off
69 of 116 peoplefound this instruction helpful.
Paul from Spokane Valley, WA
Easy
30 - 60 mins
Screw drivers
Turned power off at electrical panel. Pulled oven away from wall. Removed back cover (6 screws), then unplugged wires from old receptacle. I had to pull the squeeze clips backwards & break them to remove the old receptacle - couldn't squeeze them enough to remove them otherwise. The old receptacle came out through the inside of the oven,
... Read moreand the new one snapped in easily from inside the oven as well. Replaced wiring, installed new bulb, restored power & tested. Replaced back cover. Good time to vacuum under/behind where the oven usually lives before sliding it back to the wall.



 My Orders