


 My Orders




EW30DS80RSA Electrolux Range - Overview
Diagrams for EW30DS80RSA
See every part. Know exactly what you need.


Enter a part description. DIY Heroes keep it simple, eg. "belt" or "pump".
Search filter:
Clear Filter
Your search term must have 3 or more characters.

$40.60
In Stock
Main Terminal Block Kit
Part #5304409888
Terminal block kits are also known as terminal boards, or terminal strips, and they are found in a wide variety of household appliances. Most often in ranges, wall ovens, and dryers. This kit attaches the power cord to the inner wiring of your appliance. If the terminal block is faulty, your appliance will not get the power it needs to op...Read moreerate properly. When removing the old block pay close attention to the wire placement, this will make installing your new part much easier. If you notice any of the wires or wire terminals are corroded or damaged they will also need to be replaced.
Read less

$95.93
In Stock
GLASS
Part #5304503232
This tempered glass is supplied by the original manufacturer and measures 20 inches by 13 inches. It is an inner door glass, designed for use in ranges/ovens and has several purposes which include providing heat insulation, acting as protective barrier, and providing an opening to monitor the cooking/heating process. Over time the glass c...Read morean break or break from impact, thermal shock, or improper installation. If the glass is defective, it needs to be replaced promptly to avoid leaking, loss of insulation and potential harm to the user. Remove any fasteners or clips that secure the glass and carefully dispose of it. Position the new glass in the same position and secure it appropriately.
Read less

$39.82
In Stock
CAP
Part #5304508442
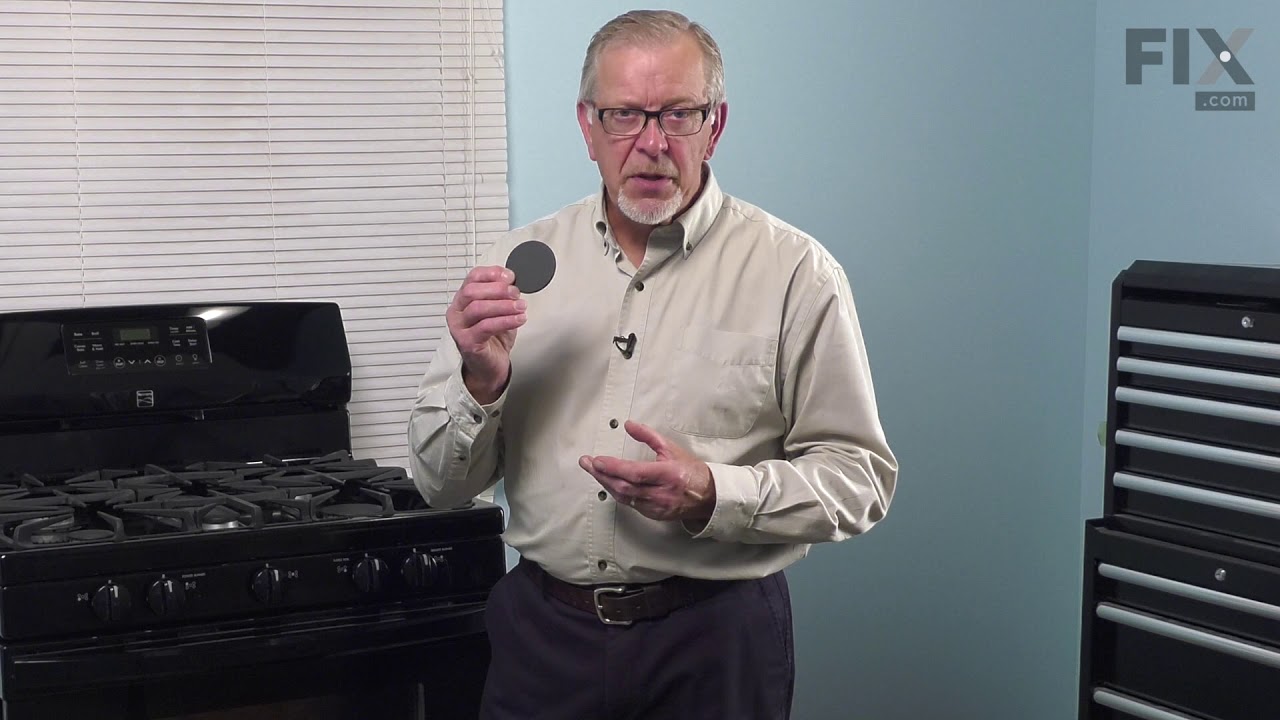
The surface Meduim 9.5K burner cap is located on the top of the burner head and is used in ranges and ovens. The burner cap helps spread out the burner flame for even heating, and protects the burner head from cooking spills. Without the cap you can have a burning gas torch. If your cap is missing or is discolored, replacing this part ca...Read moren solve the issue. This part comes in the color black. Remember to unplug your range from the power source and allow surface to cool before installing this part. Refer to the manual provided by the manufacturer for further installation instructions.
Read less

$53.85
In Stock
Temperature Sensor
Part #5304504897
The temperature sensor, also known as an oven probe, helps measure the temperature within the oven cavity. If your oven is too hot, not heating evenly, has little to no heat when baking, or flashing F3/F4 error messages on your control board, you may need to replace this part. This part measures 6" long and is made of metal. Please make s...Read moreure to disconnect the power to your oven range before starting this repair. This temperature sensor is a genuine OEM part.
Read less

$42.82
In Stock
CAP
Part #5304508441
Sold individually. This part helps the flame to spread for even heat. Also protects your burner head from spills.

$36.30
In Stock
Left Front Orifice - 9.5K
Part #316527500
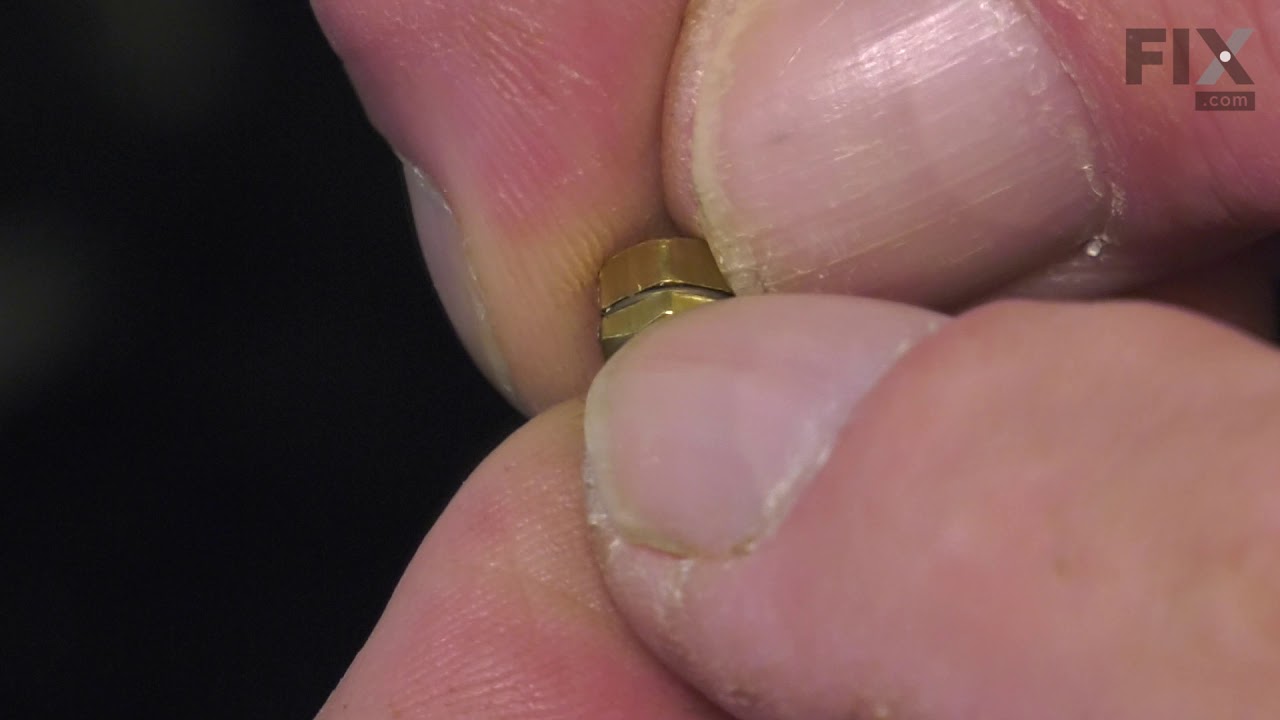
This orifice is a replacement fuel-delivery component designed to regulate gas flow to a burner. It plays a critical role in maintaining proper flame size and efficiency and is commonly replaced when flow becomes restricted or uneven.

$26.35
In Stock

$51.85
In Stock

$8.60
In Stock
Screw
Part #5303288565
This is an authentic mounting screw, which works with ranges, wall ovens, cooktops and warming drawers.

$25.25
In Stock

$38.71
In Stock

$80.25
In Stock
Spark Module
Part #5304508269
This spark module provides the electrical spark needed to ignite surface burners on a gas range or cooktop, helping ensure safe and reliable burner operation. It is commonly replaced when burners will not light, sparking is weak or inconsistent, or clicking occurs without ignition. This component plays a key role in proper burner startup ...Read moreduring normal cooking use. Installation generally involves disconnecting power and gas, accessing the spark module beneath the cooktop, and carefully reconnecting the wiring during replacement; professional installation is recommended to ensure correct and safe operation.
Read less
Manuals & Care Guides for EW30DS80RSA
Click to downloadInstall
Installation Instructions
(11.19MB)
Specs
Product Specifications Sheet
(1.54MB)
Wiring
Wiring Diagram
(1.54MB)
Common Symptoms of the EW30DS80RSA
How this model fails, and the parts that fix it.
Little to no heat when baking
Fixed by
these parts
these parts


Show All
Will Not Start
Fixed by
these parts
these parts

Show All
Oven is too hot
Fixed by
these parts
these parts

Show All
Element will not heat
Fixed by
these parts
these parts

Show All
Oven not heating evenly
Fixed by
these parts
these parts
Show All
Little to no heat when broiling
Fixed by
these parts
these parts
Show All
Watch our pros, then fix it yourself.



See how others fixed this model. Time, tools, difficulty, and steps that lead to victory!
View More