



 My Orders




EW23CS75QS0 Electrolux Refrigerator - Overview
Diagrams for EW23CS75QS0
See every part. Know exactly what you need.


Enter a part description. DIY Heroes keep it simple, eg. "belt" or "pump".
Search filter:
Clear Filter
Your search term must have 3 or more characters.

$68.15
In Stock
Refrigerator Water Inlet Valve
Part #242252702
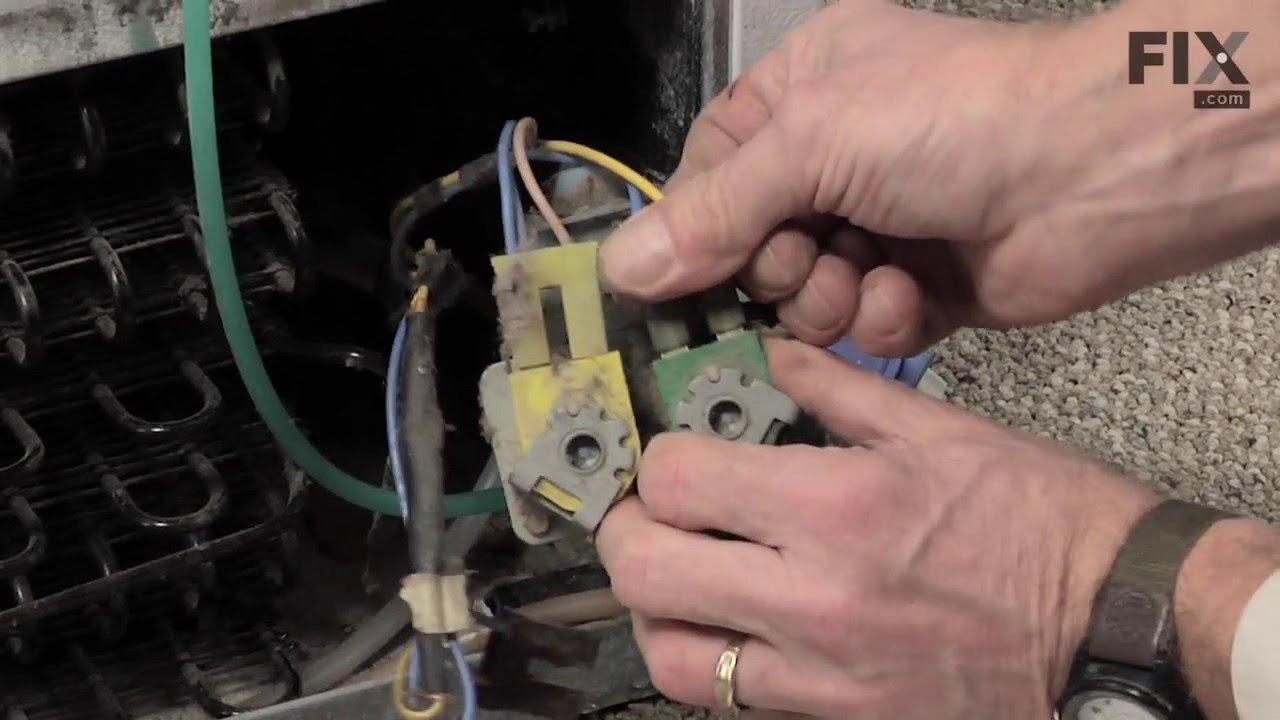
The function of the Refrigerator Water Inlet Valve (Triple Solenoid Water-Valve, Water Valve, Water Inlet Valve, Refrigerator Water Inlet Valve Assembly) is to release water from the supply line when activated, and send it through to your water dispenser or ice maker in your refrigerator. The water inlet valve is located at the back of th...Read moree refrigerator, and connects to the water supply. The valve can break from material fatigue or normal use. If your water inlet valve is malfunctioning, you could be getting a lack of water to the inside of your refrigerator. Your ice maker may not produce cubes or your water dispenser may not work. The water inlet valve must be replaced if the solenoids no longer have continuity or the valve has internal blockage. This valve measures approximately 7 inches long and 4.5 inches wide, and is constructed of plastic and metal. It comes in blue, and includes the valve and mounting bracket.
Read less

$37.91
In Stock
Air Filter
Part #EAFCBF
This manufacturer-approved air filter system for refrigerators eliminates odors and any impurities. It does this by neutralizing and removing odor-causing molecules. For best results, it is important to change the filter every 6 months to ensure that food is kept fresh, and the humidity is controlled. This part measures about 7 inches wid...Read moree and 5 inches deep. Follow installation instructions provided by the manufacturer when installing this part to ensure accurate results and further guidance. Remember to unplug the refrigerator from the power source before starting this project. The air filter may be located in different places depending on your appliance, but is usually on the inner right or left side. See your manual for exact location. Our customers rated this as a very easy repair that takes only a few minutes; just locate and remove the old air filter and insert the new one to complete the repair, which requires no tools.
Read less

$102.37
In Stock
Crisper Glass Insert
Part #240350649
Cracked crisper glass? This replacement insert is just what you need. It’s about 17.12" by 15.40" and fits right into the frame above your crisper drawers, giving you extra shelf space and keeping things neat. Made of sturdy glass and easy to install—just slide the old one out and pop the new one in. Sold individually, so make sure it matches your fridge model before ordering!

$128.04
In Stock
Rear-Mount Ice Maker Assembly
Part #5303918344
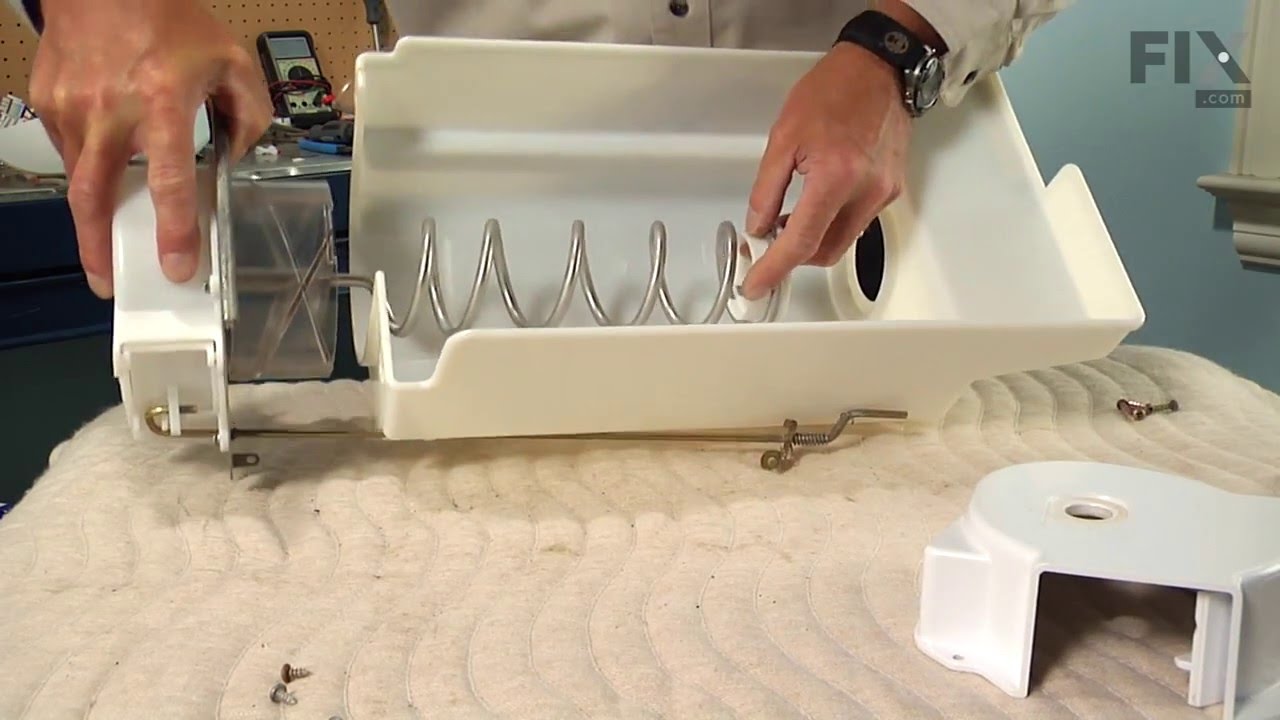
This kit includes the ice maker, power cord, bail arm, and fill cup. If your ice maker is not making or dispensing ice, or you notice a leak, you may need to replace the rear-mount ice maker assembly. This ice maker mounts to the back panel in the freezer section of the side-by-side refrigerator. If you are having an issue with the arm of...Read more this kit hitting the shelf, you will have to replace the shelf. You can find the shelf by searching PS1152582. To complete this repair, you will need a 1/4-inch nut driver and a small flat blade screwdriver.
Read less

$71.98
In Stock
Dispenser Crusher Housing
Part #241885001
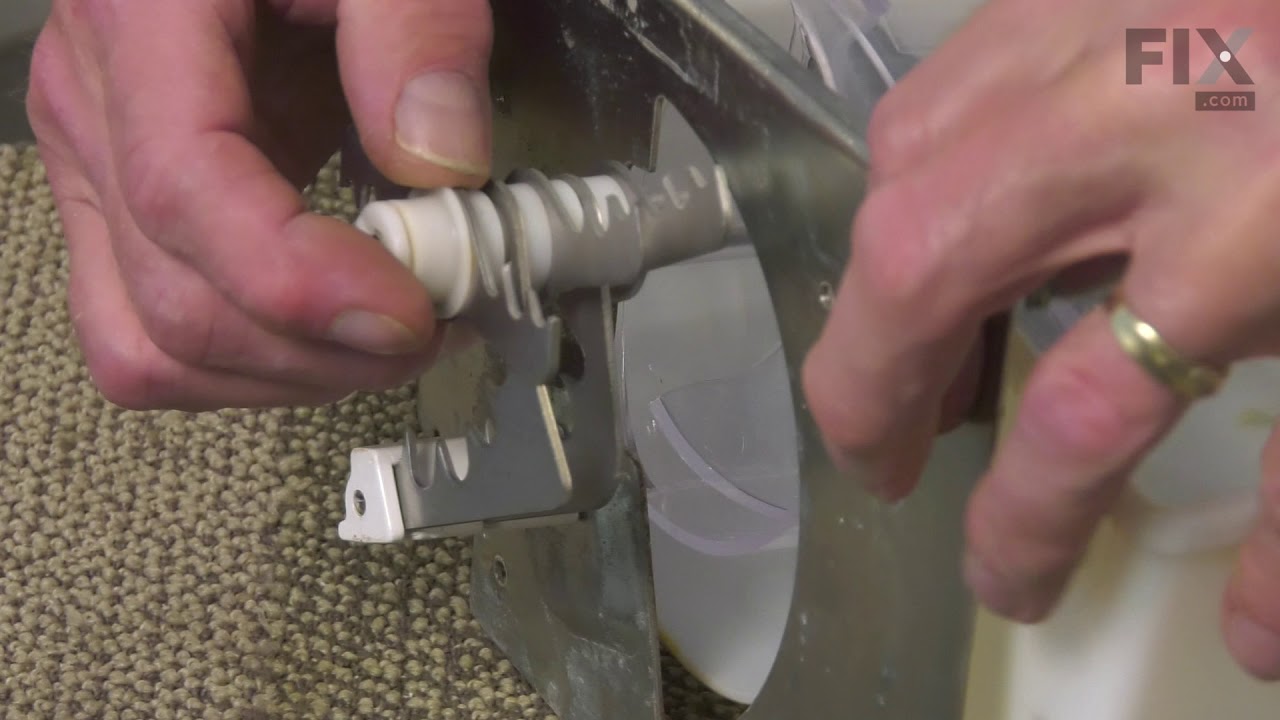
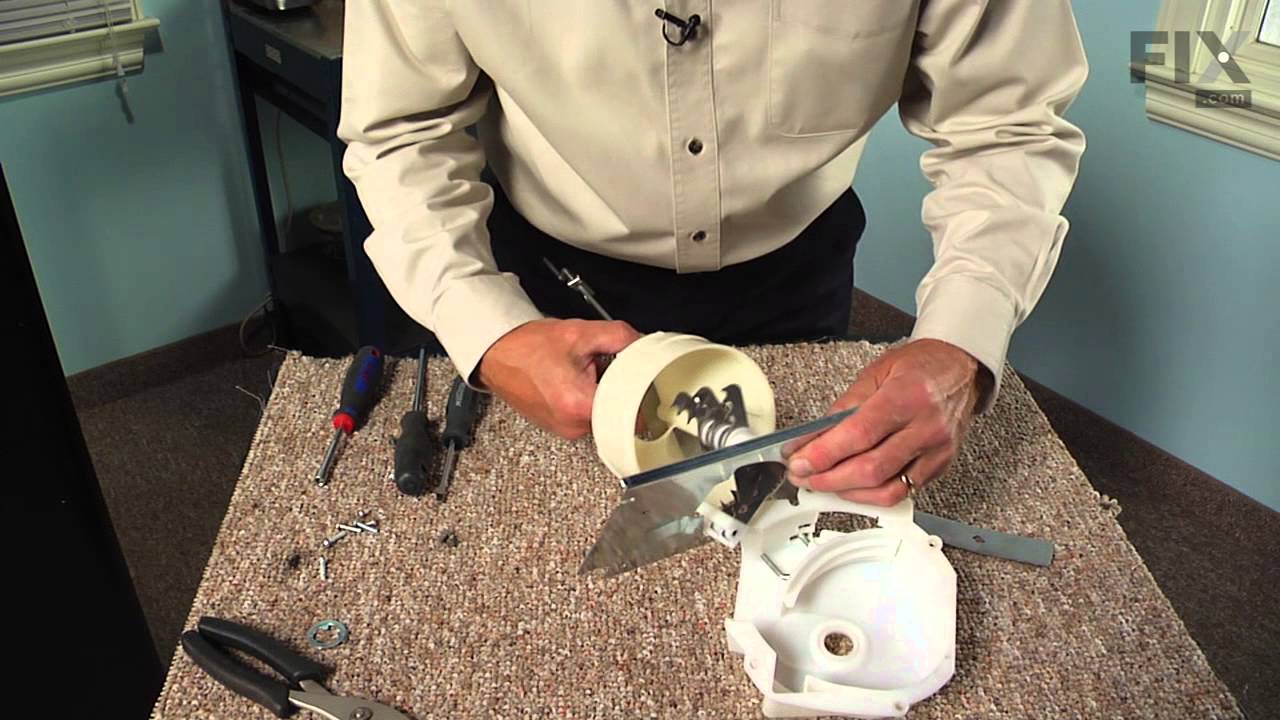
This dispenser crusher housing may also be known as a refrigerator ice crusher housing, and is compatible with your refrigerator. The function of the dispenser crusher housing is to shield the ice crushing blades within the ice container. To make this repair you will need a Phillips screwdriver, a flat blade screwdriver, a quarter-inch nu...Read moret driver, and a pair of channel lock pliers. For this installation, work gloves are recommended. Note that this piece may look different or be a different color than the original, but this part will fit and function in the same way as the original part.
Read less

$54.95
In Stock
Ice Dispenser Drum
Part #241685101
This genuine replacement ice dispenser drum is designed for use with a wide range of refrigerator models. Made from durable plastic, the drum plays a key role in your ice maker by capturing ice and directing it to the crusher for dispensing. It is positioned between the ice dispenser drive plate and the ice crusher mounting plate, ensurin...Read moreg smooth and efficient operation.
If the drum becomes damaged or worn, replacing it is a simple process. All you’ll need is a Phillips head screwdriver. Just remove the necessary components to access the drum, unfasten it, and install the new one in its place. This part is sold individually and is compatible with many refrigerator models—check your model’s diagram to confirm fit.
Read less

$53.85
In Stock
Evaporator Fan Blade
Part #5308000010
This evaporator fan blade is a genuine OEM part that is sourced directly from the manufacturer. The evaporator fan blade circulates air through the refrigerator to control the amount of cold air goes that goes to internal compartments of the unit. It may need to be replaced if the fridge is noisy or not cold enough. This part is made of p...Read morelastic and is sold individually. It will be necessary to disconnect power to the refrigerator and empty the freezer compartment of the refrigerator. The tools needed to complete this repair are a 1/4 inch nut driver and a pair of needle nose pliers.
Read less

$25.25
In Stock
Screw
Part #218755504
Sold individually.
This is a genuine part. The handle mounting shoulder screw (no.10 ab) is made for use with many refrigerators. The metal screw helps to fasten the handle assembly to the outer door panel. The handle mounting shoulder screw is sold individually. For the repair, you will need a pair of pliers.

$27.51
In Stock
DRIVE BLADE
Part #241684503
This drive blade is a little under five inches long. It is used for the icemaker of many refrigerators.

$27.12
In Stock

$14.79
In Stock

$96.72
In Stock
Pan Cover Insert
Part #240350603
This refrigerator glass insert serves as the top cover for the crisper drawer, providing a smooth, stable surface for food storage within the fresh food compartment. Designed to fit securely into the frame above the drawer, it helps organize contents while supporting overall refrigerator functionality. Constructed from clear, durable glas...Read mores, it offers long-term reliability and easy visibility of stored items. Replacing a broken, worn, or missing insert restores both the appearance and efficiency of the appliance. Installation is straightforward and typically requires no tools. This is just the glass only, the frame is not included.
Read less
Manuals & Care Guides for EW23CS75QS0
Click to downloadInstall
Installation Instructions
(0.4MB)
Specs
Product Specifications Sheet
(0.86MB)
Wiring
Wiring Diagram
(0.86MB)
Common Symptoms of the EW23CS75QS0
How this model fails, and the parts that fix it.
Leaking
Fixed by
these parts
these parts


Show All
Ice maker not making ice
Fixed by
these parts
these parts


Show All
Not dispensing water
Fixed by
these parts
these parts

Show All
Ice maker won’t dispense ice
Fixed by
these parts
these parts


Show All
Fridge too warm
Fixed by
these parts
these parts


Show All
Noisy
Fixed by
these parts
these parts


Show All
Door won’t open or close
Fixed by
these parts
these parts


Show All
Ice maker dispenses too little ice
Fixed by
these parts
these parts
Show All
Fridge and Freezer are too warm
Fixed by
these parts
these parts
Show All
Fridge too cold
Fixed by
these parts
these parts
Show All
Freezer not defrosting
Fixed by
these parts
these parts

Show All
Ice maker dispenses too much ice
Fixed by
these parts
these parts
Show All
Frost buildup
Fixed by
these parts
these parts
Show All
Leaks water
Fixed by
these parts
these parts
Show All
Watch our pros, then fix it yourself.




See how others fixed this model. Time, tools, difficulty, and steps that lead to victory!
View More