


 My Orders




EV201NZTQ01 Whirlpool Freezer - Overview
Diagrams for EV201NZTQ01
See every part. Know exactly what you need.


Enter a part description. DIY Heroes keep it simple, eg. "belt" or "pump".
Search filter:
Clear Filter
Your search term must have 3 or more characters.

$30.53
In Stock

$24.15
In Stock
Touch-Up Paint - White
Part #72017
This touch-up paint can be used on a wide variety of household appliances. It is most often used on washers, dryer, refrigerators, dishwashers, ranges, freezers, trash compactors, or microwaves. It is an 18 ml, or.6 fluid ounces, bottle of touch-up paint. It also features a brush for easy application. This quick-drying, long-lasting paint...Read more is perfect for fixing any nicks, scratches, or chips on the exterior of your appliance. This paint is white in color, and provides a durable finish.
Read less

$15.00
In Stock
Fan Blade and Spring Clip
Part #WPW10445742
If you notice an unusual noise coming from your freezer, the evaporator fan blade might be the problem. Frost-free freezer models use evaporator fans to move air through the evaporator for more efficient cooling. If the evaporator fan blade gets damaged or worn it may become noisy. If the blade is loose on the motor shaft or if the fins a...Read morere damaged, it should be replaced. Be sure to remove power to the appliance before attempting any repair. The evaporator fan assembly is located behind the air grille or evaporator cover and can normally be accessed by simply removing a few mounting screws. The fan blade is normally pressed on to the motor shaft and secured by a spring clip.
Read less

$7.47
In Stock

$11.77
In Stock

$207.41
In Stock
Freezer Evaporator Fan Motor
Part #WP3-60336-001
This evaporator fan motor is located in the back of the freezer, and circulates air over the refrigerator coils. These coils will convert the heat into cool air, which is then circulated.

$8.55
In Stock

$7.47
In Stock

$7.47
Special Order

$104.33
In Stock
Defrost Timer
Part #WP3-81329
This device acts like a clock. It continually advances and alternates between activating the cooling cycle and the defrost heater.

$60.51
In Stock
Bimetal Defrost Thermostat
Part #WP1-81801-001
This part is a temperature sensing devise. It senses the rise in evaporator temperature during a defrost cycle and cycles the defrost heater off after all frost is melted. It is calibrated to permit a defrost cycle only when the temperature is below a preset temperature

$9.62
In Stock
Manuals & Care Guides for EV201NZTQ01
Click to downloadCommon Symptoms of the EV201NZTQ01
How this model fails, and the parts that fix it.
Light not working
Fixed by
these parts
these parts

Show All
Noisy
Fixed by
these parts
these parts


Show All
Too warm
Fixed by
these parts
these parts
Show All
Frost buildup
Fixed by
these parts
these parts


Show All
Won’t start
Fixed by
these parts
these parts
Show All
Watch our pros, then fix it yourself.

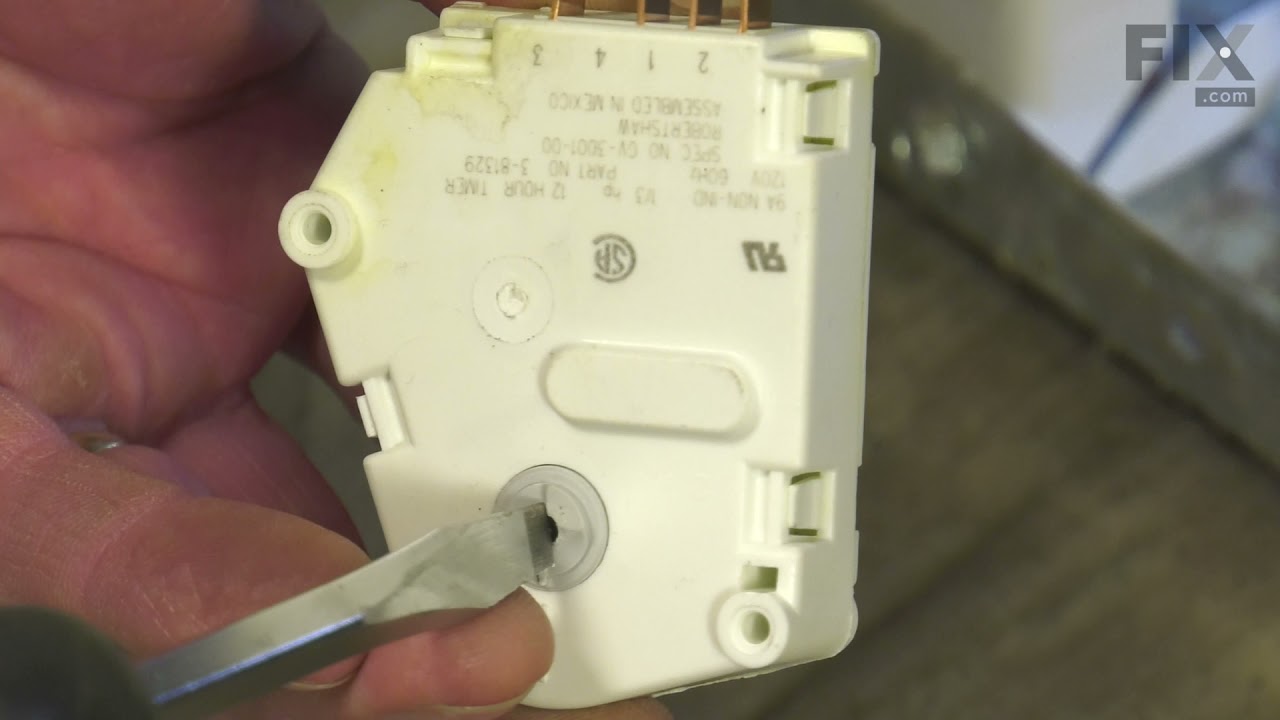

See how others fixed this model. Time, tools, difficulty, and steps that lead to victory!
View More
Search repair tips from other customers using simple keywords like "replace", "fit", "remove", "inspect". DIY doesn't mean you have to do it alone!
Search filter:
Clear Filter
Your search term must have 3 or more characters.
Froze over fan motor burnt out
73 of 82 people
found this instruction helpful.
Removed shelves from inside freezer then removed 4 screws holding cover panel. Pulled panel up and slightly pulled forward to remove. Removed wiring connections then removed two screws that held the motor & fan assembly. Removed the support bracket from the old motor and installed same on the support bracket. Reversed removal procedur
... Read more
es for installation. Cover panel is a little bit of a problem when trying to reinstall. Put in panel as high as you can and then slide down. You must then exert a little pressure on the bottom portion to get it to seat correctly. Install four remaing screws and you are done. I had this repaired previously by a professional repairman and noticed from the pictures you folks provided that he had installed the screws on the support bracket incorrectly. That was the reason for the fan blade to rip apart.
Read less
Other Parts Used:
Was this helpful?
Thank you for voting!