


 My Orders




EV200NXEW01 Whirlpool Freezer - Overview
Diagrams for EV200NXEW01
See every part. Know exactly what you need.


Enter a part description. DIY Heroes keep it simple, eg. "belt" or "pump".
Search filter:
Clear Filter
Your search term must have 3 or more characters.

$30.53
In Stock

$21.45
In Stock
Screw
Part #W11233072
This is a multi-use and multi-appliance screw. It can be used on a microwave, refrigerator, range/oven, air conditioner, dehumidifier, washer, or dryer. The measurements of this screw are 8 x 1/2 inch. It has 6 threads. Refer to the manual provided by the manufacturer for further information on repair and accurate guidance. Remember to wear work gloves as a safety precaution.

$24.15
In Stock
Touch-Up Paint - White
Part #72017
This touch-up paint can be used on a wide variety of household appliances. It is most often used on washers, dryer, refrigerators, dishwashers, ranges, freezers, trash compactors, or microwaves. It is an 18 ml, or.6 fluid ounces, bottle of touch-up paint. It also features a brush for easy application. This quick-drying, long-lasting paint...Read more is perfect for fixing any nicks, scratches, or chips on the exterior of your appliance. This paint is white in color, and provides a durable finish.
Read less

$7.47
In Stock

$36.85
In Stock
Spray Paint - 12 oz. - White
Part #350930
Appliance spray paint is a great way to cover up any chips and scratches that have appeared on your appliances. Instead of replacing the part entirely, this is an easy fix. This is also a great way to give a fresh new look to any handles or areas that have discoloring due to wear. Make sure to clean the area before you begin and wear a pr...Read moreotective mask for safety. Give the can a good shake and spray a few inches away from the surface. Apply the paint until the area is fully covered as desired. Wait until the paint has dried before using the appliance.
Read less

$174.72
In Stock
Freezer Door Gasket (White)
Part #WP4-81049-001
This white door gasket is used to make an air-tight seal for the cabinet when the door is closed.

$11.77
In Stock
Freezer Door Key
Part #WP4356840
This metal freezer door key has a cross shape and is approximately 2 inches long. If your freezer door will not stay shut, you can use the key as a quick fix to keep it closed. If your key will not lock, or unlock the freezer door, check to see if it has been bent or damaged. If the key is damaged, you should look to replace it to avoid d...Read moreamaging the lock. The key should engage the locking mechanism with ease. If the lock sticks when you turn the key, penetrating fluid should be used to loosen the mechanism. These keys are sold separately, and should be stored somewhere safe and not next to the unit.
Read less

$17.15
Special Order
Refrigerator Leveler
Part #W11117769
This is an OEM part that is made of metal and sold individually. The leveling leg is generally used with refrigerators, dryers, freezers, ranges, cooktops, and microwaves. The leveling leg is meant to keep your appliance steady and level to the floor. If you notice your appliance is uneven to the floor it may need to have the leveling leg...Read more replaced. You will notice that the bottom of the leveling leg has a smooth surface to ensure moving your appliance does not require as much effort. This part screws into a pre-drilled hole underneath the appliance.
Read less

$7.47
In Stock

$7.47
Special Order

$104.33
In Stock
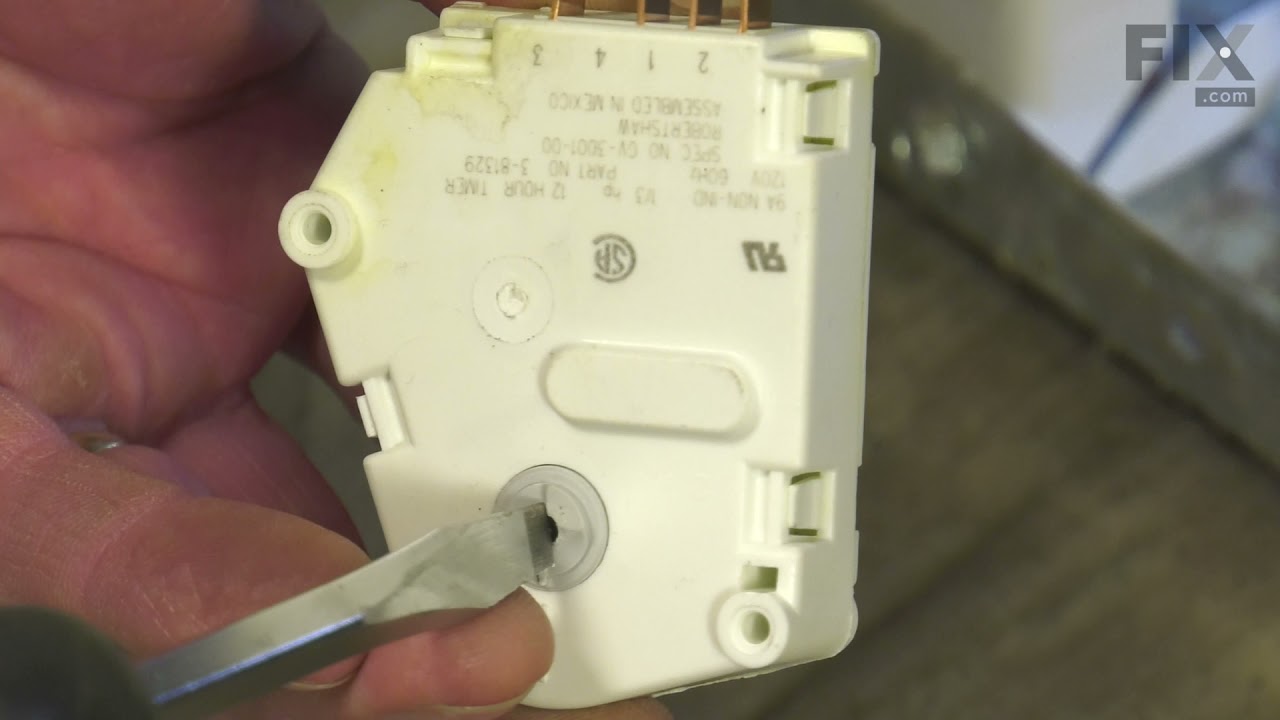
Defrost Timer
Part #WP3-81329
This device acts like a clock. It continually advances and alternates between activating the cooling cycle and the defrost heater.

No Longer Available
Evaporator Fan Motor
Part #WP3-80411-103
This evaporator fan motor circulates air over the coils. These coils will convert the heat into cool air, which is then circulated.
Common Symptoms of the EV200NXEW01
How this model fails, and the parts that fix it.
Light not working
Fixed by
these parts
these parts

Show All
Frost buildup
Fixed by
these parts
these parts


Show All
Noisy
Fixed by
these parts
these parts

Show All
Watch our pros, then fix it yourself.

See how others fixed this model. Time, tools, difficulty, and steps that lead to victory!
View More