


 My Orders




EV170NXYN00 Whirlpool Freezer - Overview
Diagrams for EV170NXYN00
See every part. Know exactly what you need.


Enter a part description. DIY Heroes keep it simple, eg. "belt" or "pump".
Search filter:
Clear Filter
Your search term must have 3 or more characters.

$34.74
In Stock
Defrost Timer
Part #W10822278
The Defrost Timer (Defrost control) acts like a clock by switching on the defrost heater circuit after a predetermined amount of compressor run time. This allows the defrost circuit to clear the evaporator of ice or frost to maintain proper airflow. If this part is not working, it can lead to temperature increases in your refrigerator. If...Read more the compressor circuit fails, no cooling will take place; if the defrost circuit isn't activated, ice will quickly build up on the evaporator coils and reduce airflow and efficiency. If the timer doesn't advance or if the contacts have no continuity, the timer will need to be replaced. This part is located inside of the control housing on most models, and is approximately 3 inches long and 2.5 inches wide. This part is constructed of plastic and metal, and comes in white. It features 1 defrost timer, along with all necessary mounting hardware and installation instructions
Read less

$30.53
In Stock

$7.47
In Stock

$174.72
In Stock
Freezer Door Gasket (White)
Part #WP4-81049-001
This white door gasket is used to make an air-tight seal for the cabinet when the door is closed.

$11.77
In Stock
Freezer Door Key
Part #WP4356840
This metal freezer door key has a cross shape and is approximately 2 inches long. If your freezer door will not stay shut, you can use the key as a quick fix to keep it closed. If your key will not lock, or unlock the freezer door, check to see if it has been bent or damaged. If the key is damaged, you should look to replace it to avoid d...Read moreamaging the lock. The key should engage the locking mechanism with ease. If the lock sticks when you turn the key, penetrating fluid should be used to loosen the mechanism. These keys are sold separately, and should be stored somewhere safe and not next to the unit.
Read less

$17.15
Special Order
Refrigerator Leveler
Part #W11117769
This is an OEM part that is made of metal and sold individually. The leveling leg is generally used with refrigerators, dryers, freezers, ranges, cooktops, and microwaves. The leveling leg is meant to keep your appliance steady and level to the floor. If you notice your appliance is uneven to the floor it may need to have the leveling leg...Read more replaced. You will notice that the bottom of the leveling leg has a smooth surface to ensure moving your appliance does not require as much effort. This part screws into a pre-drilled hole underneath the appliance.
Read less

$7.47
Special Order

No Longer Available
Evaporator Fan Motor
Part #WP3-80411-103
This evaporator fan motor circulates air over the coils. These coils will convert the heat into cool air, which is then circulated.

$15.00
Special Order
Refrigerator Touch Up Paint
Part #WP72107

$181.30
On Order
Freezer Door Gasket (White)
Part #WP4357142
This white door gasket is used to make an air-tight seal for the cabinet when the door is closed.

$112.44
On Order
Refrigeration Appliance Defrost Heater
Part #W11175809
This defrost heater part number W11175809) is for refrigeration appliances.
The defrost heater melts frost from the evaporator fins during the automatic defrost cycle.
Safely store any food that could deteriorate while the power is off and unplug the appliance before installing this part. Wear work gloves to protect your hands.

No Longer Available
Gate Support - Right Hand
Part #4357293
This gate support is designed to support the gate or fence on your vertical freezer. This part is designed for the right-hand side and differs from the left-hand side gate support. Be sure to note which side of your gate support is damaged before ordering this part. This product is sold individually. It is white in color and is made entir...Read moreely of plastic. The gate support is approximately 6.5 inches in length and slightly less than an inch in width. This is an OEM part sourced directly from the manufacturer.
Read less
Manuals & Care Guides for EV170NXYN00
Click to downloadCommon Symptoms of the EV170NXYN00
How this model fails, and the parts that fix it.
Light not working
Fixed by
these parts
these parts

Show All
Fridge too warm
Fixed by
these parts
these parts

Show All
Freezer not defrosting
Fixed by
these parts
these parts
Show All
Freezer section too warm
Fixed by
these parts
these parts
Show All
Leaking
Fixed by
these parts
these parts
Show All
Will Not Start
Fixed by
these parts
these parts
Show All
Frost buildup
Fixed by
these parts
these parts


Show All
Fridge and Freezer are too warm
Fixed by
these parts
these parts
Show All
Fridge runs too long
Fixed by
these parts
these parts
Show All
Noisy
Fixed by
these parts
these parts

Show All
Freezer too cold
Fixed by
these parts
these parts
Show All
Fridge too cold
Fixed by
these parts
these parts
Show All
Too warm
Fixed by
these parts
these parts
Show All
Won’t start
Fixed by
these parts
these parts
Show All
Watch our pros, then fix it yourself.

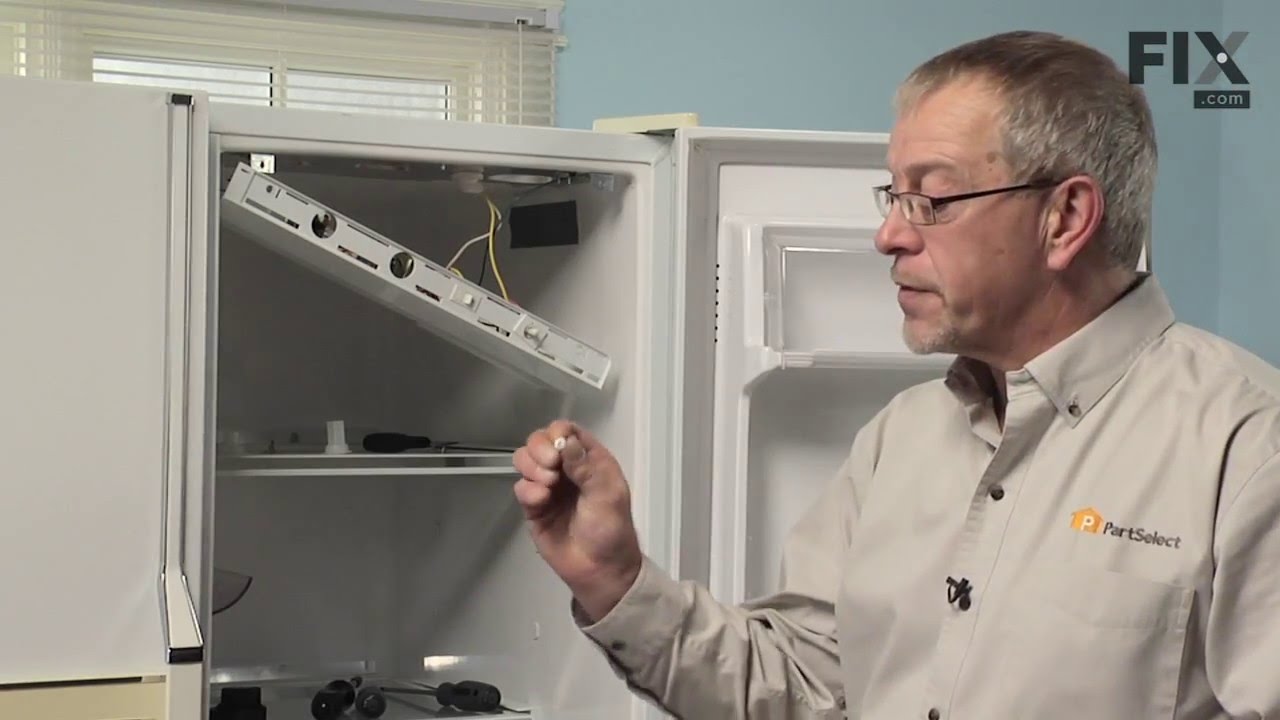
See how others fixed this model. Time, tools, difficulty, and steps that lead to victory!
View More