


 My Orders




ESR-343 Amana Range - Overview

Enter a part description. DIY Heroes keep it simple, eg. "belt" or "pump".
Search filter:
Clear Filter
Your search term must have 3 or more characters.

$10.95
In Stock
Chrome Drip Bowl - 8 inch
Part #WPW10196405
This manufacturer-certified drip bowl is also known as a drip pan, and it is designed for use with cooktops and ranges. It sits below 8-inch burner elements and catches drips and spills from the cookware on the burner. The diameter of the drip bowl is approximately 10 inches. This replacement might appear slightly different, but it will f...Read moreit your appliance.
You will need no tools to complete this repair. Simply remove the burner element, remove the old bowl, line up the hole on the new bowl with the terminal block and drop it into place. Make sure the bowl is flat before reinstalling the element. While you have the element out you should inspect the terminals for corrosion, damage, or discolouration. If you notice any of those things you should also replace the element and terminal block. You will need to replace your drip bowl if it is lost, damaged, or can no longer be cleaned. This replacement part is sold individually. To extend the life of your new drip bowl we recommend you clean it regularly with soap and water. We recommend only using the recommended drip bowl for your appliance; generic versions will not fit properly which could affect the performance of your elements and cause long-term damage.
Read less

$16.07
In Stock
Range Surface Burner Plug-In Block Kit
Part #330031
The surface burner plug-in block kit features a newer-style terminal block. This kit is designed for use with ranges and cooktops. This terminal block is how the coil element on your stove connects to the inner wiring of your appliance. Without this connection your burner element would not get the electrical current it needs to heat up. W...Read morehen your element will not heat at all, or if it is not heating properly it is likely an issue with the terminal block. You need to remove the element to replace this part. While you have the element out, inspect the element and the terminal for any corrosion, arcing, or discoloration. If you notice any damage to the element or the terminals we recommend you replace this part as well. This kit includes two metal brackets, two pre-crimped high-temperature wire leads, two ceramic wire nuts, two heat-shrinking insulators, and a mounting screw. Before you begin this repair, make sure you have unplugged your appliance.
Read less

$49.50
In Stock
2 Piece Broiler Pan
Part #4396923
This broiler pan and roasting rack set is designed to help reduce mess while cooking by allowing grease to drain away from food. Its durable porcelain-coated construction stands up to high temperatures and makes cleanup simple. With approximate dimensions of 16 3/4 inches long, 12 3/4 inches wide, and 1 3/4 inches high, it offers a convenient size for everyday broiling and roasting.

$54.95
On Order
Wire Oven Rack
Part #WP314763J
This wire oven rack is used on some ovens and ranges. It is twenty-three inches long and it is made of metal.

$80.82
In Stock
Economy Y-frame Surface Unit - 8"
Part #WPY04000035
This electric range economy Y-frame surface element measures eight inches and has five turns. It carries 2100 watts and is used on some electric ranges. The center medallion is chrome.

$74.08
In Stock
Economy Y-frame Surface Unit - 6"
Part #WPY04000036
This electric range economy Y-frame surface element measures six inches and has three turns. It carries 1250 watts and is used on some electric ranges. The center medallion is chrome.

No Longer Available
Hinge Kit - Right Side
Part #R0706011
The hinge kit, or oven door hinge, is used in ranges and wall ovens. The hinge attaches to the right side of the door and controls how fast the door opens. At a specific angle, it allows the door to remain open. If you are having trouble opening and closing your door, or it does not close at all, replacing the hinge could solve your probl...Read moreem. The hinge is made from metal and the kit comes with the hardware needed for this installation. You will need a screwdriver to perform this repair. *Please note: This part is only for the right side of your appliance. The left side is sold separately.
Read less

No Longer Available
Hinge Kit - Left Side
Part #R0706010

$24.67
In Stock

No Longer Available

No Longer Available
DISCONTINUED
Part #Y0067844
No Longer Available
DISCONTINUED
Part #Y0062362
Common Symptoms of the ESR-343
How this model fails, and the parts that fix it.
Element will not heat
Fixed by
these parts
these parts


Show All
Door won’t close
Fixed by
these parts
these parts


Show All
Will Not Start
Fixed by
these parts
these parts

Show All
Watch our pros, then fix it yourself.
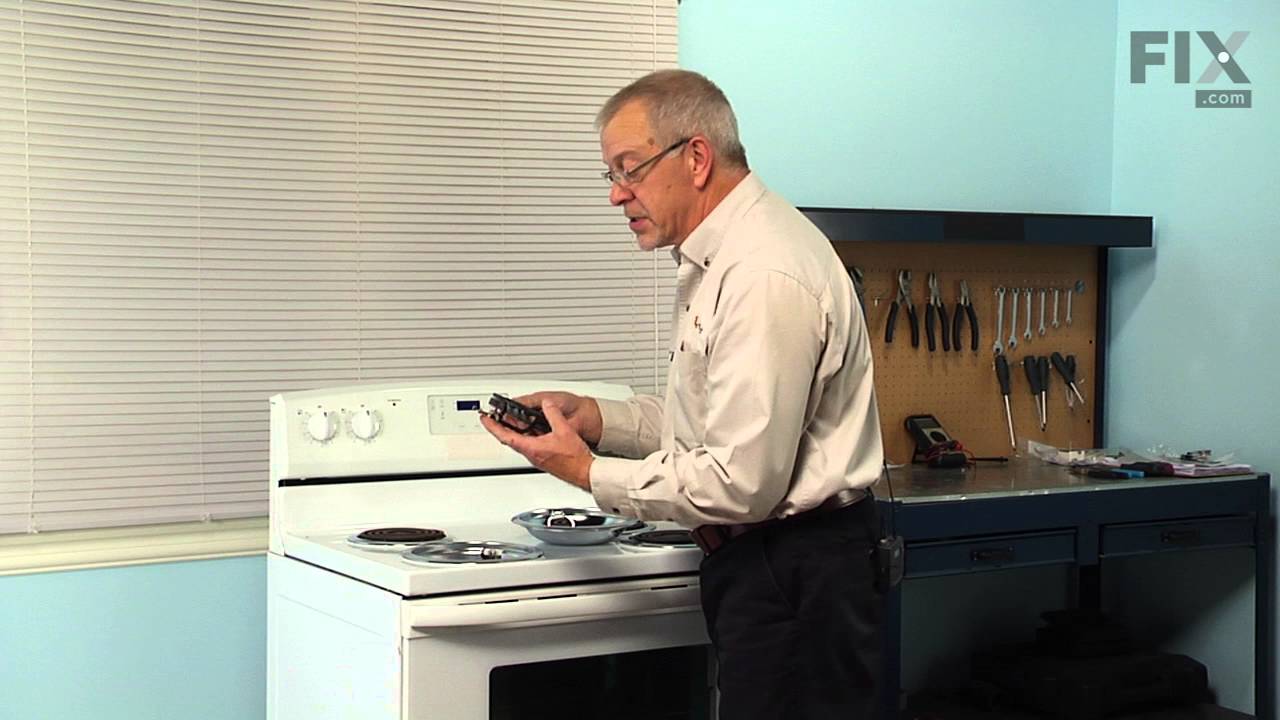
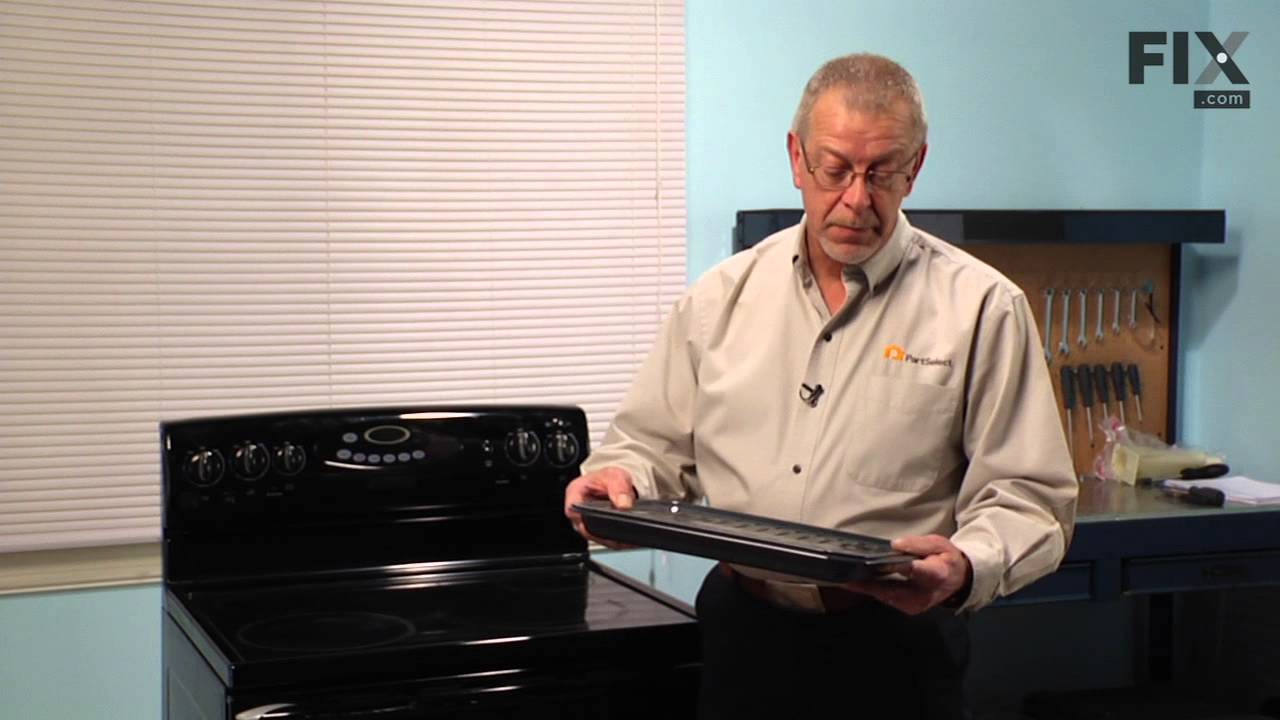

See how others fixed this model. Time, tools, difficulty, and steps that lead to victory!
View More