This genuine OEM oven probe is also known as an oven temperature sensor or range probe. This part is manufactured for a range, stove, or oven to detect the temperature within the oven cavity. The probe allows the oven to maintain the set temperature by sensing the temperature and sending the information to the ovens motherboard. You may n...Read moreeed to replace this part if oven is not heating or is heating unevenly. Be sure to disconnect power to oven before replacing, as it is an electrical part. Tools needed are 1/4 inch nut driver and needle nose pliers.
This OEM 40 watt appliance light bulb is used for some ranges, refrigerators, freezers, and microwaves. Simply locate the existing bulb, unscrew it from its socket, and replace with new light bulb. If the existing bulb is broken in the socket, disconnect the power to the refrigerator and use a pair of needle nose pliers to grip the intern...Read moreal fragments of the bulb to unscrew. Replace with the new bulb and reconnect the power to the refrigerator. These bulbs are sold individually and are a commonly replaced part; consider ordering a spare.
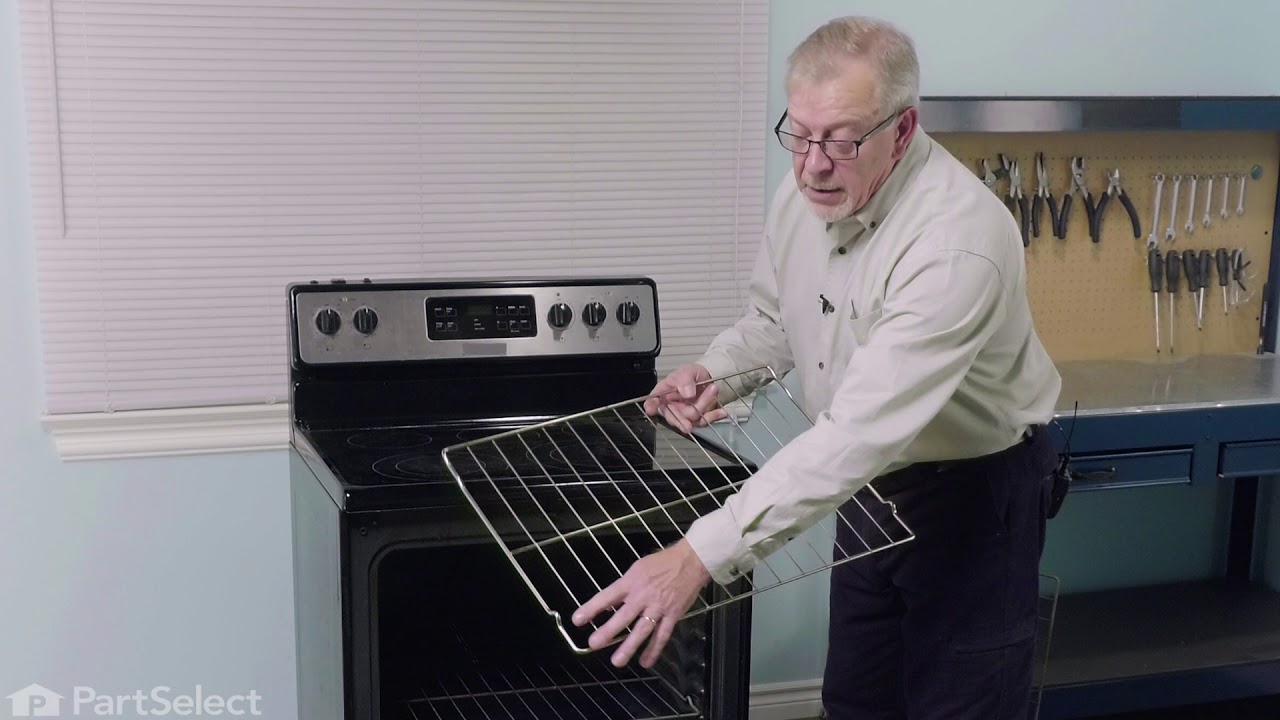
This part is found inside your oven. This oven rack comes in the color chrome and measures 24 inches in width and 16 inches in length. This is an extremely simple repair that requires no tools. The package you will receive will contain one rack. The rack may warp or become distressed over time and will need to be replaced. The rack is wha...Read moret holds your food inside the oven and allows you to adjust your food at different heights. Make sure your oven is unplugged before doing any maintenance. You will need to open the oven door and simply slide the new rack into place.
The Frigidaire light bulb lens covers the interior light bulb in an oven. No tools are necessary to replace this item. After unplugging the appliance, slide off the wire bracket to remove the existing light bulb lens. Be sure to remove all broken glass, if applicable, before installing the new lens. It is recommended to check the state of...Read more the light bulb while the lens is off. This part is made of glass. The lens is a genuine Frigidaire part, sourced directly from the manufacturer, and is sold individually.
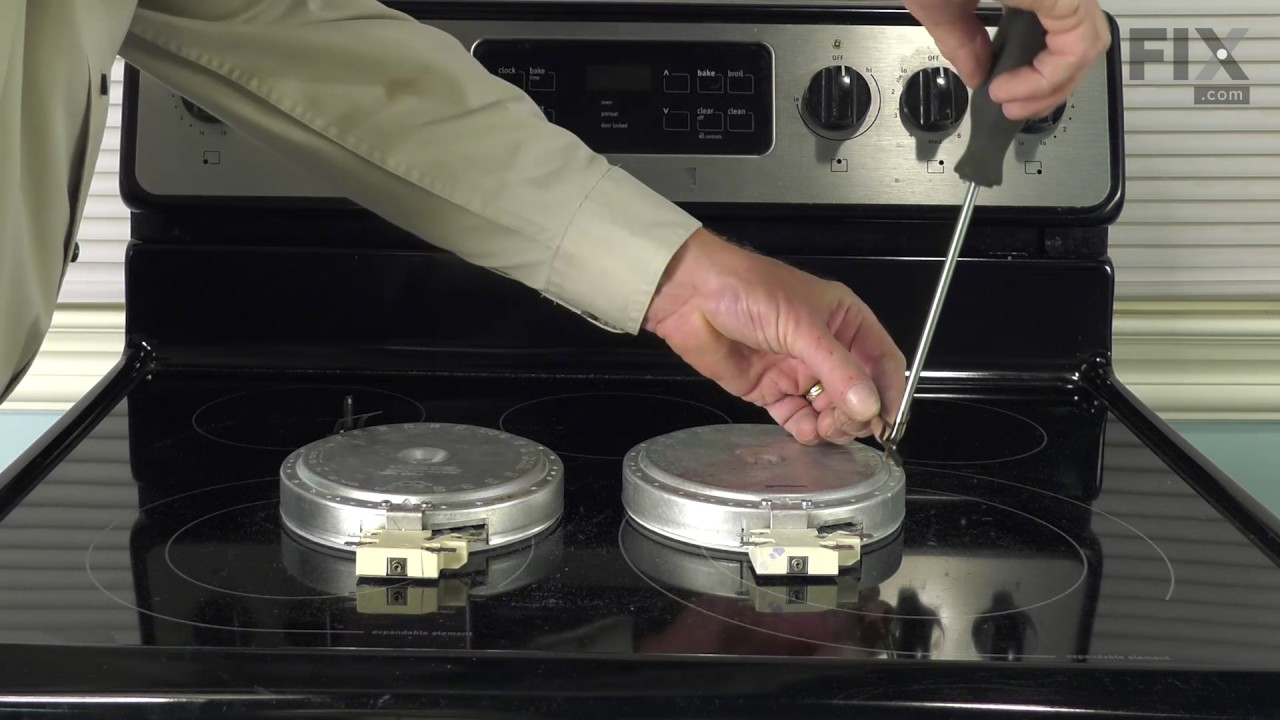
This is a six-inch radiant element with limiter. It works in conjunction with your stove top range. The purpose of this part is to heat up the cooking area that is located on top of the range, also known as your stove top. If you suspect that your surface element is not properly heating then you may want to test the element for continuity...Read more. This model is sold individually and is 1200 watts. The tools you will need for this installation include a Phillips screwdriver and a 14-inch nut driver.
The anti-tip bracket kit comes with one metal bracket and two installation screws, and is sourced directly from the genuine manufacturer. It prevents the freestanding oven, range, or stove from tipping when force or weight is applied to an open oven door. The bracket is secured to the floor and wall and fits over the rear leveling leg in ...Read morethe back of the appliance, in a cutout specifically designed for the anti-tip bracket. This part is very essential to the safe operation of the appliance. Failure to install the bracket properly can result in the oven tipping or falling and causing injuries.
This range terminal block kit provides a secure connection point between the household power cord and the appliance’s internal wiring. It helps distribute electrical power safely and reliably to the range’s heating and control components. A damaged or worn terminal block can prevent the oven or burners from operating correctly, cause buzz...Read moreing noises, or lead to power interruptions, and replacing it can help restore proper electrical function and safe operation.
The oven light socket allows you to screw in a light bulb so that you can see the inside of your oven. The light socket is located in the back of your oven, so you will need to remove the back panel to access the socket for the repair. You will also need to remove the current light bulb and the light lens cover so that the old socket can ...Read morebe removed. As you will be working around electrical circuits for this repair, be sure to disconnect the power source from the oven before you begin work on the oven.
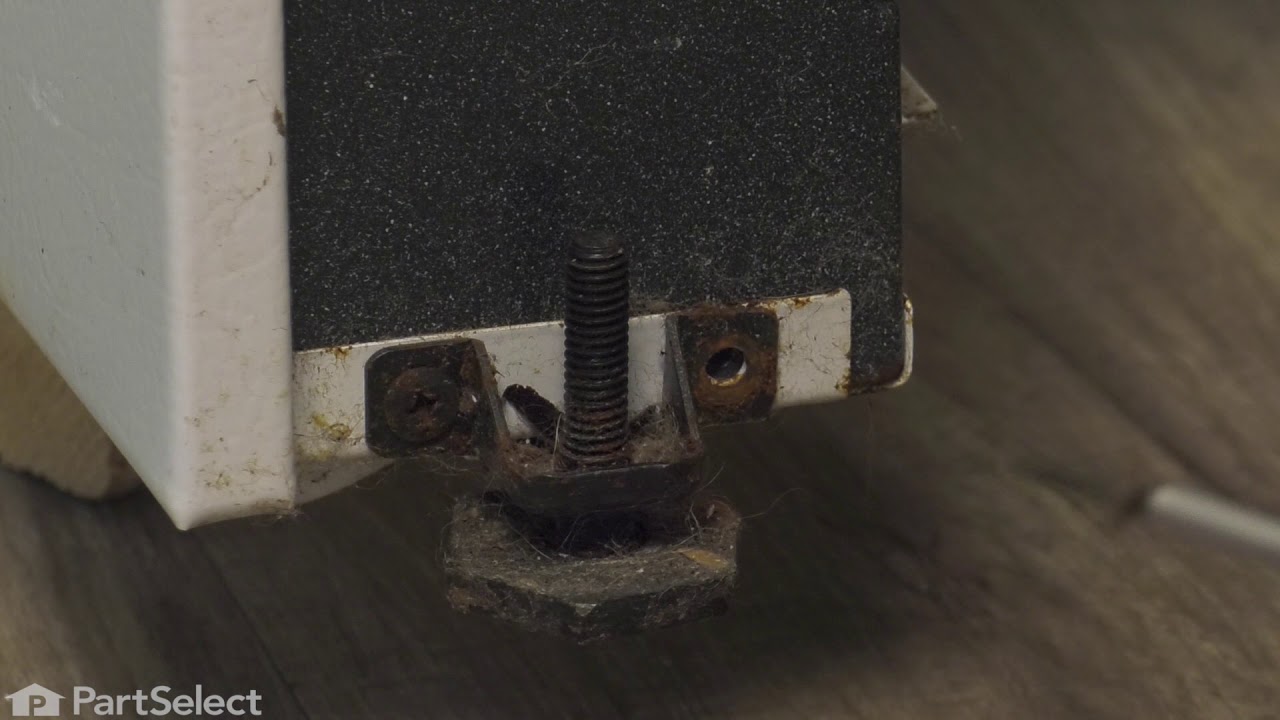
This part is sold individually. The leveling leg is black in color and measures approximately 2 inches in length. It is made of plastic. The leveling leg is found underneath your range and may crack or wear down over time. This will need to be replaced if it has broken or gone missing. If you notice your oven is wobbling or uneven it may ...Read morebe due to the leveling leg needing to be replaced. This part can be adjusted to accommodate different heights due to uneven flooring. This is a genuine OEM part sourced directly from the manufacturer.
Ask our experts a question about this model and we'll get back to you as soon as possible!
We may have answered a similar question already! Search questions and answers left by others using simple keywords like "fit", "broken", "easy", or "quality" to find questions that match.
Search filter:
Clear Filter
Your search term must have 3 or more characters.
Sort by:
Prev
1
Next
Sorry, we couldn't find any existing answers that matched.Try using some different or simpler keywords, or submit your new question by using the "Ask a Question" button above!
Edith - For model number EI30EF35JSA
December 12, 2022
oven over heating
Hello Edith, thank you for contacting us. The most probable cause of the issue is a faulty temperature sensor, part number PS1528542. You can test it for continuity using a multimeter. Customer service is available 7 days a week if you require assistance placing an order. Thanks again for reaching out!
See how others fixed this model. Time, tools, difficulty, and steps that lead to victory!View More
Search repair tips from other customers using simple keywords like "replace", "fit", "remove", "inspect". DIY doesn't mean you have to do it alone!
Search filter:
Clear Filter
Your search term must have 3 or more characters.
Oven wouldn't operated. Error code F9
76 of 101 peoplefound this instruction helpful.
Richard from Centennial, CO
Really Easy
Less than 15 mins
Nutdriver
I called a repair place. They charged $54 to diagnose, (said it needed a new latch motor) then wanted $220 to complete the repair. I checked online prices and did it myself for about 15 minutes work and the latch motor itself ($44?).
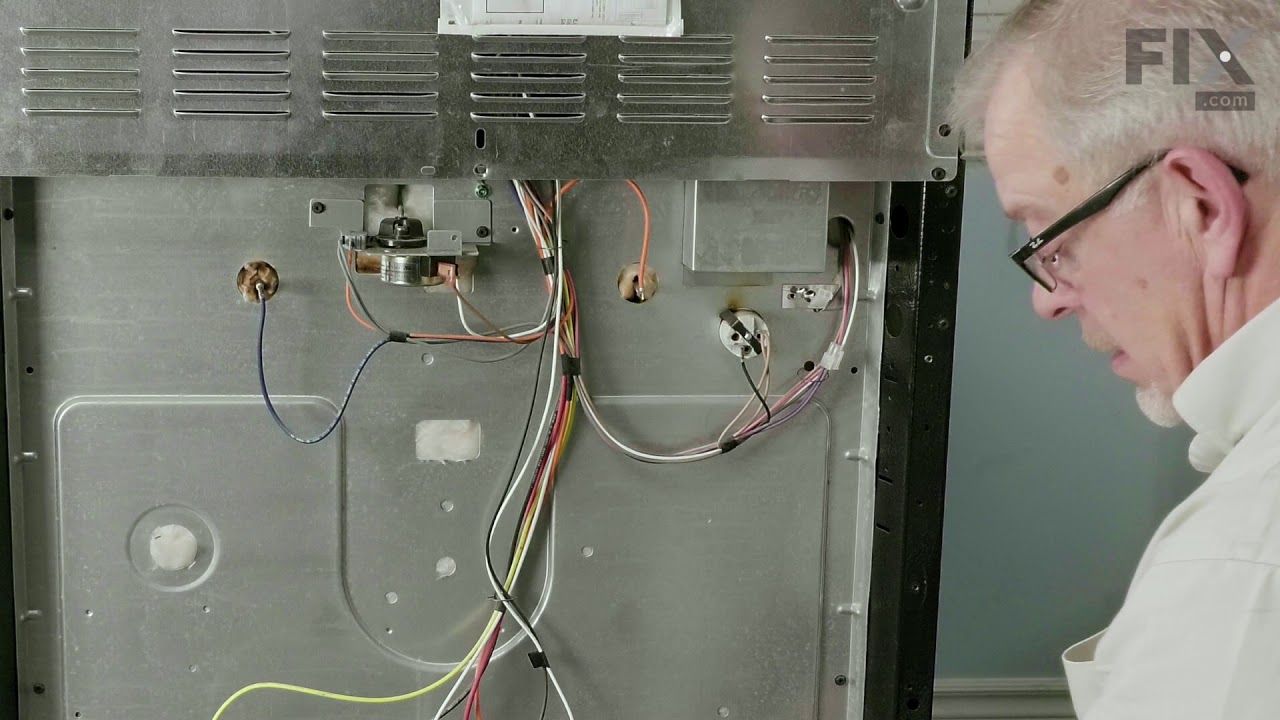
Was necessary to uplug the range, pull it away from the wall and remove the back panel sheet m
... Read moreetal, then 3 screws that mount the motor. Replace motor, reattach sheet metal. Plug in. Done. Ready to bake cookies.
Read less
Was this helpful?
Thank you for voting!
burned out burner
70 of 99 peoplefound this instruction helpful.
Lori from Winter Haven, FL
Easy
Less than 15 mins
Pliers, Screw drivers
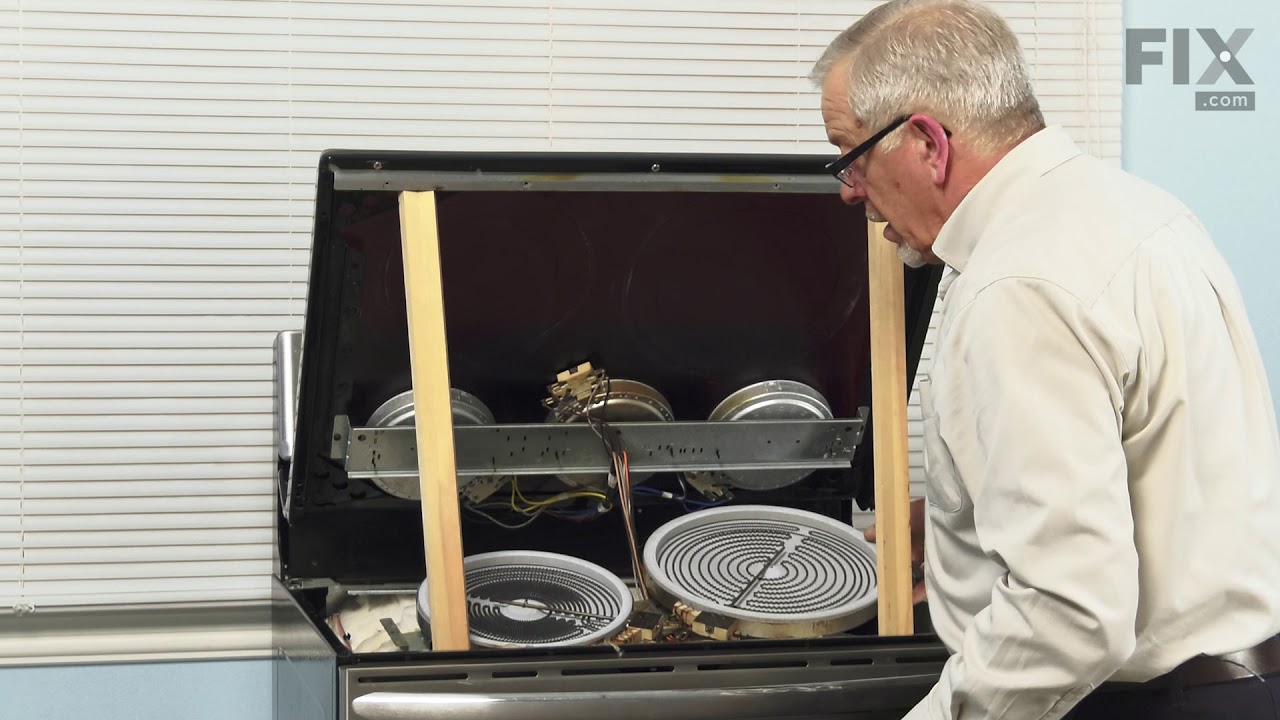
First we removed two screws under the rim of the range top to open the lid. Lifted the lid and removed the screws from the bracket that holds the elements, Be careful with the clips that hold the element in, if you break them or bend them there aren't any more! Also note which holes they were in, they are marked according to the differ
... Read moreent sizes of elements. Disconnected the wires, needed needlenose pliers to grip them...connected new element, popped it back in place, replaced bracket, closed top ...Easy peasy!!!
Read less
Was this helpful?
Thank you for voting!
Oven light receptacle broken - bulb base broke off
69 of 116 peoplefound this instruction helpful.
Paul from Spokane Valley, WA
Easy
30 - 60 mins
Screw drivers
Turned power off at electrical panel. Pulled oven away from wall. Removed back cover (6 screws), then unplugged wires from old receptacle. I had to pull the squeeze clips backwards & break them to remove the old receptacle - couldn't squeeze them enough to remove them otherwise. The old receptacle came out through the inside of the oven,
... Read moreand the new one snapped in easily from inside the oven as well. Replaced wiring, installed new bulb, restored power & tested. Replaced back cover. Good time to vacuum under/behind where the oven usually lives before sliding it back to the wall.



 My Orders